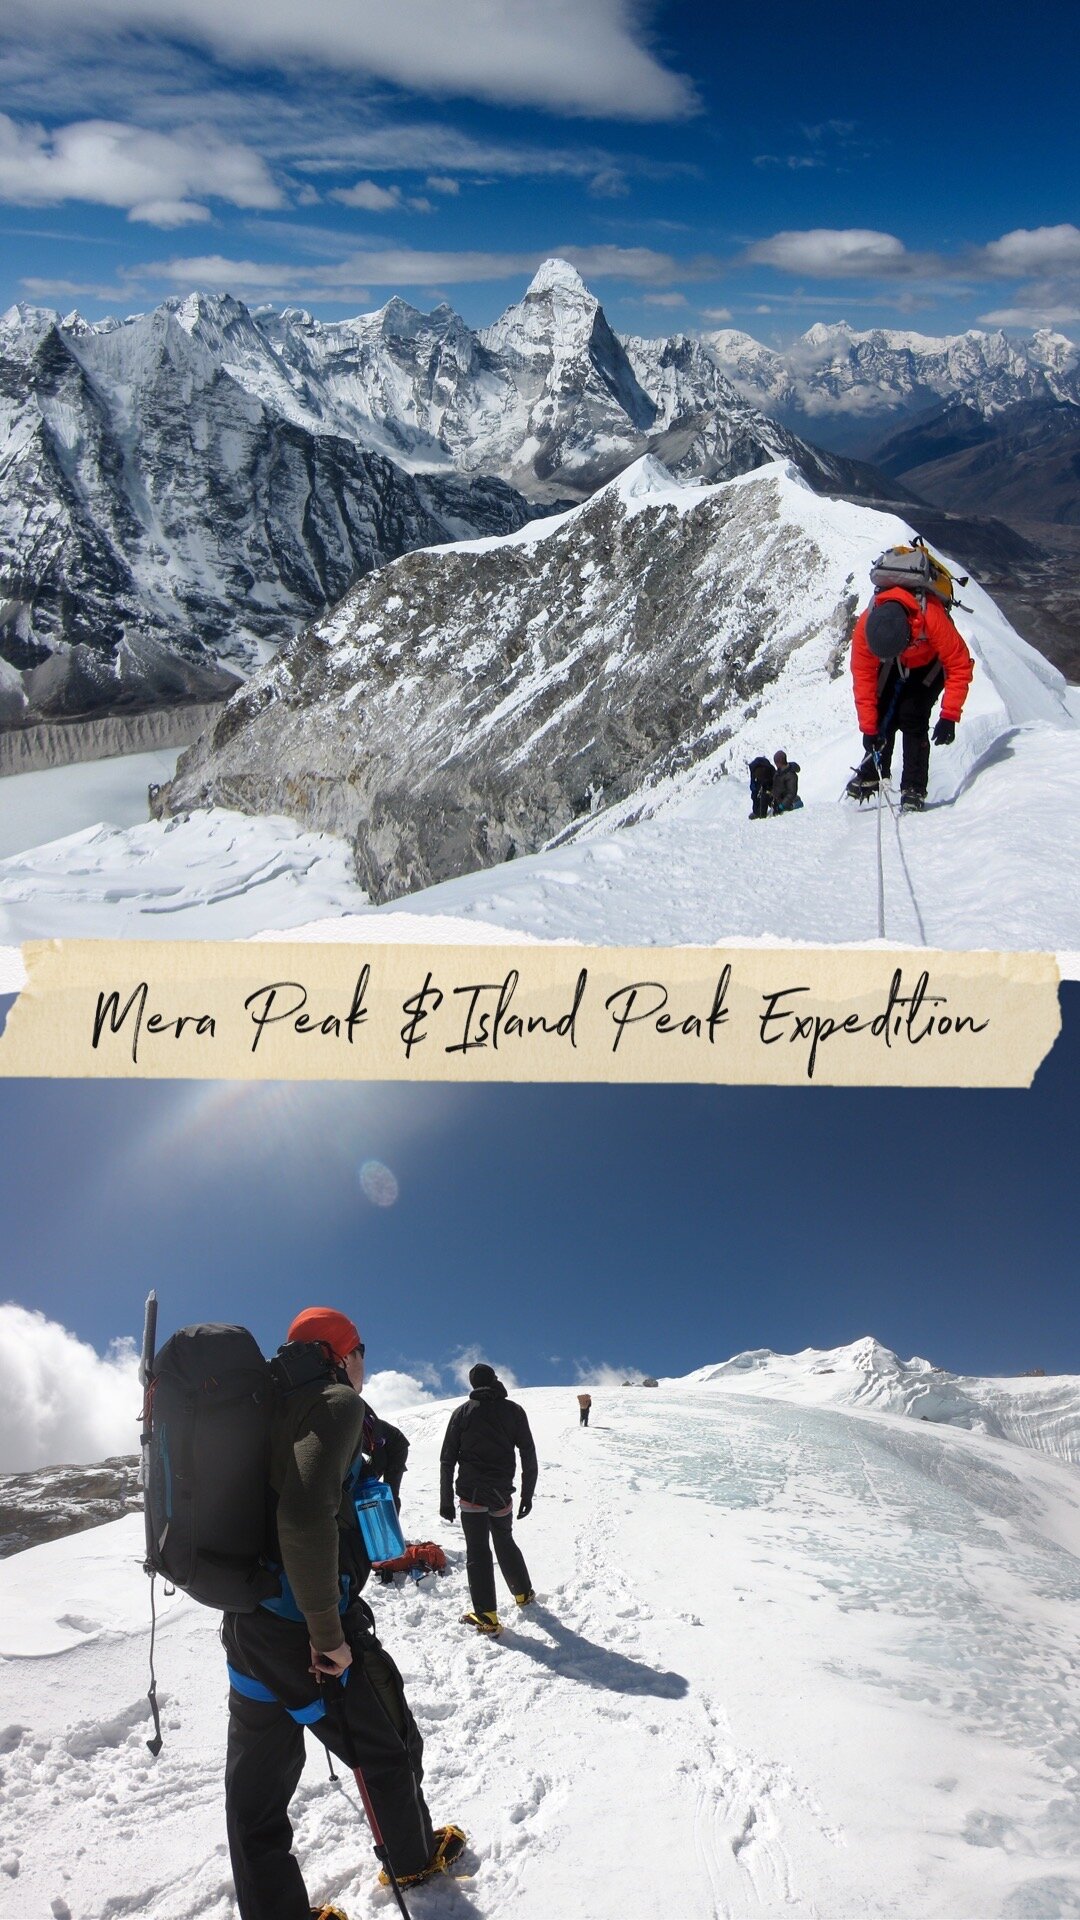
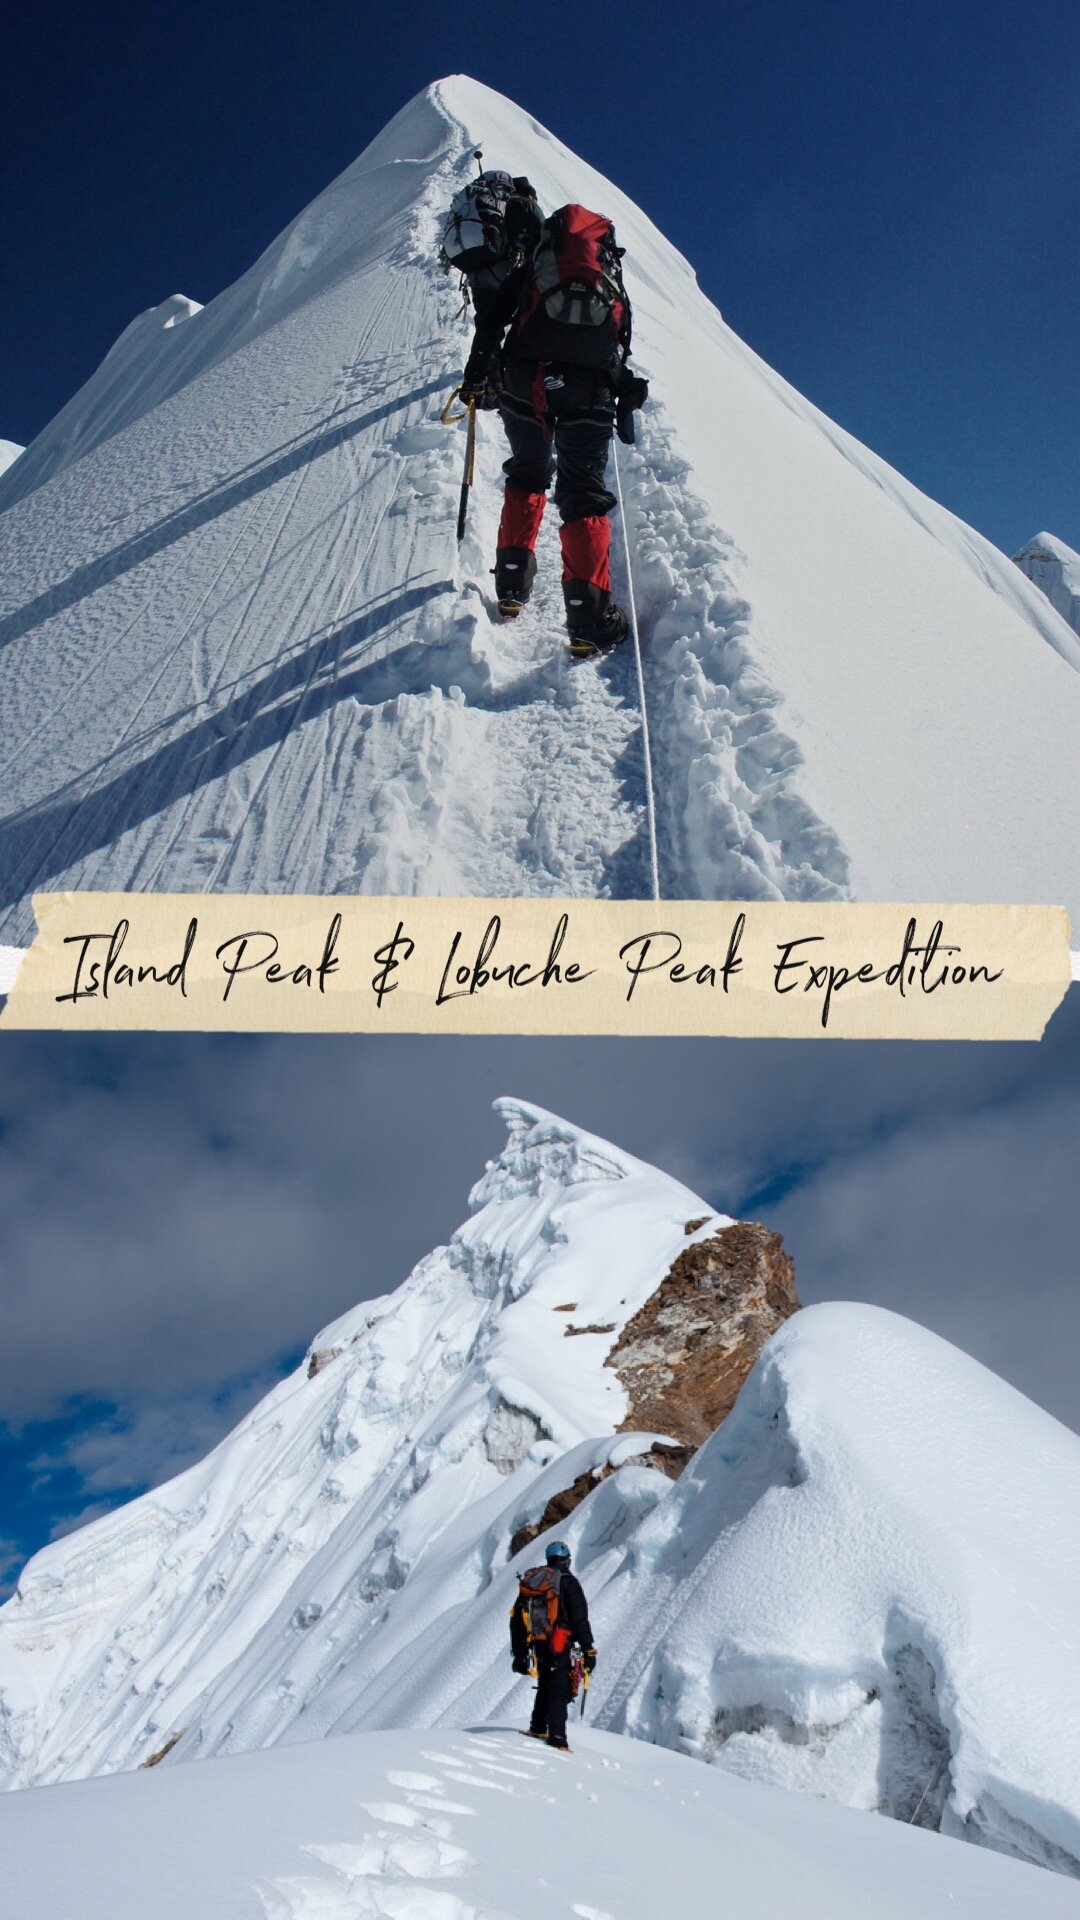
Khumbu Three Peak Expedition vs. Annapurna Three Peak Expedition: A Comprehensive Comparison
Khumbu Three Peak vs. Annapurna Three Peak Expedition: A Comprehensive Comparison
Introduction
If you're exploring your next mountaineering adventure and want to challenge yourself with a once-in-a-lifetime adventure climbing 6,000 meters in the Himalayas, we present two exciting triple summit expeditions: the Annapurna Three Peak Expedition and the Khumbu Three Peak Expedition challenge. These expeditions stand out for their unique challenges and breathtaking landscapes, serving as a pure test of endurance and offering thrilling summit adventures amidst stunning beauty. Both involve summiting three significant peaks, providing an unparalleled experience for climbers. This article delves into a detailed comparison to help you choose the expedition that best aligns with your aspirations and capabilities.
Overview of the Expeditions
Khumbu Three Peak Expedition
Location: Khumbu (Everest), and Mera region. Eastern Nepal
Peaks Summited:
Mera Peak: 6,476 meter (21,246 feet)
Island Peak (Imja Tse): 6,189 meters (20,305 feet)
Lobuche East Peak: 6,119 meters (20,075 feet)
Duration: 30 days
Highlights: Iconic views of Everest, vibrant Sherpa culture, famous trekking routes
Annapurna Three Peak Expedition
Location: Annapurna Region, Central Nepal
Peaks Summited:
Chulu West: 6,419M meters (20,173 feet)
Chulu East: 6584 meters (21,601 feet)
Chulu Far East: 6,059 meters (19,878 feet)
Duration: 26 days
Highlights: Less crowded trails, diverse ecosystems, panoramic views of the Annapurna massif
Scenery and Terrain
Annapurna Region
Diverse Landscapes: From subtropical forests to alpine meadows and high-altitude deserts
Less Crowded Trails: Offers a more solitary and serene experience, unique cultural expereinces
Unique Features: Annapurna Sanctuary and massif 8000M - 7000M peaks, deep gorges, and terraced farmlands
Khumbu Region
Eveest, Lhotse Sharr seen from Everest trail.
Iconic Landscapes: Home to Everest, the world's highest peak
Busier Trails: Popular among trekkers worldwide, especially during peak seasons
Unique Features: Sagarmatha National Park, Khumbu Glacier, and the famous Everest Base Camp trail, to world highest peaks. Everest, Lhotse, Cho-Oyu etc
If you prefer solitude and diverse ecosystems, Annapurna might appeal more. For iconic mountain vistas and bustling trails, Khumbu is ideal.
Cultural Experiences
Annapurna Region
Ethnic Communities: Gurung and Magar villages
Cultural Highlights: Traditional farming practices, local festivals, and handicrafts
Monasteries and Temples: Bragha Iconic Monastery, Muktinath Temple (Mustang)
Braga Monaster, Manag region.
Khumbu Region
Ethnic Communities: Sherpa heartland
Cultural Highlights: Visit Tengboche Monastery, experience Sherpa hospitality
Monasteries and Temples: Tengboche Monastery
Tenboche Monastery, Everest region.
The Khumbu region offers a deep dive into Sherpa culture, while Annapurna provides a blend of different ethnic experiences.
Difficulty and Technical Requirements
Annapurna Three Peak Expedition
Technical Climbing: Chulu East and West Peak requires moderate technical skills, including ice and rock climbing. Chulu Far East peak requires is a lesser technical approach to mostly being high altitude trekking peak.
Physical Demands: High level of fitness required due to challenging terrains and higher altitudes
Preparation Needed: Prior high-altitude trekking and some climbing experience are essential
Khumbu Three Peak Expedition
Technical Climbing: Island Peak and Lobuche East require moderate technical skills; Mera Peak is less technical
Physical Demands: Demanding and must be fit for several days of climb and trek
Preparation Needed: Good physical condition and some basic climbing experience recommended
Annapurna's expedition is generally considered more challenging due to technical requirements, making it suitable for experienced climbers.
Best Time to Trek
Annapurna Region
Spring (March to May): Blooming rhododendrons, moderate temperatures
Autumn (September to November): Clear skies, ideal for mountain views
Winter: Less favorable due to harsh weather and trail conditions
Khumbu Region
Spring (March to May): Busy season, pleasant weather
Autumn (September to November): Most popular, excellent visibility
Winter: Possible but very cold; suitable for those who can endure low temperatures
Monsoon: Not recommended due to heavy rains and cloud cover
Both regions share similar optimal trekking seasons, with spring and autumn being the most favorable.
Logistics and Accessibility
Annapurna Three Peak Expedition
Starting Point: Kathmandu to Besisahar via jeep and off road to Humde
Transportation: Road transport to trailheads; fewer flights involved
Accommodation: Combination of teahouses and camping
Permits Required:
Annapurna Conservation Area Permit (ACAP)
Trekkers' Information Management System (TIMS) card
Climbing permits for each peak
Khumbu Three Peak Expedition
Starting Point: Lukla, reached by a flight from Ramechap
Transportation: Flight to Lukla; trekking from there
Accommodation: Well-established teahouses along the trail
Permits Required:
Sagarmatha National Park Entry Permit
Climbing permits for each peak
Khumbu is more famous for most traveller. Weather can cause delays to Lukla flights. Annapurna offers more flexibility with transportation.
Cost Considerations
All inclusive cost with Namas Adventure team
Safety Measures
Annapurna Region
Altitude Risks: Higher peaks may increase the risk of altitude sickness
Trail Conditions: Less crowded trails mean fewer immediate assistance options
Rescue Operations: Available but may take longer than Khumbu region
Khumbu Region
Altitude Risks: Still significant but with more established acclimatization protocols
Trail Conditions: Busy trails mean help is often nearby
Rescue Operations: More efficient due to better infrastructure and frequent helicopter services
Both expeditions require comprehensive safety measures, but Khumbu benefits from better-established rescue operations.
Who Should Choose Which Expedition?
Choose Annapurna If:
You prefer less crowded trails and a more solitary experience
You're looking for a challenging expedition with higher technical demands and mix of alpine and fixed line climbing
You're interested in diverse landscapes and ecosystems
Annapurna massif. Annapurna region.
Choose Khumbu If:
You want to experience iconic views of Everest and surrounding peaks
You're interested in Sherpa culture and well-established trekking routes
You prefer slightly less technical climbs
You require better infrastructure and amenities
Gokyo Ri. Everest region.
Your choice should align with your personal preferences, experience level, and what you seek to gain from the expedition.
Conclusion
Both the Annapurna Three Peak Expedition and the Khumbu Three Peak Expedition offer unparalleled opportunities to explore the majestic Himalayas. Your decision should be based on your experience, desired level of challenge, cultural interests, and logistical preferences. Whichever expedition you choose, you're guaranteed an adventure that will test your limits and leave you with memories to last a lifetime.
Ready to embark on your Himalayan journey?
Contact Namas Adventure to book your expedition today!
5 Things to know about Mera Peak climb - Namas Adventure
Descending down Mera Peak Summit
5 things to know about Mera Peak climbing
When is the best time to trek/climb Mera Peak?
March-May ( Spring ) and September - November (Autumn) is the best time to trek/climb Mera Peak.
Is Mera Peak suitable for beginner climbers and what kind of fitness do I need?
Yes, Mera Peak is a non-technical high-altitude trekking peak. To reach summit 6476M you do not need any special climbing skills with ropes, gears, and use of an ice axe. Mera Peak is a very popular destination for clients with little or no mountaineering experience. The mountain has fewer to non-technical challenges, there are 3-4 small opening crevasses during the climb but apart from that, the climb is straightforward. All climbers are recommended to partake in preparative fitness and altitude training before attempting an ascent. You should be able to carry 5-8 kgs of your bag pack, walk up and downhill every day for 15/16 days and be able to push yourself during the summit climb.
Physically for beginners, Mera Peak can be demanding. We highly suggest you train yourself well over 6 - 4 months before your trip. You will need good endurance and body strength. Aerobic exercises mixing with overall body strength-building routines should help you prepare physically for your trip.
Can I see Mt. Everest from Mera Peak?
From the summit, five 8,000m peaks are visible: Mount Everest, Lhotse, Cho Oyu, Makalu, and Kangchenjunga, as well as many other Himalayan peaks. The standard route from the north involves high-altitude glacier walking. The west and south faces of the peak offer more difficult technical routes.
How hard is it to climb to the summit of Mera Peak?
Mera Peak is classed as 1B alpine grade. When it comes to an expedition the more fitter and stronger you are, the better your chances of successfully climbing to the summit and most of all enjoying the expedition. Summiting Mera Peak mostly depends on the weather condition and your fitness level. The climb normally starts around 3/4 am in the morning and it is about 3-4 hours climb to the summit. For any climbers it is a technically straightforward ascent, the main hurdle being proper acclimatization to the high altitude.
Which Mountain can I aim for after Mera Peak that’s above 6500M?
If you have got time and you are feeling extra adventurous then you can either Mix Mera Peak with Island Peak, which takes you through a beautiful and challenging Amphu Lapsta pass. On the way, you will also come across Baruntse 7129M and Makalu 8481M. Or you can simply take on our challenge of three 6000M+ Peak expeditions. (Mera, Island and Lobuche East) Peaks (Click for expedition Link)
Our main suggestion is to take it one step at a time. The lure of Everest is there but taking small steps, gaining the right experience, and understanding your physiology is very crucial for climbing higher mountains. Amadablam 6810M, Baruntse Peak 7129M, Manaslu 8163M, Tilicho Peak 7134M are some of the 7000M+ - 8000M+ Peak expedition we operate and organize at Namas adventure.
If you do have any more questions, please ask us below in the comment section or you can email us at bookings@namasadventure.com and our team will get back to you as soon as they can.
Stay well. Challenge yourself. Dare great things and live your story.
Mera Peak a treat of panoramic Himalayan vista - Namas Adventure
MERA PEAK A TREAT OF PANORAMIC HIMALAYAN VISTA
Now, I am not exaggerating by that headline for Mera Peak. In this blog post, I am trying to share the visual journey of the Mera Peak trek/climb. First let me admit, although Mera Peak is classed as a beginners peak, I was dead tired (exhausted) by the time I got back from Summit to high camp. To me, that climb did not feel like a beginner’s climb or maybe I just was not fit enough (gotta train harder). Every Sherpa leader that I met there was like yes, this is the easiest one and the only peak with a very wide 360 views of all the Himalayas. I could feel my whole body burning with tiredness and at the same time, I was ecstatic as well because I was back safely from the summit. It was not that I had doubts about making it to the summit but I wasn’t expecting the degree of fitness I needed to have to make that climb. I have so much respect for all the Sherpa leaders that can just march up these peaks like it’s a walk in the park and I could only imagine the level of fitness everyone has when they guide the guest to 7000 - 8000 M peaks. I have realized that I need to upgrade my level of fitness by some fold and have more experiences under my belt to climb higher mountains. Next stop Baruntse Peak 7129, Tilicho peak 7134, Amadablam (climbers consider this tougher than Everest) the tough one 6810 technically challenging, Manaslu 8156 in the next 2 years.
So first all the technical details about Mera peak. The peak stands tall at 6476 M tall in Makalu valley. The mountaineering association in Nepal considers Mera as a trekking peak rather than an expedition peak which is just about right.
Beginners/ Intermediate trekking peak. No mountain climbing experience is required for this trip. Although previous trekking experiences do help.
18 Days total climb. But can be shortened 12/13 days, Mera Peak express ( Taking helicopter from Lukla to Kothe or Khare to Lukla. Additional charges apply)
Fitness level required. Endurance and strength training suggested.
Pro tip: To better your chance of making it to the Summit, make sure your itinerary has Base camp 5200M and high camp day 5800M. Both are tented camping.
Gears rentals can be done in Khare but I would highly recommend getting your own gears. I rented their equipment ( sleeping bag ) for the sake of trying and I would not recommend it at all. You will need all the mountain climbing gear for this trek. Even the boots are made of plastic ones which do not provide enough protection from the cold.
Best time to visit. March-May ( less traffic ) September - November ( high traffic )
Next goal Baruntse or Tilicho Peak ( 7000+M) mountain.
360-degree views of the Himalayas from high camp all the way to the Summit. Mt. Everest, Lhotse, Cho Oyu, Nuptse, Makalu, Kanchenjunga, and hundreds of small peaks are visible. On a clear day expect yourself to be completely blown away by the never-ending view of Himalayan vistas.
Mera peak trip was a job as well as an adventure. So the trekking trail separates from Lukla going south in the other direction than the Everest trail. That helps us avoid all the huge traffic that goes to the iconic base camp trail. The trek up to Nimgsa is pretty much walking one hilly trail, passing through small villages. But after that, the trail gets tougher and the snow made the trails even harder at some point. Mera isn’t a popular choice as Everest trails so the trails are not as well taken care of or are built like most on Everest base camp trails. On some part, we literally had to use our hands and feet to just climb the steep stairs and the trail wasn’t a gradual one. One minute it goes straight up and the other minute it’s a steep downhill but after Kothe camp, it was gradual uphill which was good.
The Himalayas are only fully visible after we left the Kothe camp. As we were gradually going higher the mountain tops with different shapes slowly appear and the next thing you know it’s on your right/left and slowly the Mera range appears right above on the right corner. We made a pit stop at a nearby glacier lake, which was 90% frozen. Kothe was our final tea house camp place. By the time we get to Kothe, we are now pretty much walking by the mountains. I could see this frozen sharp ice on the cliffs of the mountains. Finally, upon arrival in Kothe, we could see Mera peak and the other range just above. Our guide (Lopsang Sherpa) pointed to us the glacier we were to walk on before reaching high camp. To my surprise, the tea house in Kothe was the best one out of all during the entire trek.
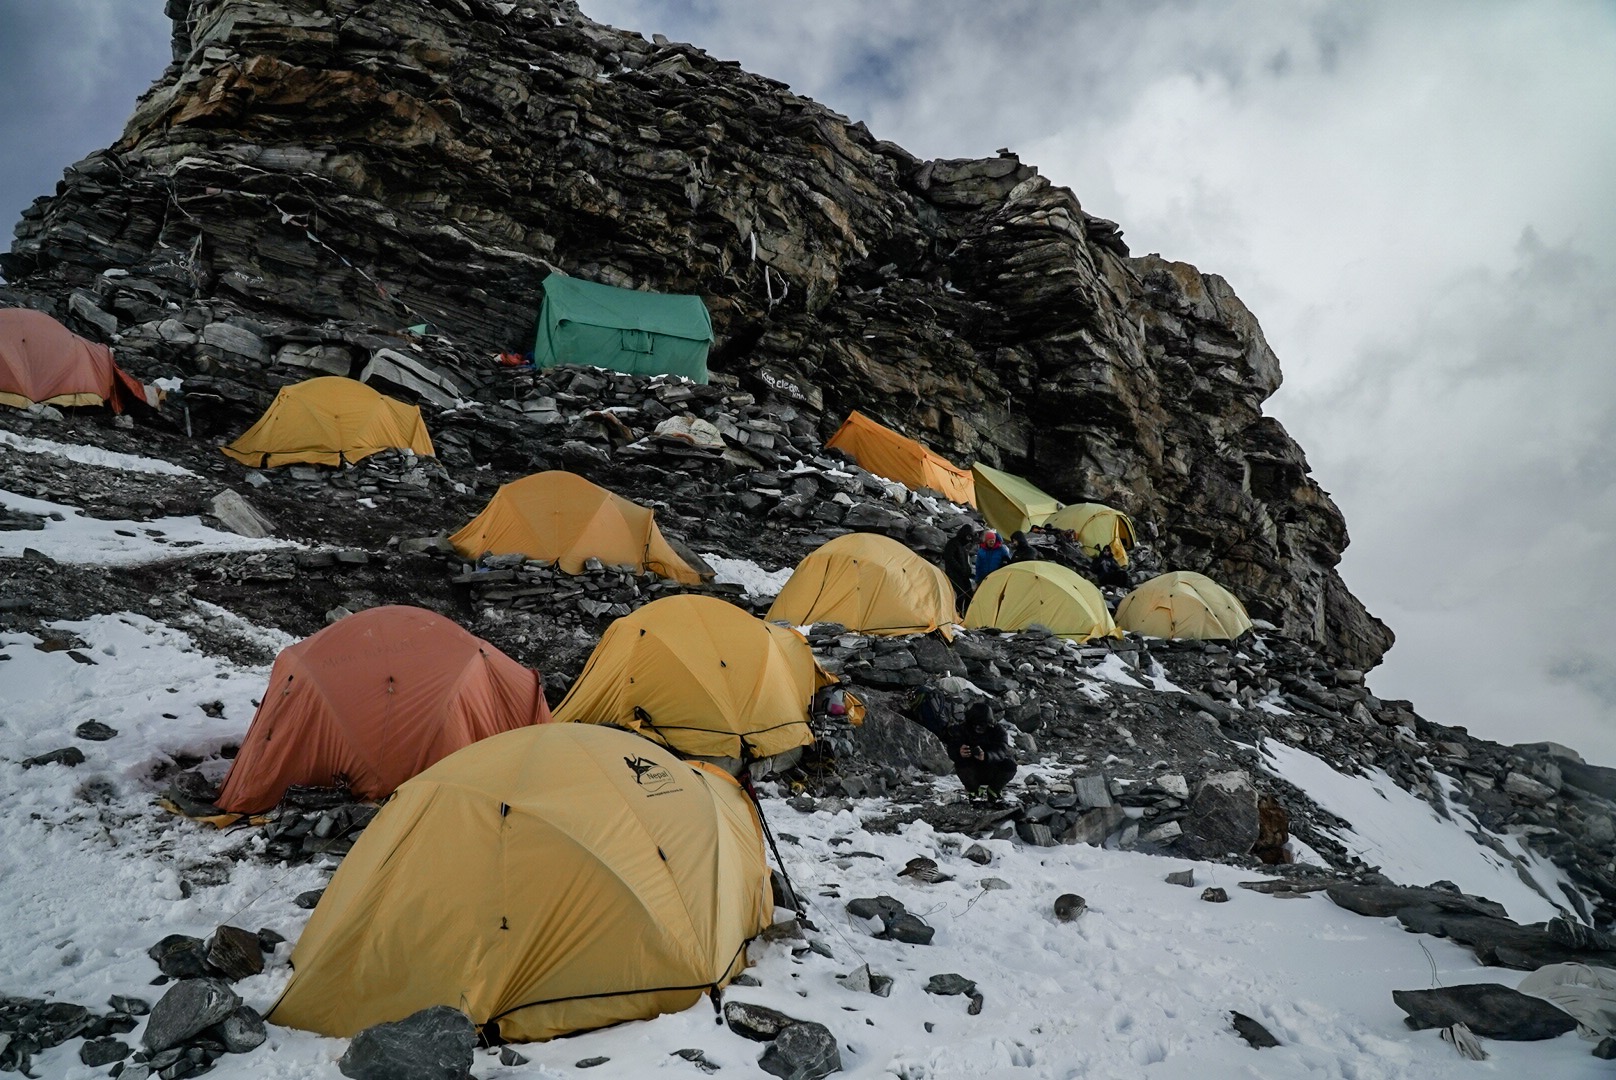
So we acclimatized and rested in Kothe for a day then we set about for Mera Peak base camp. Now, this is the most tricky bit in Mera. Mera base camp is only built upon request and many will say oh! why did you have to have Mera base camp or it is not necessary or you can make your way to high camp directly. A lot of the operators choose not to do this because it adds an extra day to the itinerary or is only 3 hours walk from Khare camp. But when it comes to mountain and you want to better your odds of making it to the summit and completing your trek/ expedition rather than rushing and not acclimatizing properly. So, as a company, we choose to have Mera la Base camp in our Itinerary so that our clients and group has a better chance of successfully completing the journey. Then once we rested at base camp and moved on to High camp that’s when the real test began. From this day onwards we are on our harness, ropes, crampons, and mountain climbing shoes. Perfect practice for the next day’s summit climb. From the base camp, the terrains is completely different. We started off with a steep 80 degree walk up the snowy hill and then to the blue ice glacier climbing 4 - 5 hills to Mera high camp. You are walking slowly on those ice paths all the way to the Summit. Still, a tiring walk but the place they chose for a high camp has such a great view. It looks crazily dangerous as the campsite is just on the flat base side of the cliff and a 500-600 m drop after that, somehow it’s safe to station the camp there. So, the group arrived there and we rested in our camp waiting for the big day tomorrow. We briefed our team the next day as we had to start our climb to the summit at 4 am in morning.
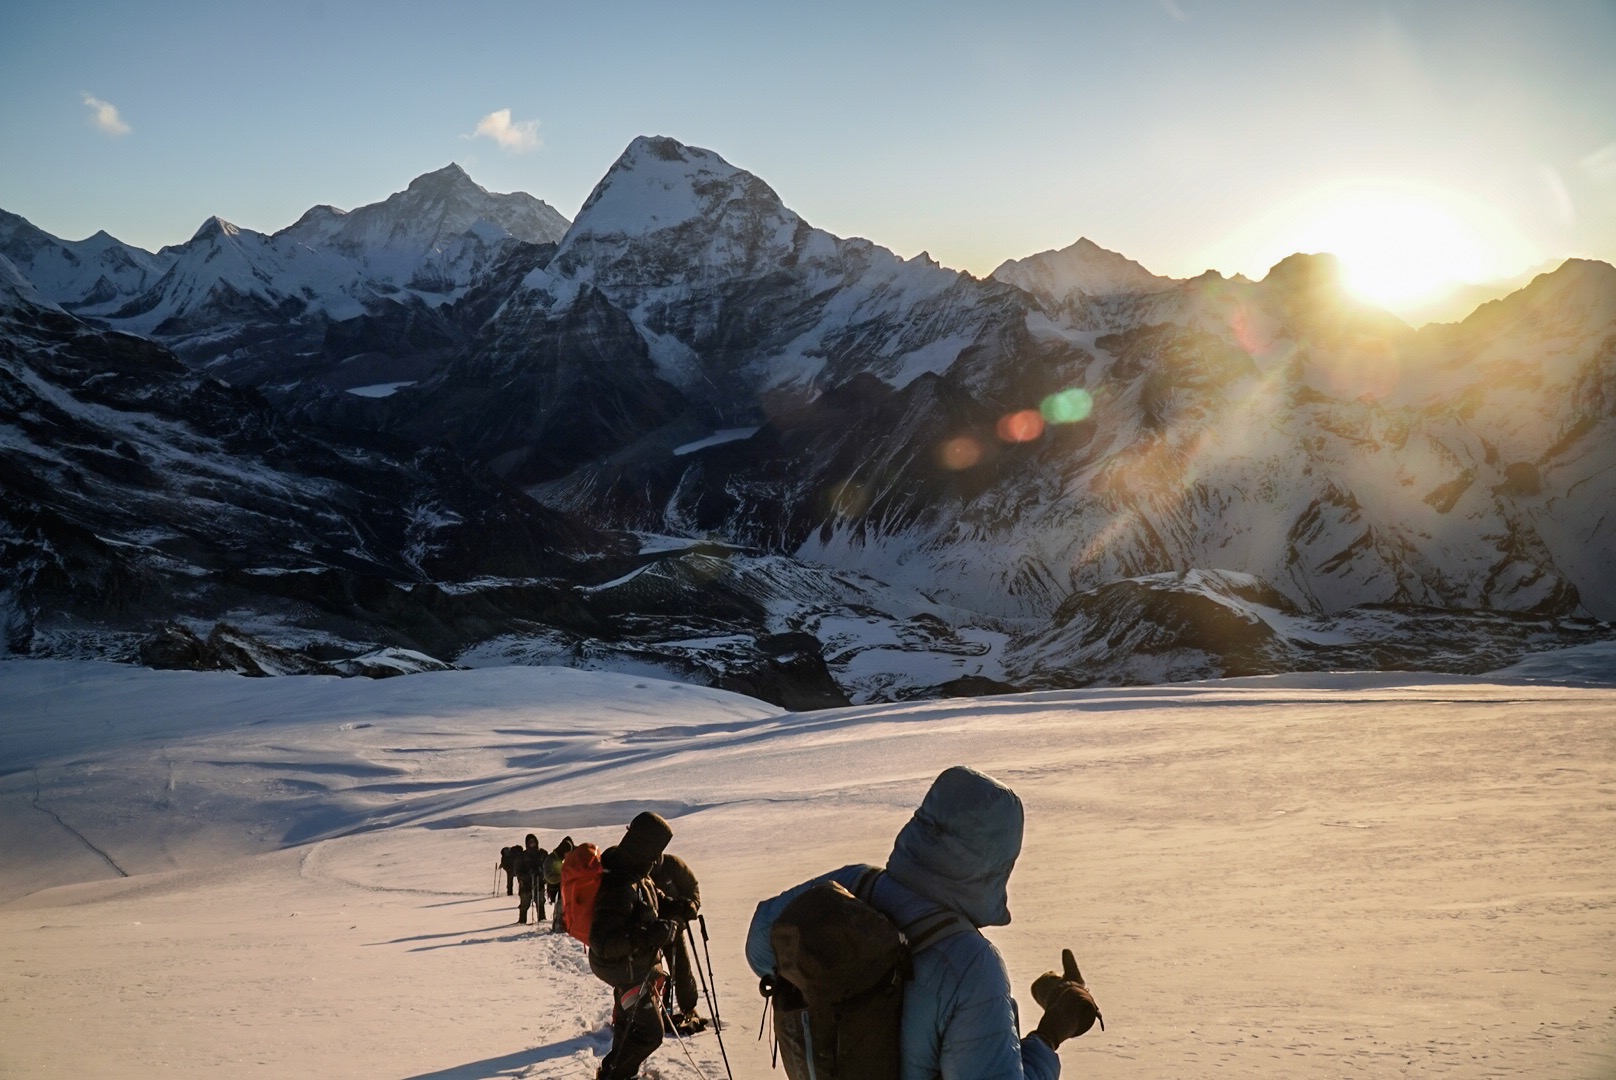
The next day we were all set and ready to go at 4 am. We started in the dark and sunshine was scheduled around 4:30 am-ish, so as we were making our climb on the snowy slopes we could slowly see the sun rising just behind the Himalayan ranges. What a sight, to see the colors change and the white snow slowly light up making the whole climb shinier and brighter. Shades on and we started to move up to the summit. The walk to the top was a killer one. So on the high altitudes, anyone climbing is not supposed to stay out exposed out in the cold/ wind for long. Every break we took was a quick 30s to 1 min and then off we go again. I can’t remember the number of breaks we took but I am pretty sure we take a handful of one. It took us around 4 hours to get to the summit. Just when we were to reach the summit the final climb was a 90-degree vertical ice block and at that moment in my head, I was like how am I to climb this and then our climbing leader just took us a sideways walk from and slowly side-stepping we climbed the to the summit. I was exhausted, tired but joy overfilled me with what we had achieved. The whole group was at the summit and we spoke on the radio with our team at Kothe camp. There were congratulation, hugs, laughter, and tears. This was one of the hardest things that I had done but definitely worth it. This was it all the month’s worth of planning and preparation was for this climb. All the clients were at the top which was another achievement for all the Namas adventure team.
This was definitely a great experience for me because as a founder of Namas Adventure I want to understand as much as I can of work that goes during our tour operations which gives me the perspective of how our staff is doing while on tours and expeditions, as well as understanding in what ways we can improve in our services, having a great time with people with the same interest and enjoying my passion of climbing mountains, inspiring through our work and seeking for greater adventures.
This is the story I chose and it has been an amazing learning and developing so far. The story continues ahead and our message as a company leads with inspiring human individuals to choose to live their story.
Live Your Story.
See you in future adventures and good luck with many adventures ahead. The upcoming expedition that I will be joining Baruntse Expedition, Manaslu Expedition, and Amadablam Expedition.
If you do have any more questions, please ask us below in the comment section or you can email us at bookings@namasadventure.com and our team will get back to you as soon as they can.
Stay well. Challenge yourself. Dare great things and live your story.
Training for Mountain climbing Expeditions - Namas Adventure
TRAINING FOR MOUNTAIN EXPEDITION
The goal of your training is to get physically and mentally prepared to successfully complete your expedition. Your climbing goal will be to perform strong and steady throughout our expedition. Mountaineering requires a high overall level of physical conditioning. As you will be climbing in high altitudes, both your cardiovascular and motor fitness are needed to climb at different levels of intensity and to navigate challenging terrain. The greater your level of fitness, the more efficiently you can acclimate to the altitude. Fit climbers spend less energy on certain tasks, leaving their bodies ready for the task of acclimatisation.
When training you should particularly focus on two key areas of endurance building, developing cardiovascular fitness (fitness of the heart and lungs) and motor fitness (particularly endurance, strength, agility, and balance), following specific goals and timelines.
We suggest all our interested climbers commit to at least a minimum of four-six months of training time depending on your expedition.
ENDURANCE TRAINING
Endurance fitness is considered the most important for all mountaineers. Your expedition and body will demand various levels of intensity all day throughout. Excellent cardiovascular and motor fitness is very necessary. This can be both aerobic exercises as well as muscular endurance exercises.
Long-distance slow- running is one of the best ways to build your endurance fitness level.
CARDIOVASCULAR FITNESS
Cardiovascular Endurance is the ability of the heart and lungs to supply oxygen-rich blood to the working muscle tissues and the ability of the muscles to use oxygen to produce energy for movement. To get the most from your cardiovascular workouts, the ACSM suggests that you exercise three to five times a week at 60 to 90 percent of your maximum heart rate. Sessions should last more than 30 minutes, and you should choose exercises that use large muscle groups in a rhythmical fashion, such as long-distance cycling, running, swimming, or rowing. If you live near mountains hiking with 20/25kgs for 10miles once or twice a week is the best way to gain even more real-world experiences.
STRENGTH AND MUSCULAR ENDURANCE
In addition to leg strength, mountaineering requires a strong core (back and stomach) as heavy pack weights add a new dimension to climbing. Strength training principles are essentially the same for upper and lower bodies. Strength training can involve bodyweight exercises as well as routines using traditional weights. Kettlebell routines or even CrossFit training programs are helpful to build your overall body strength.
P.S. - Make sure you are working out your cores too.
RECOMMENDATIONS
Squats, lunges, and leg presses with weights 5 - 20 kgs
Push-ups, pull-ups, and military presses
Sit-ups, chin-ups, bicycle kick, leg raise, abdominal exercises, planks
Kettlebell - Lunges, Squats, overhead press
Training Plan example:
We have attached the training log of Bisesh’s when preparing for Baruntse climb and he will follow a similar time frame and routines for other 8000M+ expeditions.
Recommended Book for Mountain training: Training for the New Alpinism (Click here)
When you near your expedition date, begin making your workouts more mountaineering specific with hikes and climbs and occasional interval sessions aimed at broadening your range of comfort at various effort levels. Nothing beats the old and tested method of long hikes in uneven and steep terrains (adding weights to on your backpack) which best replicates the enviroment you are going to be in when climbing in Nepal, Pakistan or anywhere around the world.
P.S - Make sure you stretch after every long interval training. Stretching helps reduce muscular tension and increases flexibility.
Preparing yourself by committing to weekly training routines is very important. Expedition in the mountains/Himalayas requires a lot of physical, mental, and psychological toughness. This nature of activity demands athlete-level fitness. It is about putting yourself in the uncomfortable zone and pushing yourself to higher limits to see what you as a person can achieve. Mountaineering expeditions of any type should not be underestimated. The journey is a challenge in itself. It will push you out of your comfort zone and you will need to dig deeper mentally and physically. It is worth every effort and this will be your life’s greatest adventure. On a plus side, it will motivate you to lead a healthy and inspiring life.
Now you know how you have to train for mountain expeditions. Get yourself out there, enjoy your training, and stay fit and together with Namas Adventure’s team and like-minded adventurers, let’s take on your expeditions into Mera Peak, Island Peak, Aconcagua, Amadablam, or other higher mountains. Happy Adventure.
Article references
Live strong: https://www.livestrong.com/article/534286-six-components-of-fitness-related-to-motor-skills/
Very well fit: https://www.verywellfit.com/interval-training-workouts-3120774
Shape.com: https://www.shape.com/fitness/workouts/interval-training-short-workouts-really-pay
Here is a video of Chad Kellogg's training for Everest.
If you do have any more questions, please ask us below in the comment section or you can email us at bookings@namasadventure.com and our team will get back to you as soon as they can.
Stay well. Challenge yourself. Dare great things and live your story.
Equipment checklist for Mountain / Peak climbing from 4000 - 7000M
EQUIPMENT CHECKLIST FOR MOUNTAIN / PEAK CLIMBING FROM 4000 - 7000M
Photo by David Ruiz Luna ( Island Peak, Nepal )
Good solid gears are an integral part of a successful peak or mountain climbing. We have listed the absolute necessities of mountain climbing gears to help you on your journey to the summit. Please consider each item carefully and be sure you understand the function of each piece of equipment before you substitute or delete items from your duffle. Keep in mind that this list has been carefully compiled by our Everest and other 6000+ expedition leaders. Don't cut corners on the quality of your gear. The listed gears below are for mountain and Himalayan peak from 4000 to 7000M. Expeditions which we operate at Namas adventure ( Mera Peak, Island peak, Mount Blanc, Aconcagua ), are the recommended essential gear for extreme conditions.
Climbing Gears
Helmet ( Black diamond, Petzel or similar brands)
Alpine Ice Axe (65-70cm)
A mountaineering harness, with adjustable leg loops.
Carabineers: 3 lockings and 6 regular
Rappel device: ATC or figure 8
Trekking Poles
Mountaineering boots
Mountaineering boots suitable for above 6000m; La Sportiva GSM2 or equivalent
Hiking shoes for the trek to base camp with ankle protection (North face, Salomon, La Sportiva, or similar mountain brands )
Gaiters
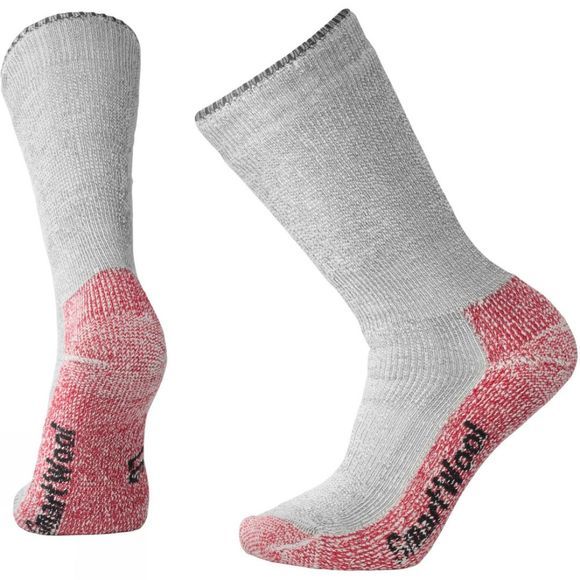
Thermal mountaineering socks or equivalent: 6 pairs
Liner socks or equivalent: 3 pairs
Flip flops / Slippers
Body Layers
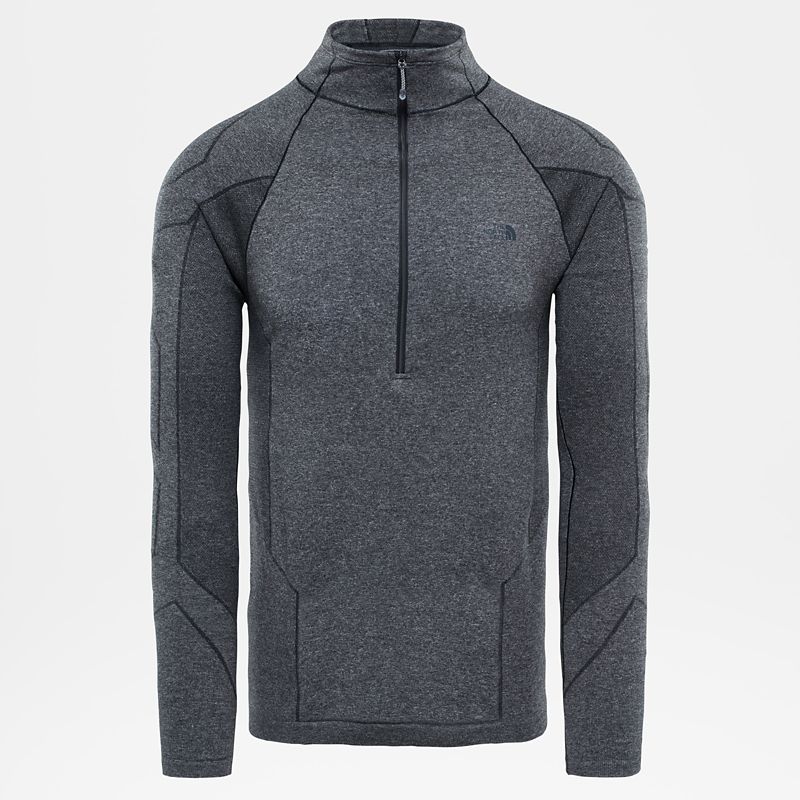
2 merino base layers: top/bottom set
1 mid-layer top: breathable Underwear
Lightweight Nylon Pants: 1 pair
Hooded Soft Shell jacket To be worn over other layers
Soft Shell Guide Pants: Gore-tex and breathable
Hooded Hard Shell: Gore-tex and breathable
Hard Shell Pants: Gore-tex and breathable, big enough to wear over your guide trousers
Insulated Down Jacket with hood: North face Himalayan parka or equivalent with 600-800 down fills
Insulated synthetic Pants: Worn primarily when climbing below Camp 2
Long jones equivalent to Rab’s Polartec or equivalent: 2 pairs
Hiking Shorts
Headgear and Handwear
Wool hat (ski hat)
Sunhat: To shade your face/neck from the sun on a hot day
Buff: To protect your neck/face from the sun
Under helmet Balaclava
Glacier glasses: Full protection with side covers or wrap around
Ski goggles: To be worn on summit day in the event of high winds
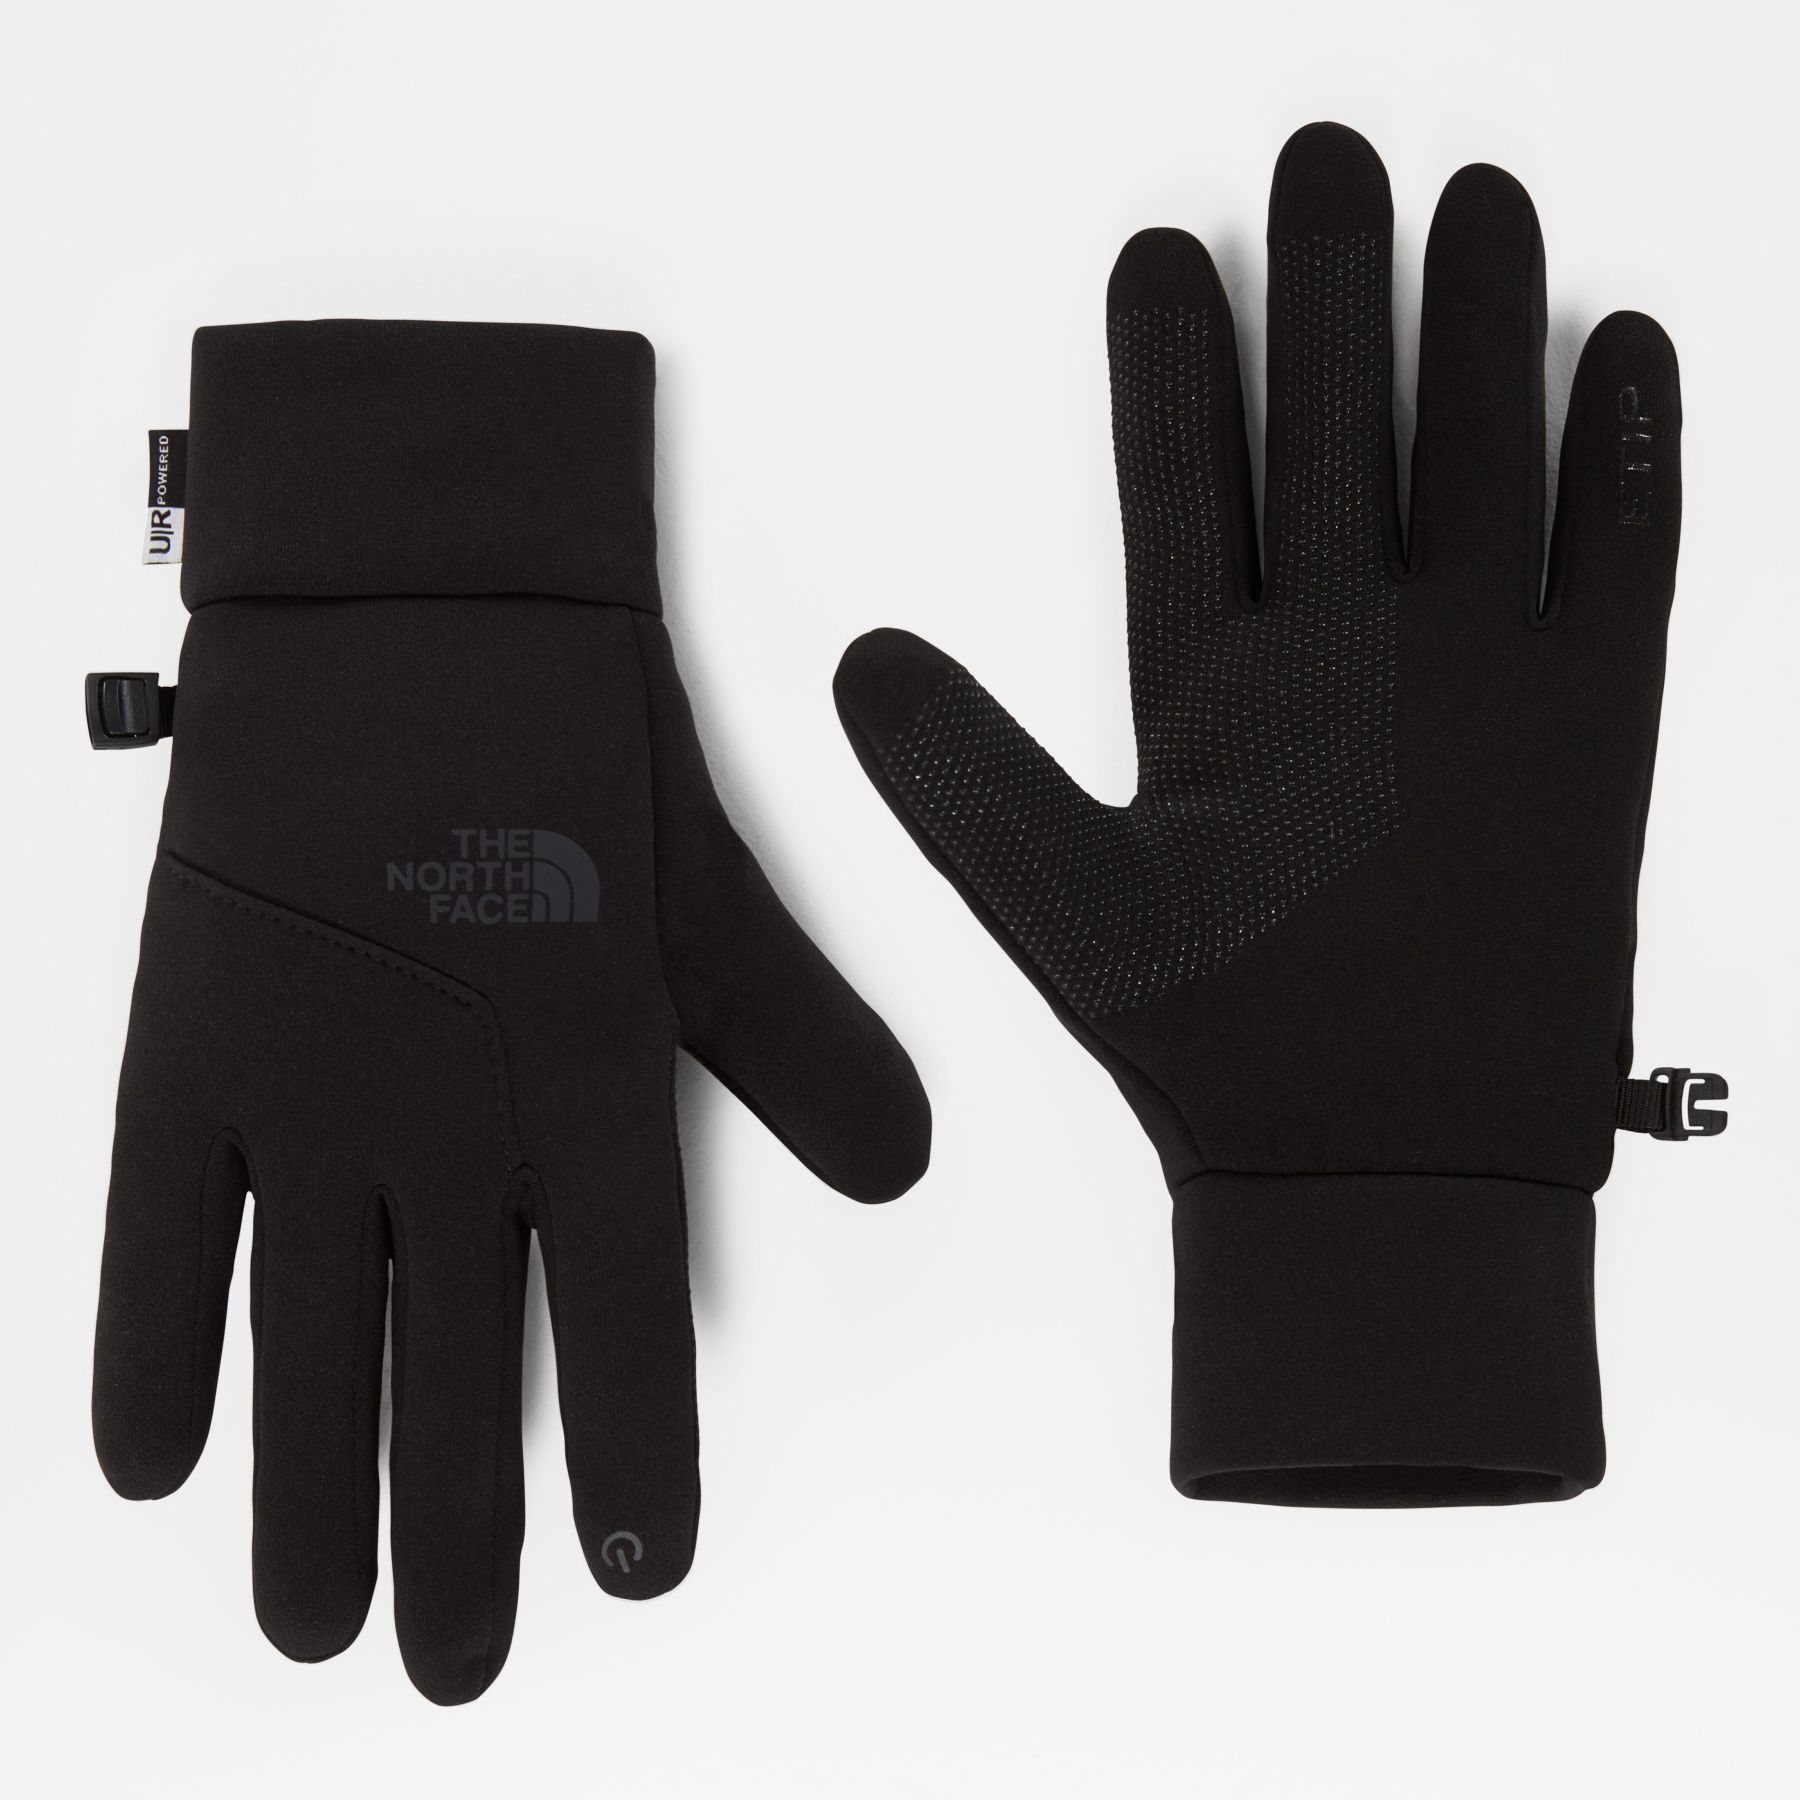
Lightweight synthetic liner gloves: For wearing on a hot day; 2 pairs
Softshell gloves: To wear for moderate cold/wind
Shell glove with insulated liner: To wear for severe cold / strong wind
Expedition Mitts for bad weather
Equipment & Personal Gears
Expedition Backpack: 65L pack should be large enough.
25L - 35LTrekking Backpack: To carry on the trek to base camp. Simple and light.
Sleeping Bag: Rated to at least -20 to - 40°F. Goose down or synthetic
Compression stuff sacks: 3 large ones; for reducing the volume of the sleeping bag, down parka, etc., in your pack.
High-Quality sleeping pad (1 for base camp and 1 for high camps): Full length is preferred.
Closed-cell foam pad: To be used in conjunction with the inflating pad for warmth and comfort when sleeping.
Trekking poles with snow baskets: Adjustable poles
Cup: Plastic insulated cup for drinking
Bowl: A plastic bowl for eating dinner or breakfast
Spoon: Plastic spoon
Head torch: 1 normal for base camp and 1 with remote battery systems for climbing at night. This will be used whilst climbing at night
Multisport watch with Altimeter & GPS navigation
Sunscreen: SPF 50 or above
Lip balm with sunblock
Water bottles: 2 wide mouth bottles with 1-liter capacity
Water bottle parkas (2): fully insulated with zip opening
Thermos: 1 liter (buy good ones to keep your water warm for longer hours)
Pee bottle: 1-liter minimum bottle for convenience at night in the tent
Toiletry bag: Include toilet paper and hand sanitizer and a small towel
Hand warmers & toe warmers
Penknife or multi-tool (optional)
Camera: bring extra batteries and memory cards
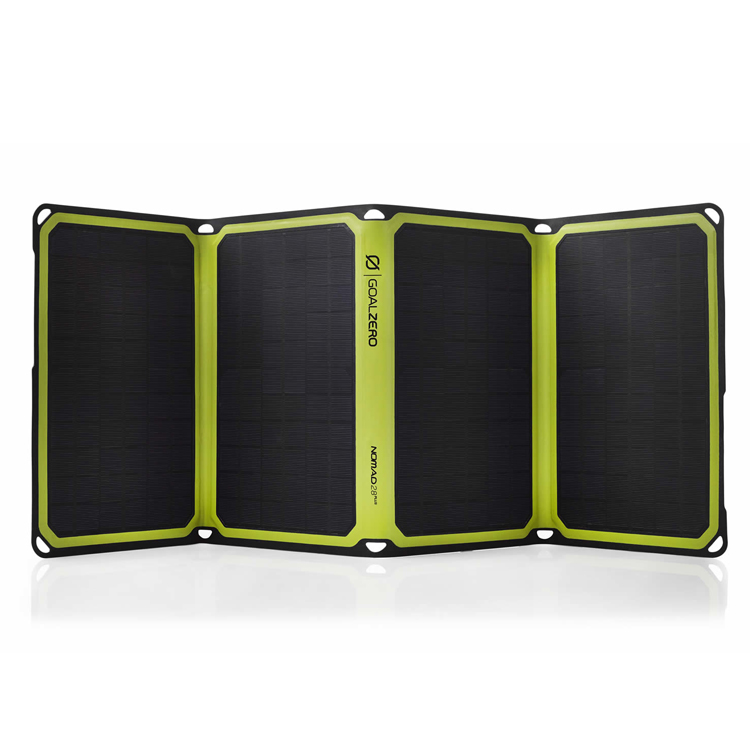
Personal solar charging system (optional but recommended)
Travel Clothes
Duffel bags (2) with locks: To transport equipment
Base Camp extra Items: Kindle, I pad, smartphone, etc
Snack food: Please bring a few days of your favorite climbing snack food such as bars, energy gels, nuts, beef jerky, etc. A variety of salty and sweet is recommended to give you extra energy.
Small personal first aid kit: Include athletic tape, Band-Aid’s, Ibuprofen, blister care, personal medications, etc
Medications and Prescriptions: Bring antibiotics (Azithromycin, etc.), and altitude medicine such as Diamox and dexamethasone*
Apart from your personal clothes and shoes most of the mountain gears, sleeping bags, and mats can be rented when you are planning an expedition in Nepal, France, or Argentina.
Companies recommended
Climbing Gears - Black diamond, Petzl, Grivel
Mountaineering boots - La Sportiva, Kailas, Mammut, Scarpa
Trekking Boots - La Sportiva, Northface, Patagonia, Mammut
Body Layers - Northface, Mountain hardware, Mammut, Patagonia, Arctyrex, Marmot, Rab
Headgear and hand wear - Northface, Mountain hardware, Patagonia, Mammut
Glasses - Julbo
Other gear companies: Exped, Garmin, Goal zero, Bio lite, MSR Gears
If you do have any more questions, please ask us below in the comment section or you can email us at bookings@namasadventure.com and our team will get back to you as soon as they can.
Stay well. Challenge yourself. Dare great things and live your story.


