Everything you need to know about Island Peak climbing - Namas Adventure
Everything you need to know about
Island Peak 6189M climb
Planning on climbing Island Peak 6189M?
Here is everything you need to know about climbing this most popular 6000M+ peak in Nepal. Since 2016 we have been leading climbing groups to Island Peak and with our suggestions, our clients have been successfully able to enjoy while achieving their summit success.
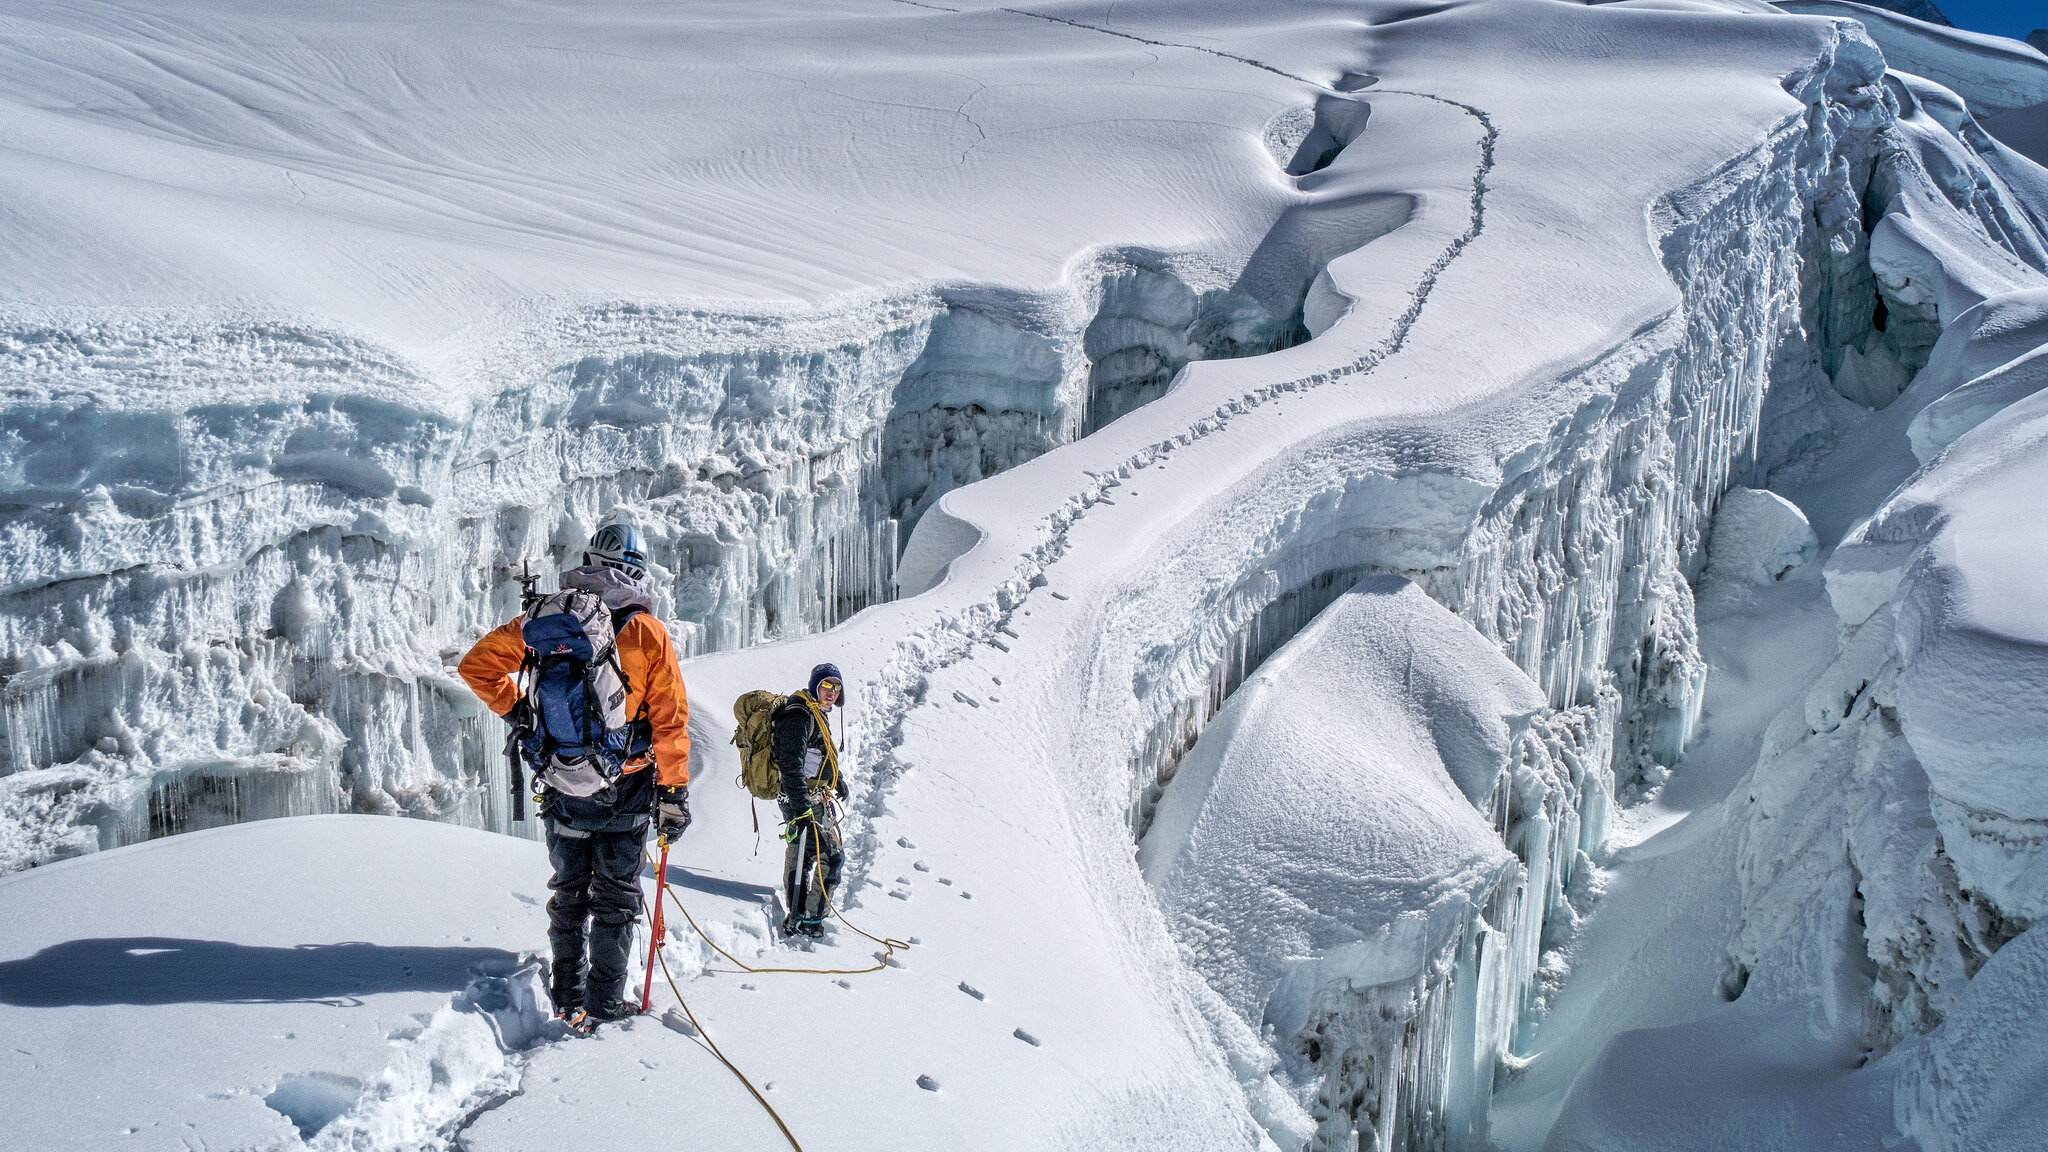
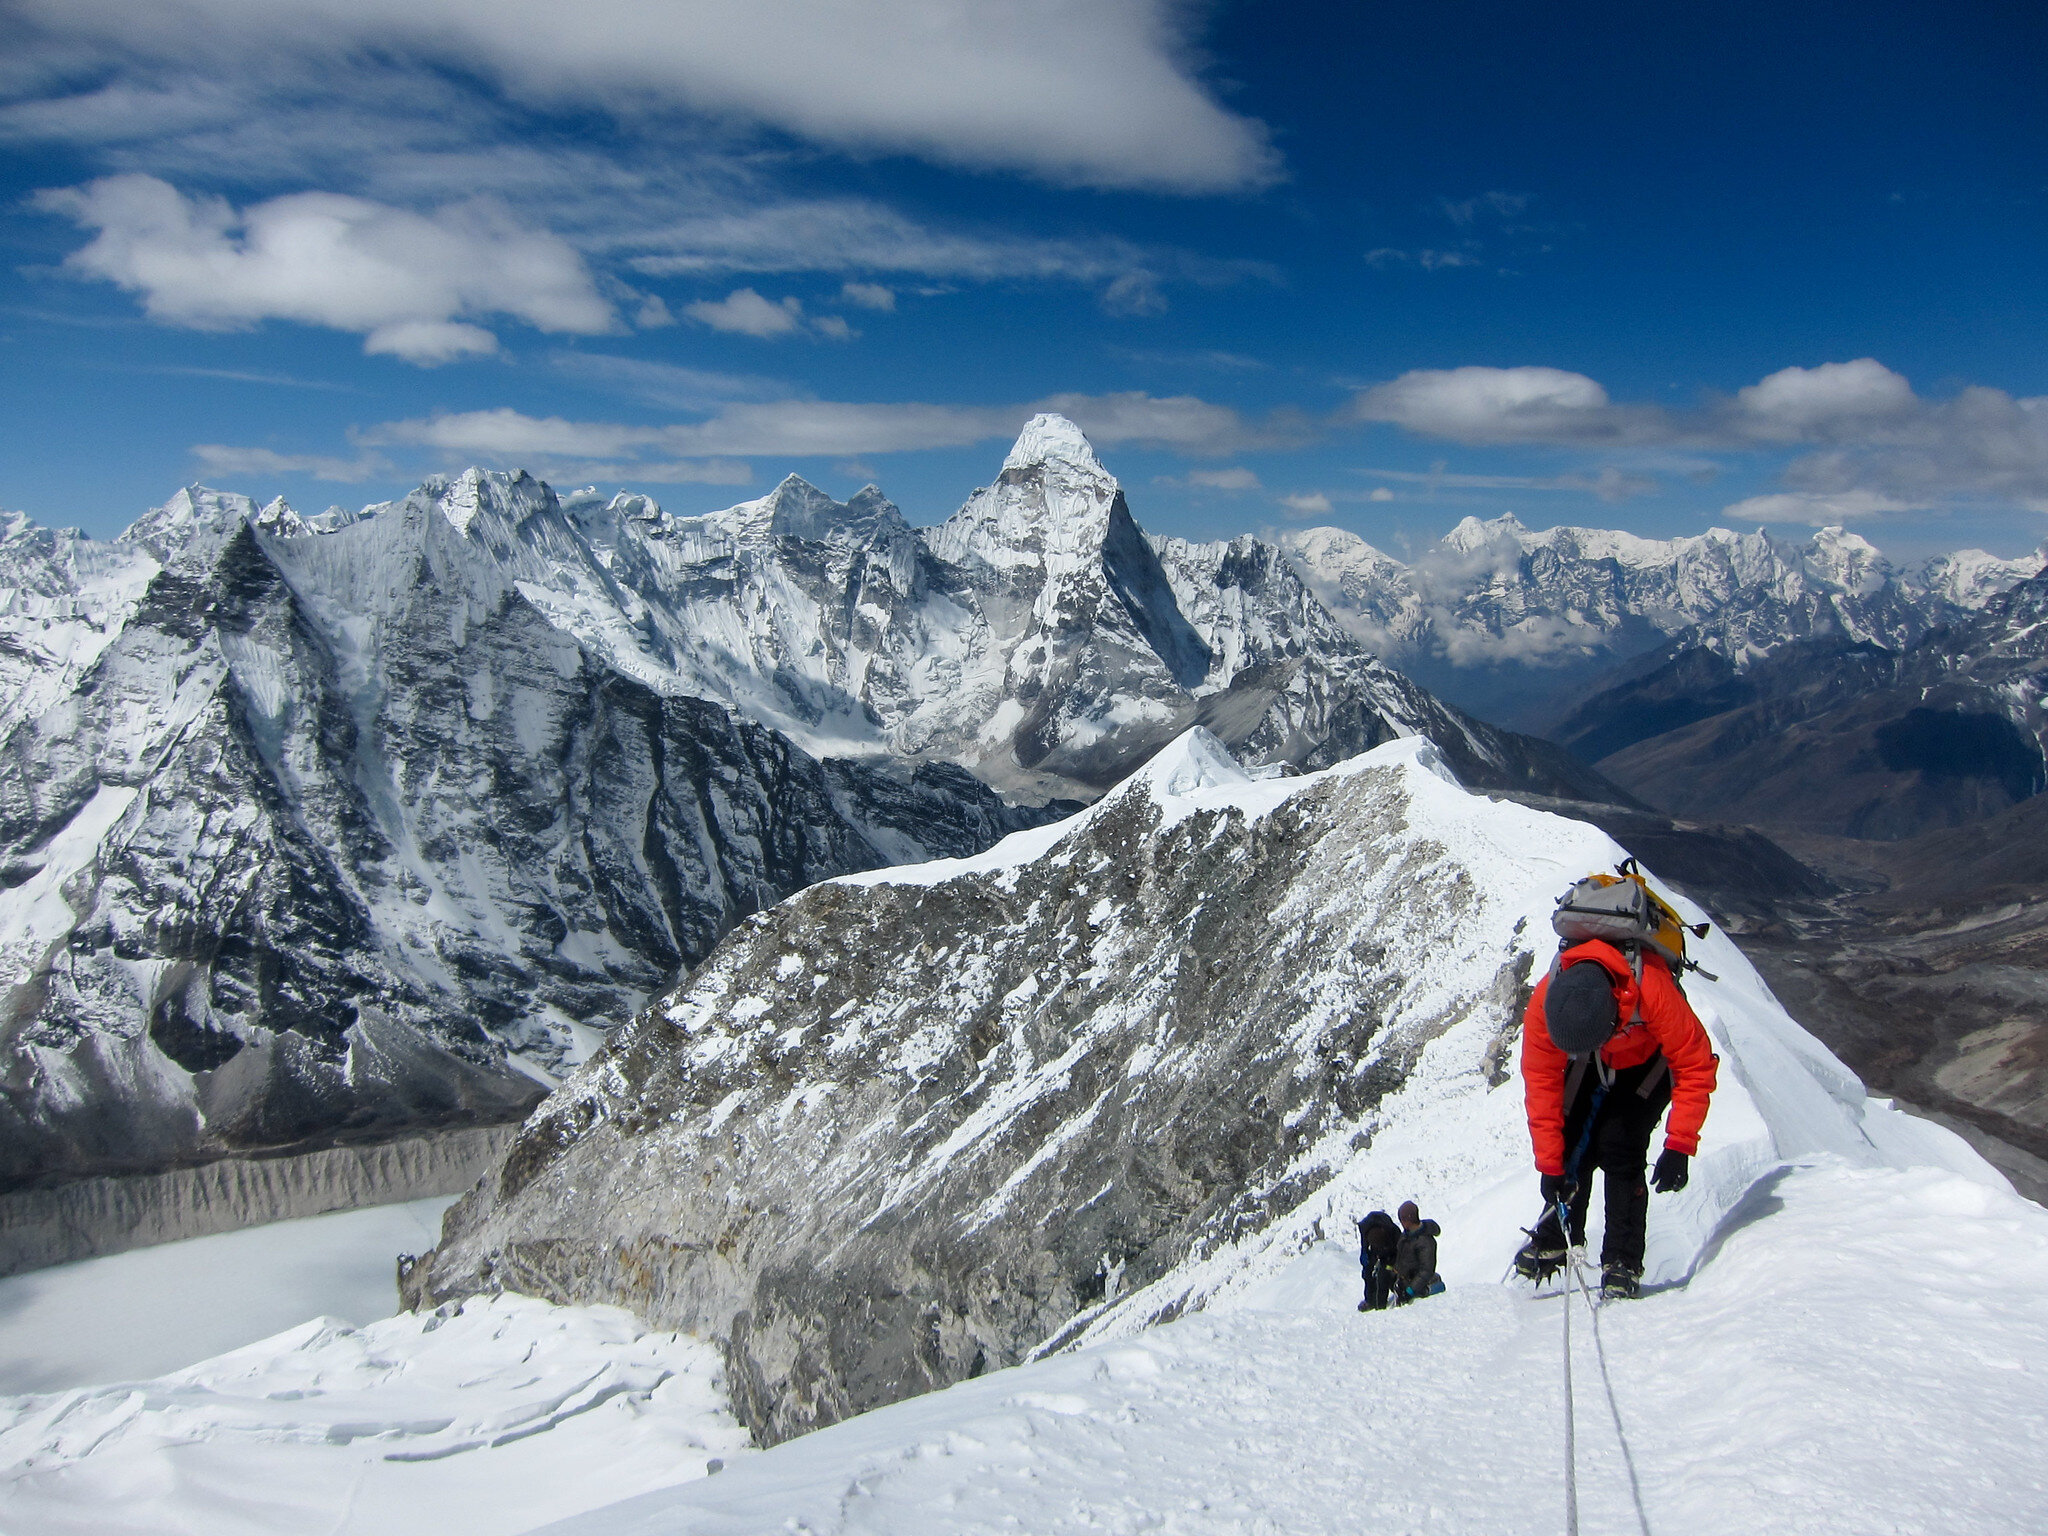
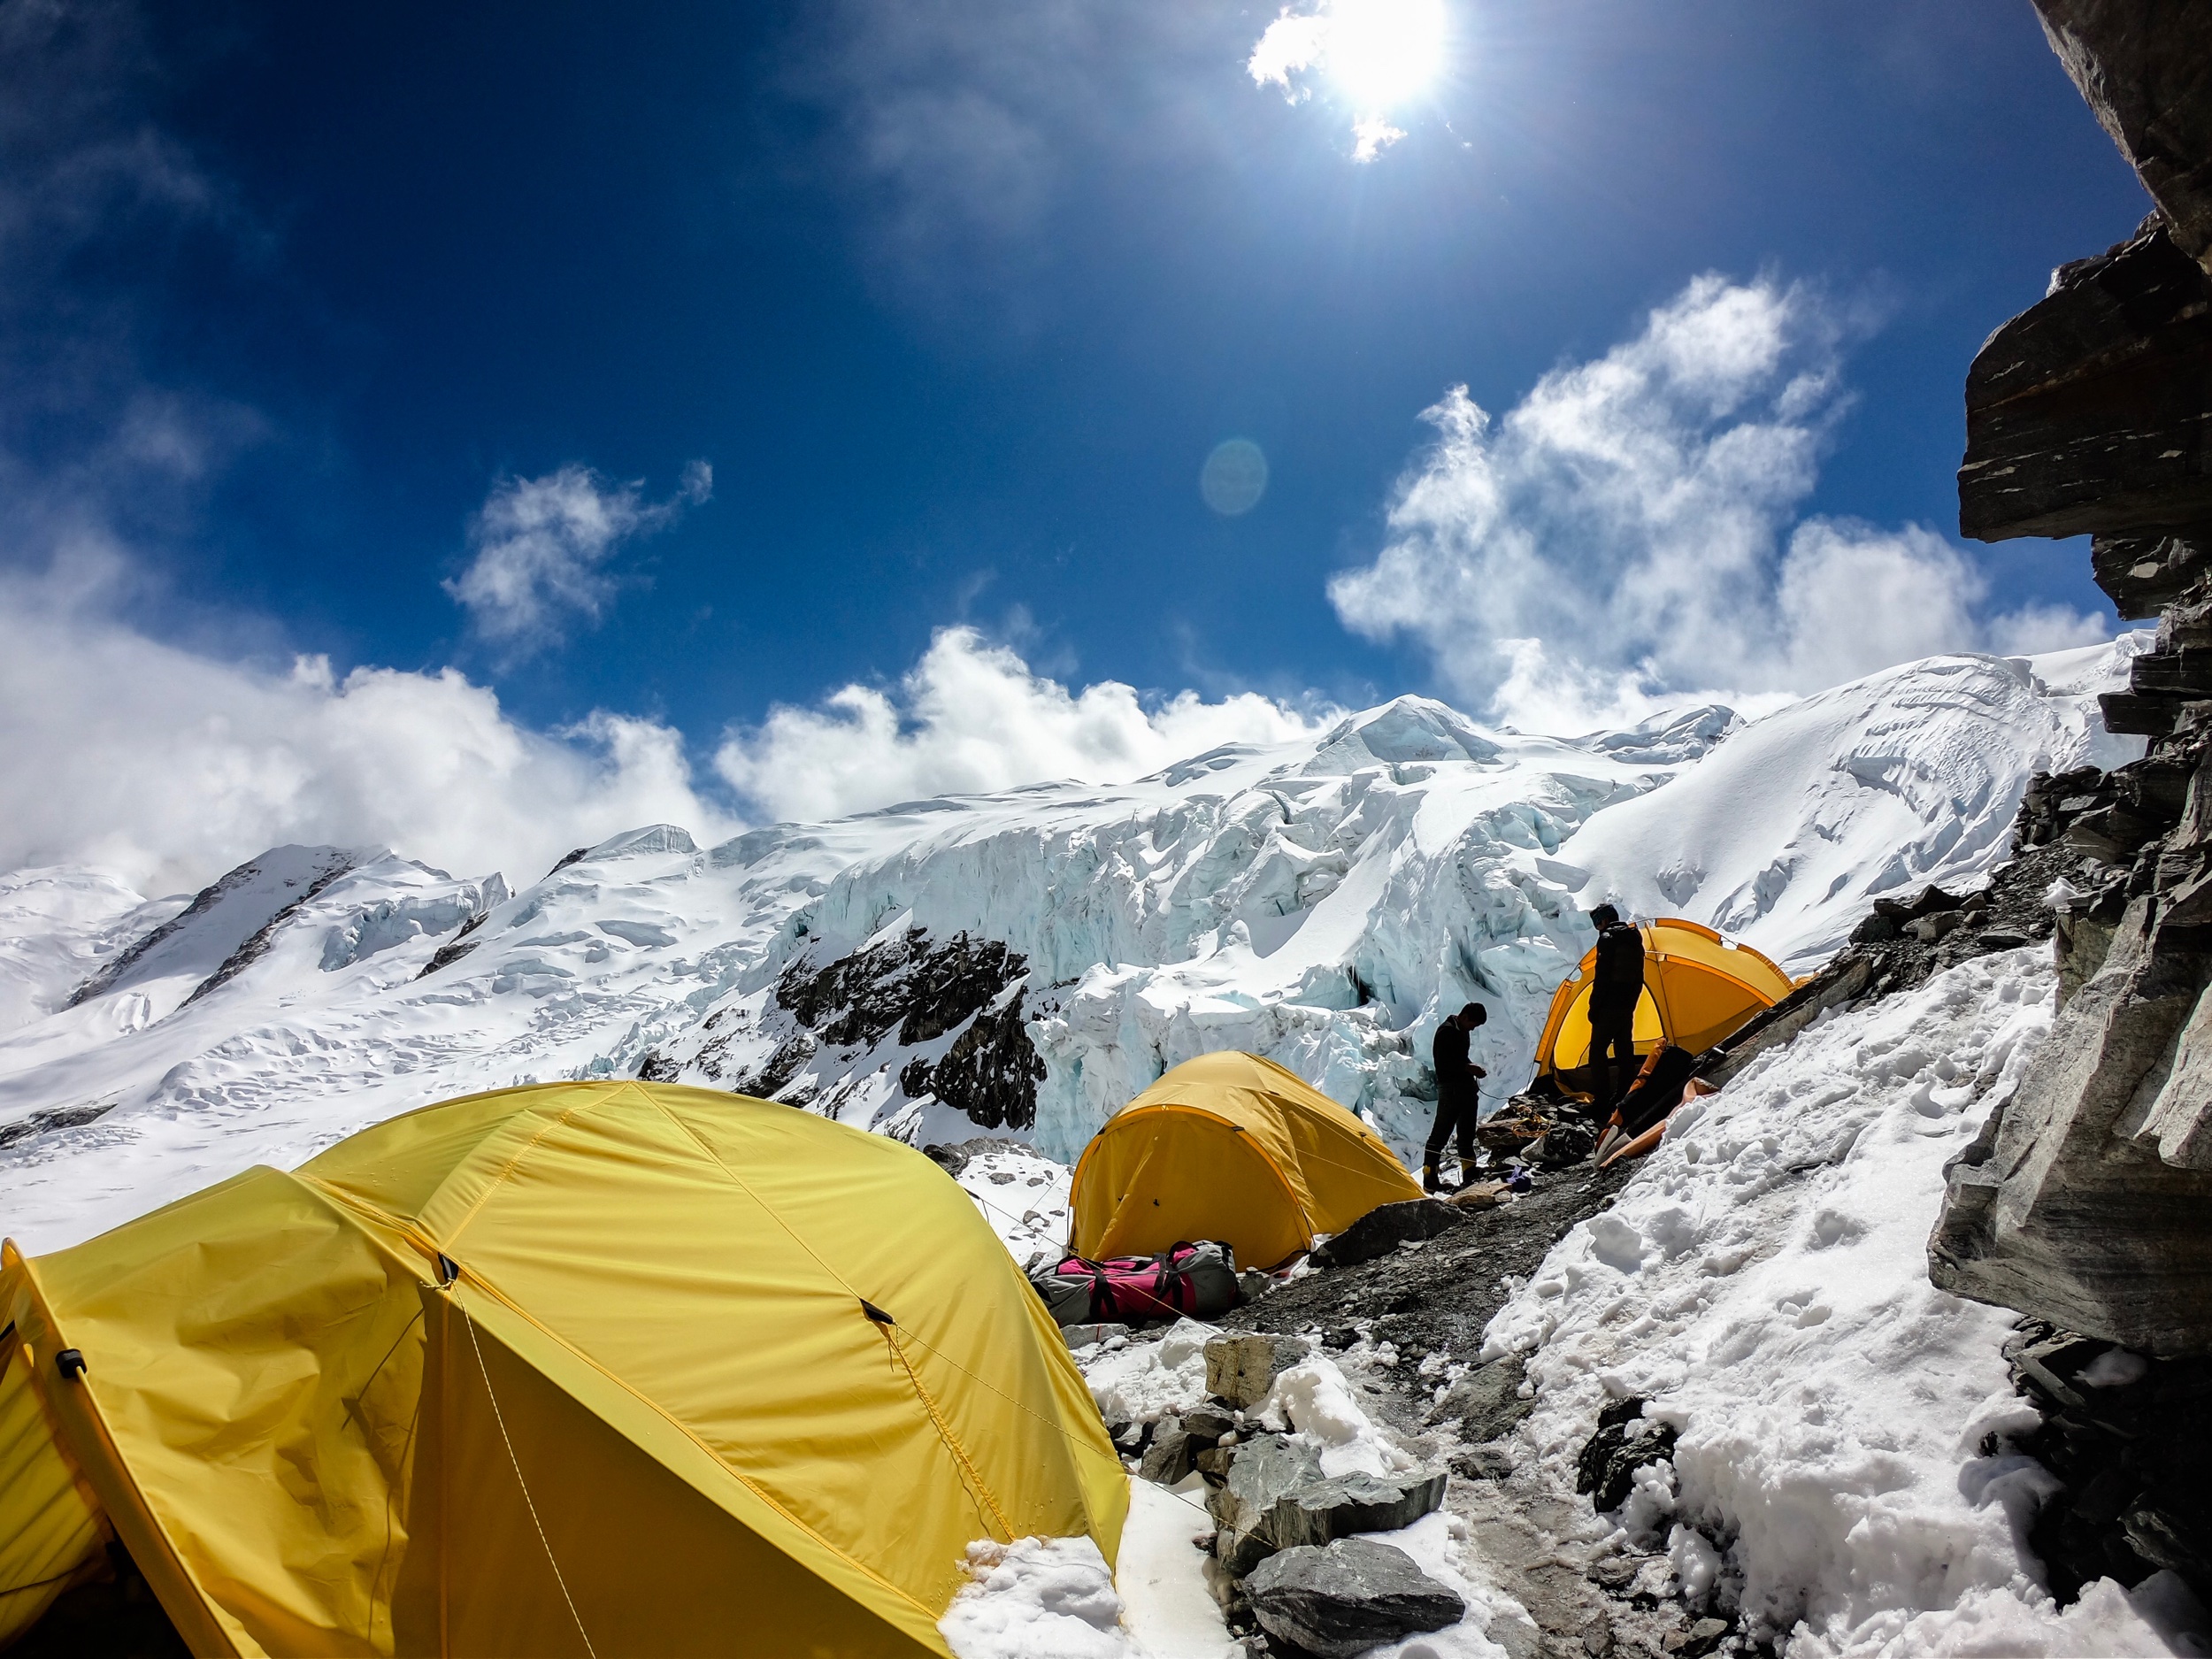
Photo by - Brad
1) When is the best time to climb Island Peak?
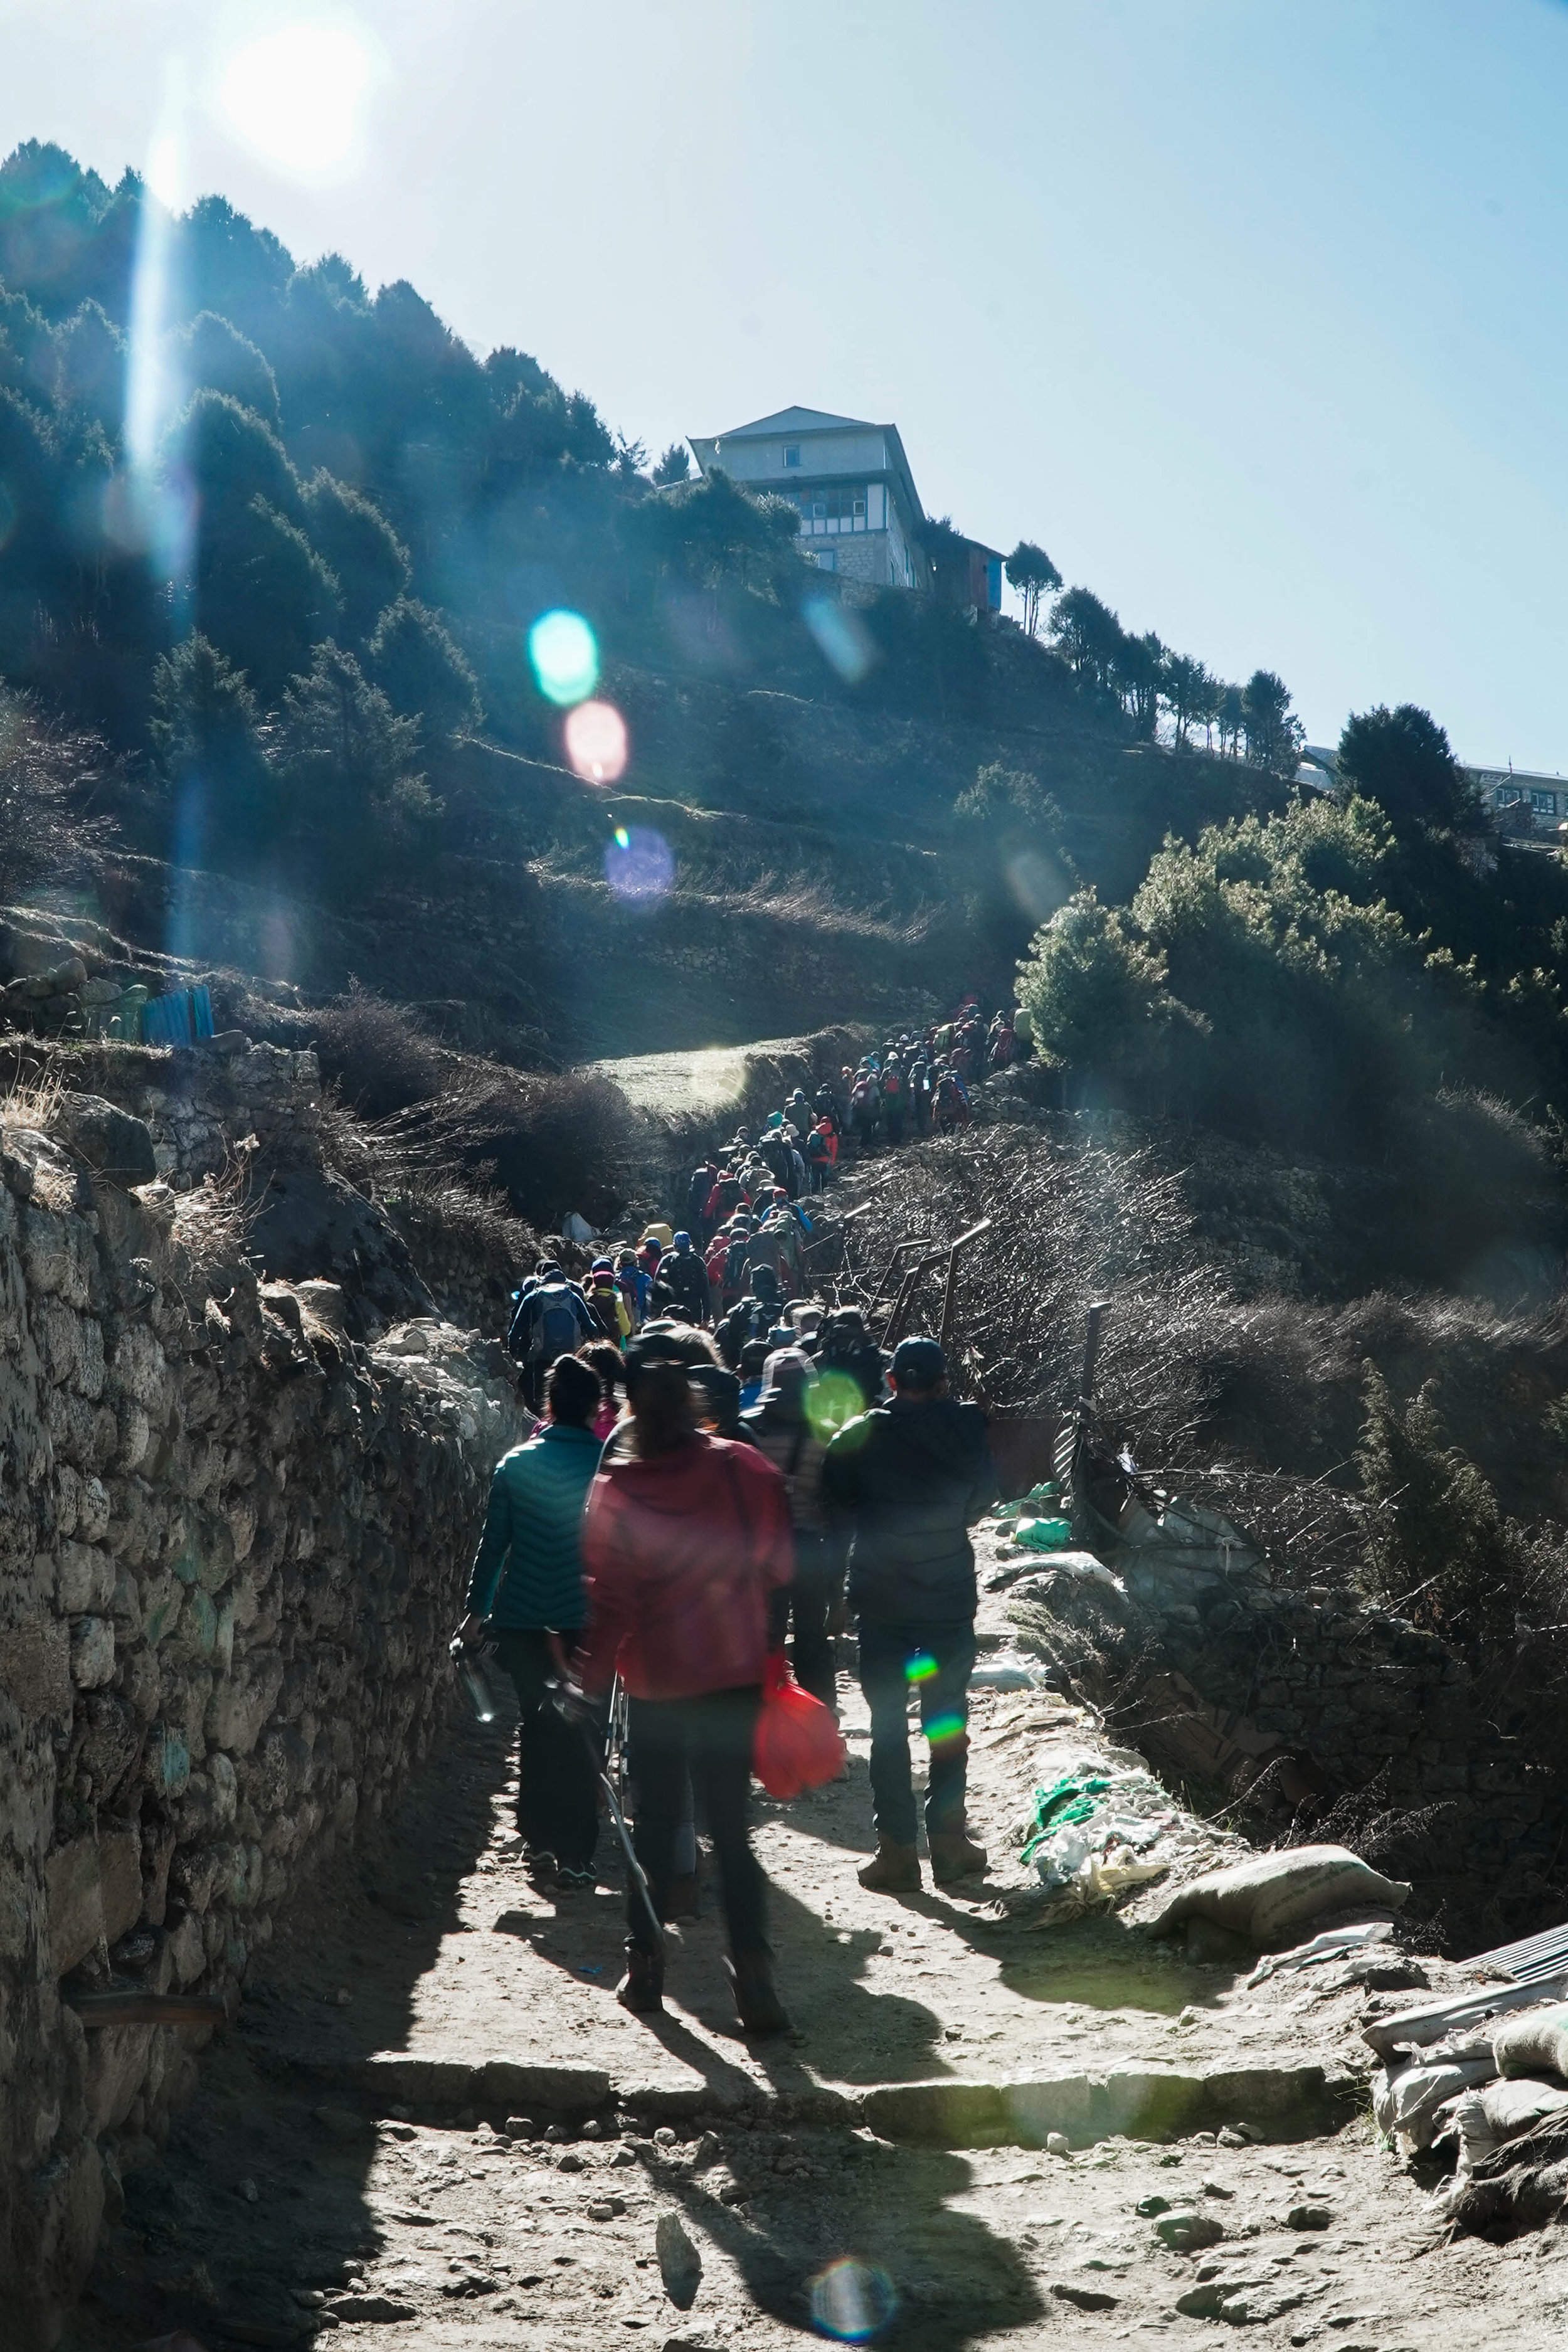
For most climbers, Island Peak is best suited to climb during Spring (March-May) or Autumn (Mid-September - October) on any given year. The weather during these times in the Himalayan region and most of the places in Nepal remains stable, which is perfect for adventure activities. Spring season is chosen for most of the 8000+M expeditions in the Everest region, so you can expect trekkers’ crowd on the trails. However, once you reach your Island peak camping site, you can see the numbers dropping down drastically as the majority of the people on the trails are there for trekking.
Winter climbing is still possible, but we recommend this for individuals with a vast amount of mountaineering experiences, almost at the pro athletes’ level. Temperature is very low and weather conditions are harsh. It can be down to -25/-30 C and winds can pick up to 60mph+.
2) Are guides necessary for Island Peak?
Without the help of Sherpa guiding leaders, we do not recommend climbing in the Himalayas, unless you are a mountain guide yourself. You will have to walk through support ladders with crampons on while crossing the crevasse openings. The final climb to the summit is a 90-degree vertical climb where you will have to use ascenders to climb all the way up to the summit. Climbing a peak is not just about reaching the summit. You also need to consider the effort on descending back safely which can be equally exhausting as this requires your full focus as well. You will have to use atc or figure 8 gears to descend below from the peak.
We do collect mandatory pre-tour tips, which include summit bonus, tips to all the staff members involved in your climbing, porters, assistant guides, airport pickup/drop off drivers, and hotel helpers/securities. We fairly distribute these tips based on the type and amount of work each member has performed. Additionally, if our guests want to make extra personal tips, then they are more than welcome to do so.
3) What is the best acclimatisation itinerary for Island Peak climb?
When we want to commit to climbing adventure at a high altitude, slow and steady is the right way. Our itineraries have been refined and designed by our guides with years of climbing and guiding experiences. What we have found in general is that our bodies need an adequate acclimatization period to adapt to the environment after gaining a certain elevation.
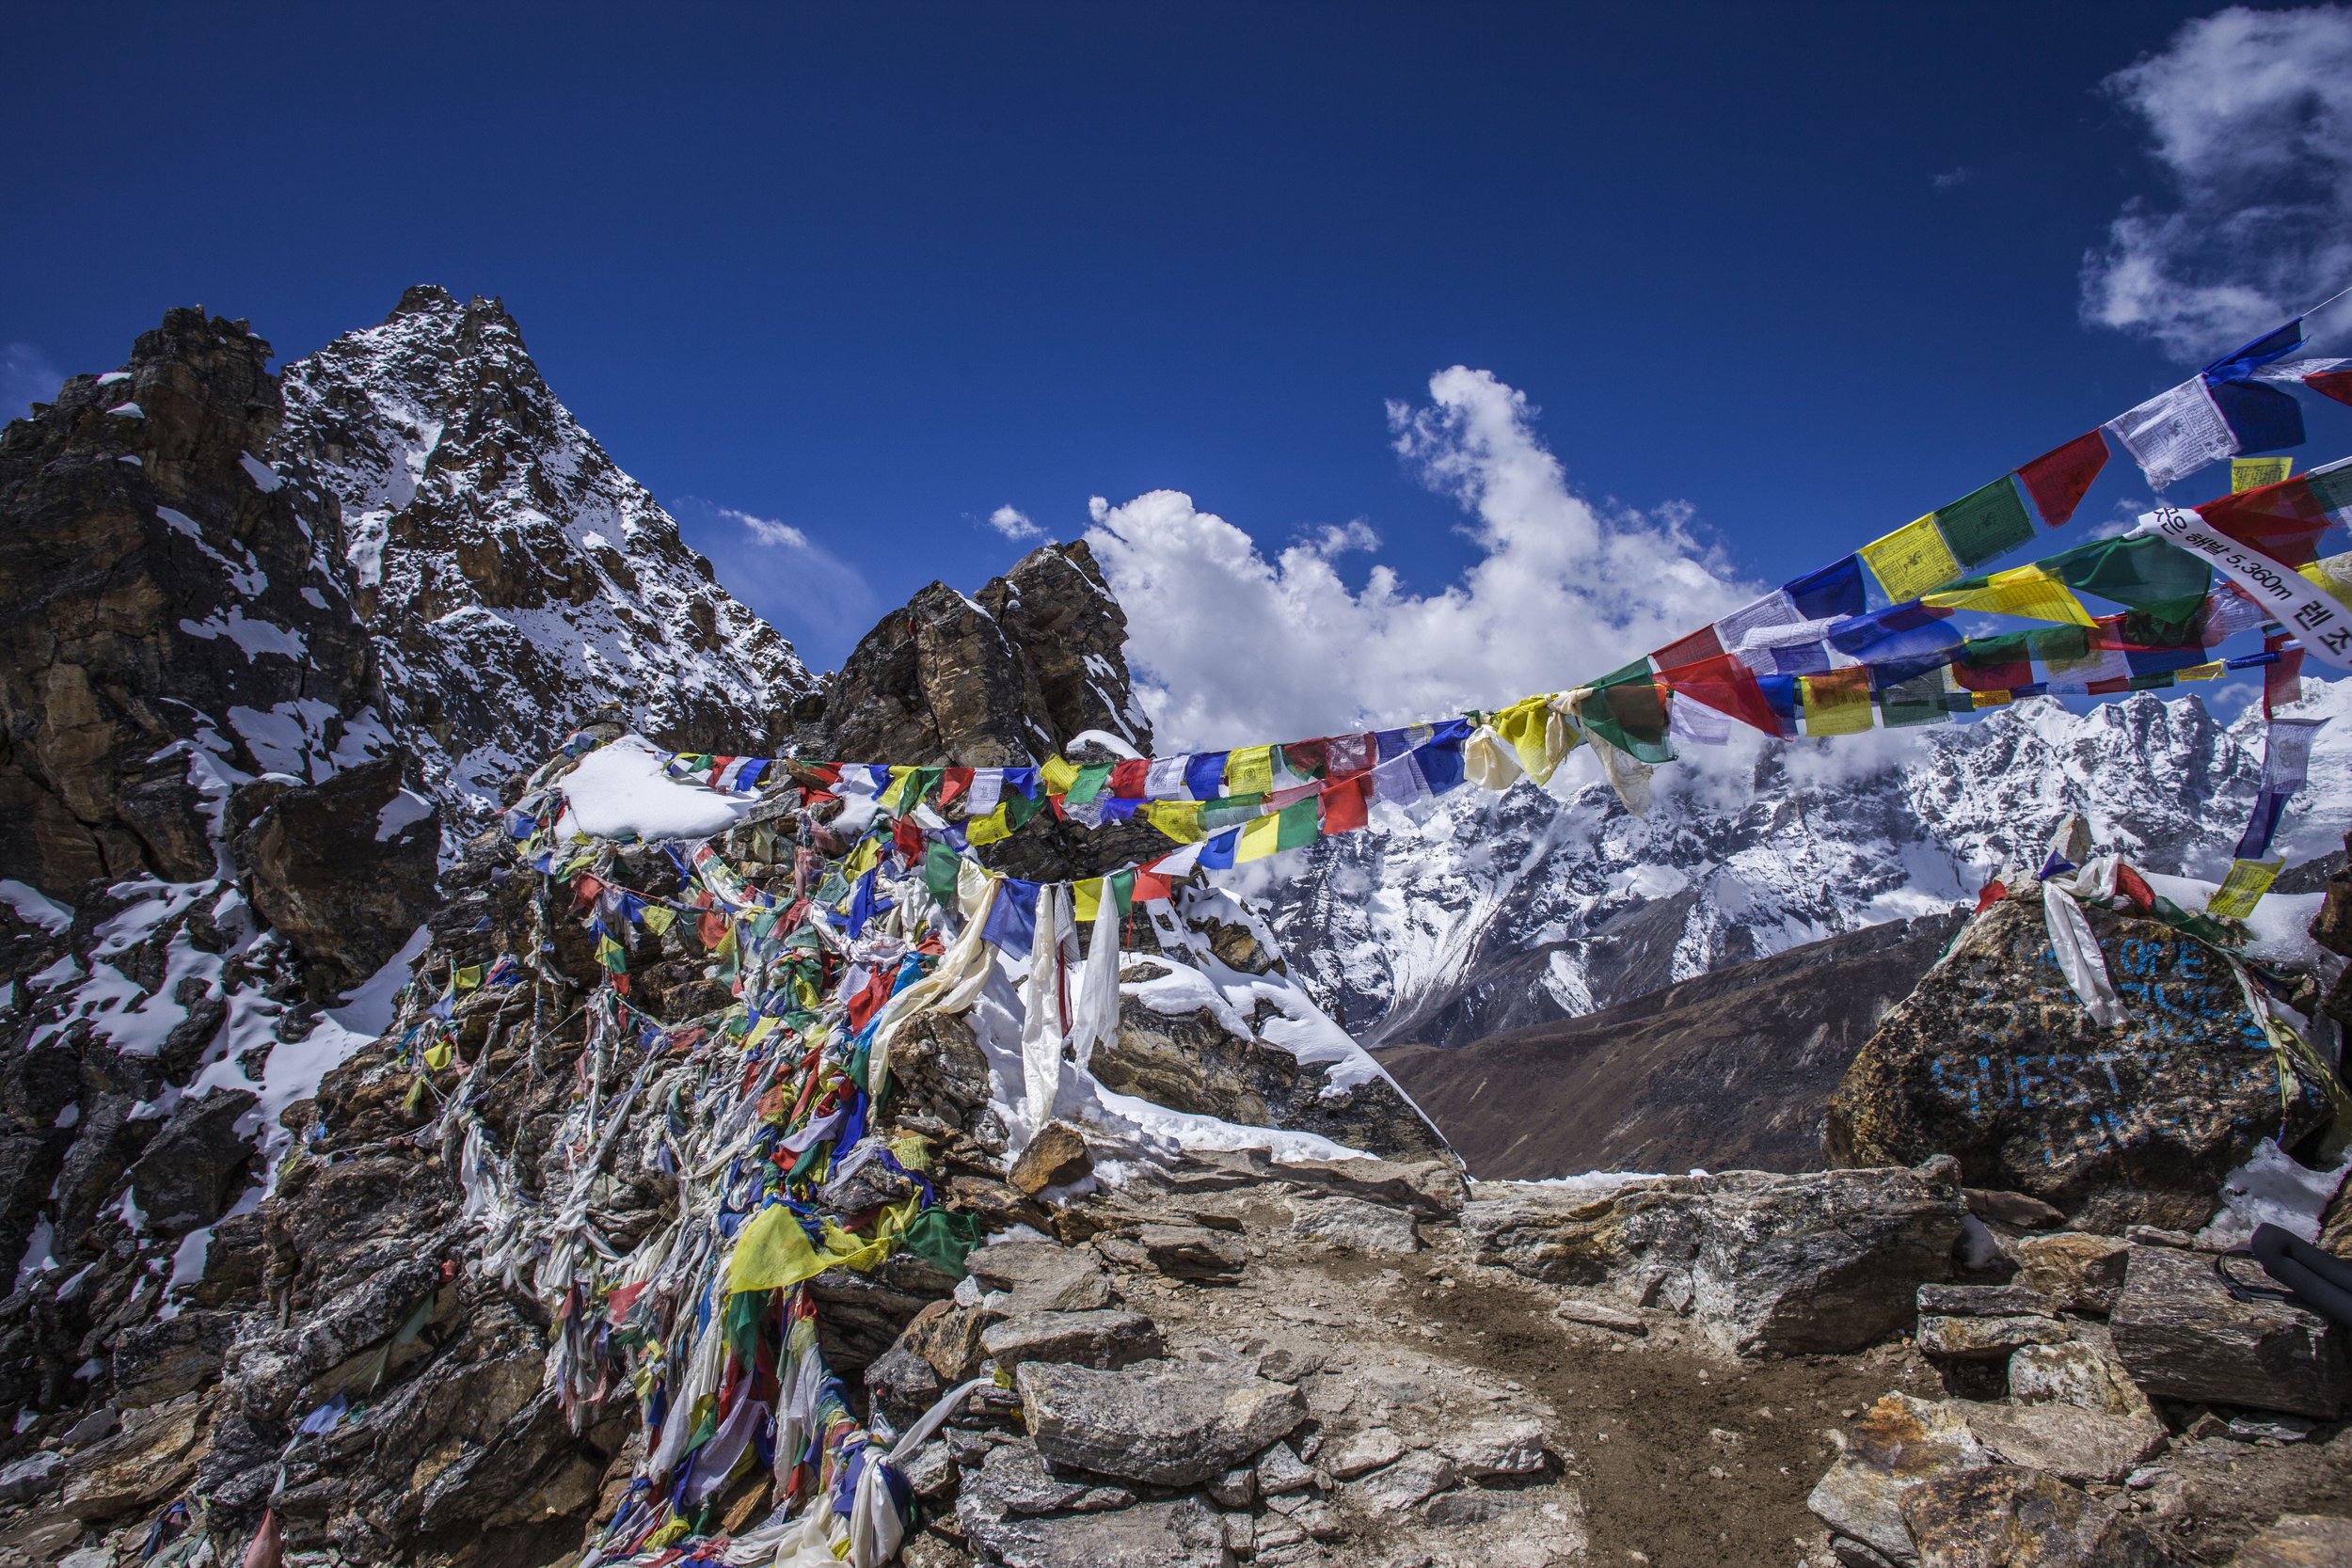
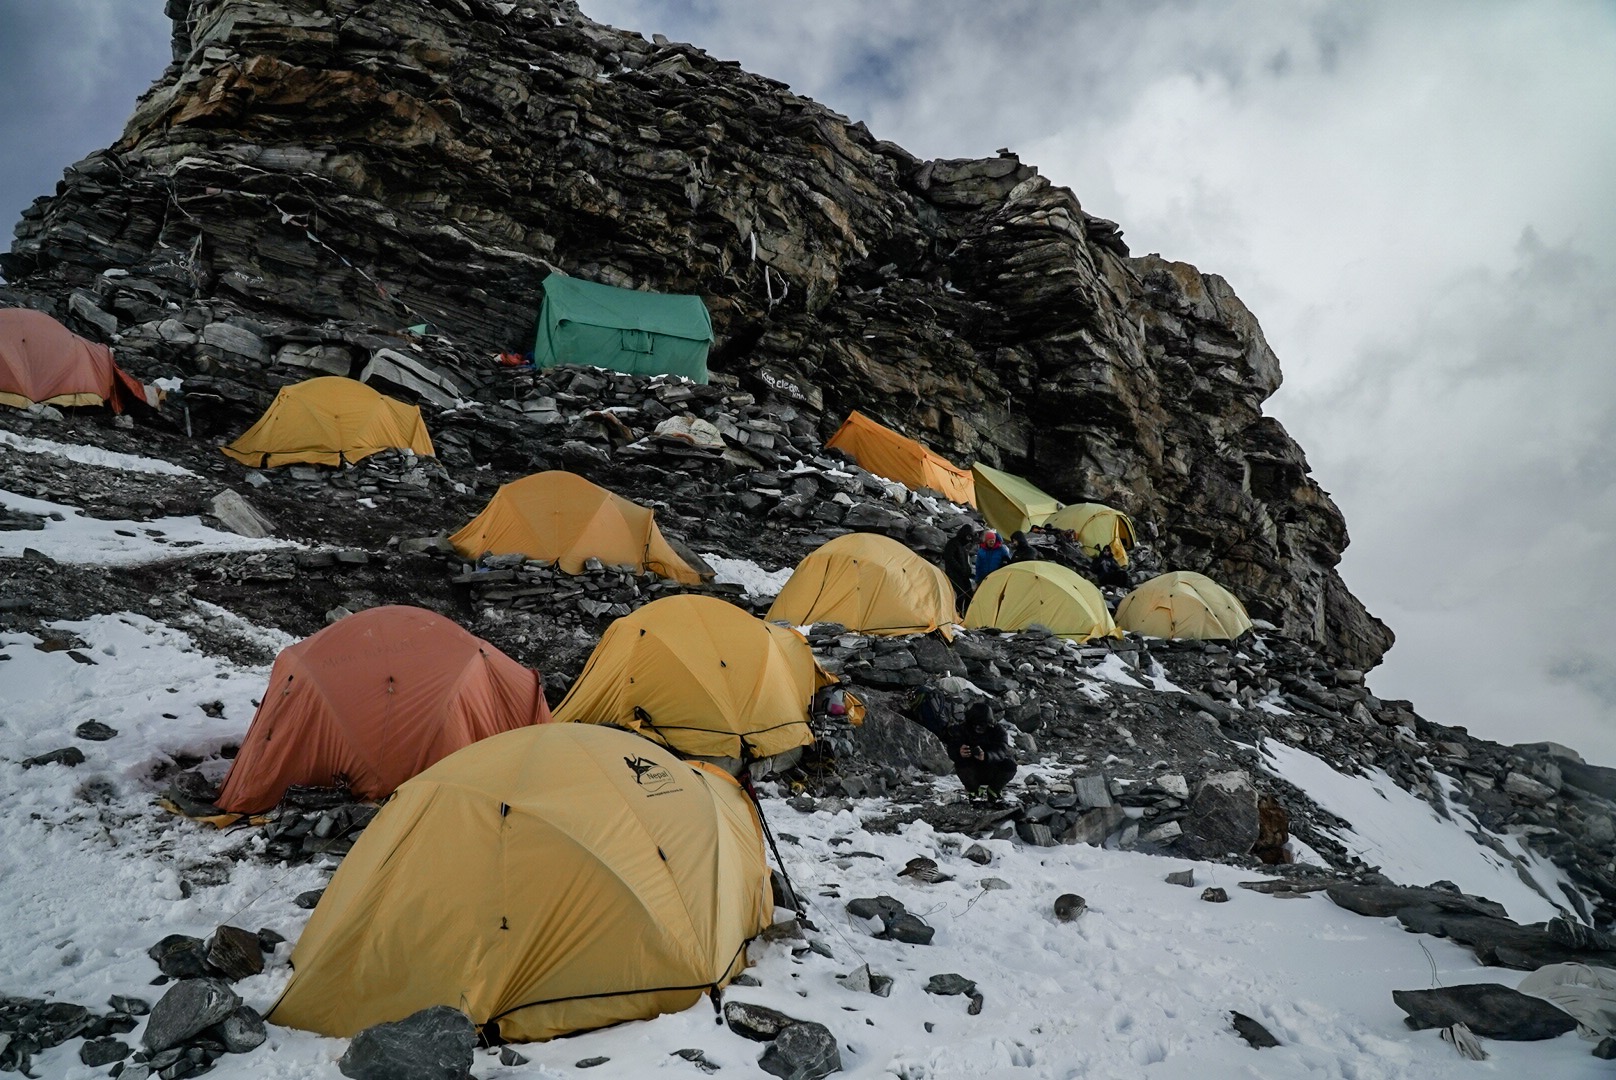
On Island Peak climbing particularly, we highly suggest taking 2 days of acclimatization at Namche Bazar and an additional 2 Days stop at Dingboche. We then make sure your itinerary has both Island Peak base camp and Island Peak high camp afterward. Your body needs these adaptation periods when you are above 5000M. This way you can experience alpine camping, enjoy the Himalayas all around you, and had gained enough strength to make your final climb.
4) What training is required to climb Island Peak? Can you suggest me a training plan?
Island Peak is by no means an easy climb although we grade it as a beginner’s climb. Mountains are graded based on its technical and physical difficulties. For your training, it is very hard to mimic walking on ladders like the ones you will come across when crossing the crevasse. We highly recommend focusing on endurance and strength training. Any type of aerobic exercise, like long-distance running (10-15km) 3 to 4 times a week, cycling (1 hour - 2 hours), hiking gaining elevation with 10-15kgs weights on are some of the suggested training. More on our training mountain expedition blog.
Courses like beginner mountaineering classes are also a helpful tools. You will learn technical skills like climbing with a rope on 5/6 anchor points using ascenders, how to walk with crampons on ice, snow, and rock, and to be efficient with abseiling and overall gear safety checks awareness. Beginner Ice climbing alone is another course that will help you with all the required skills.
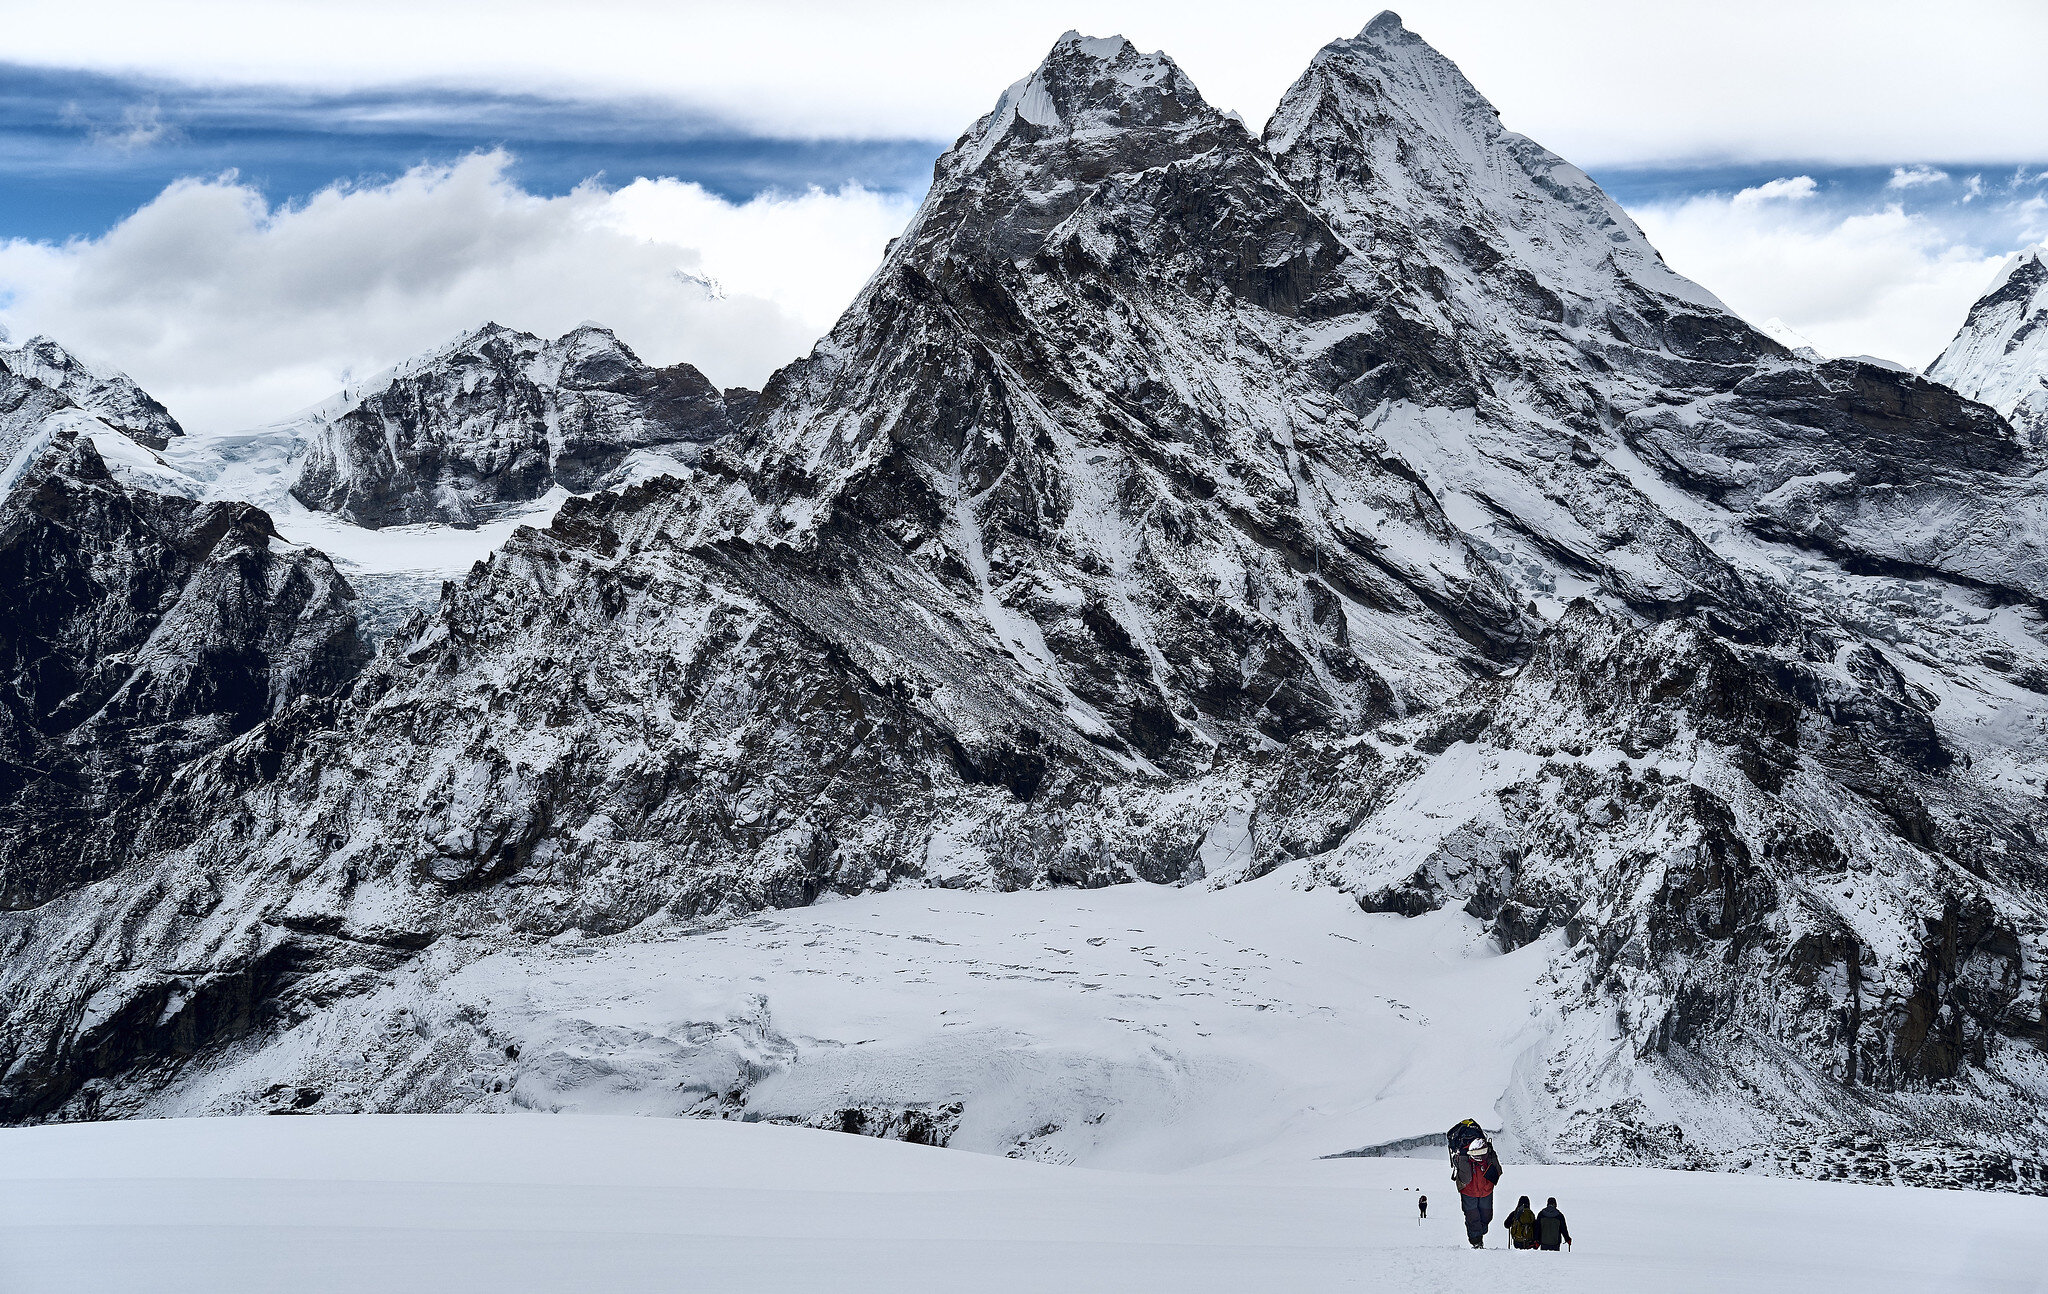
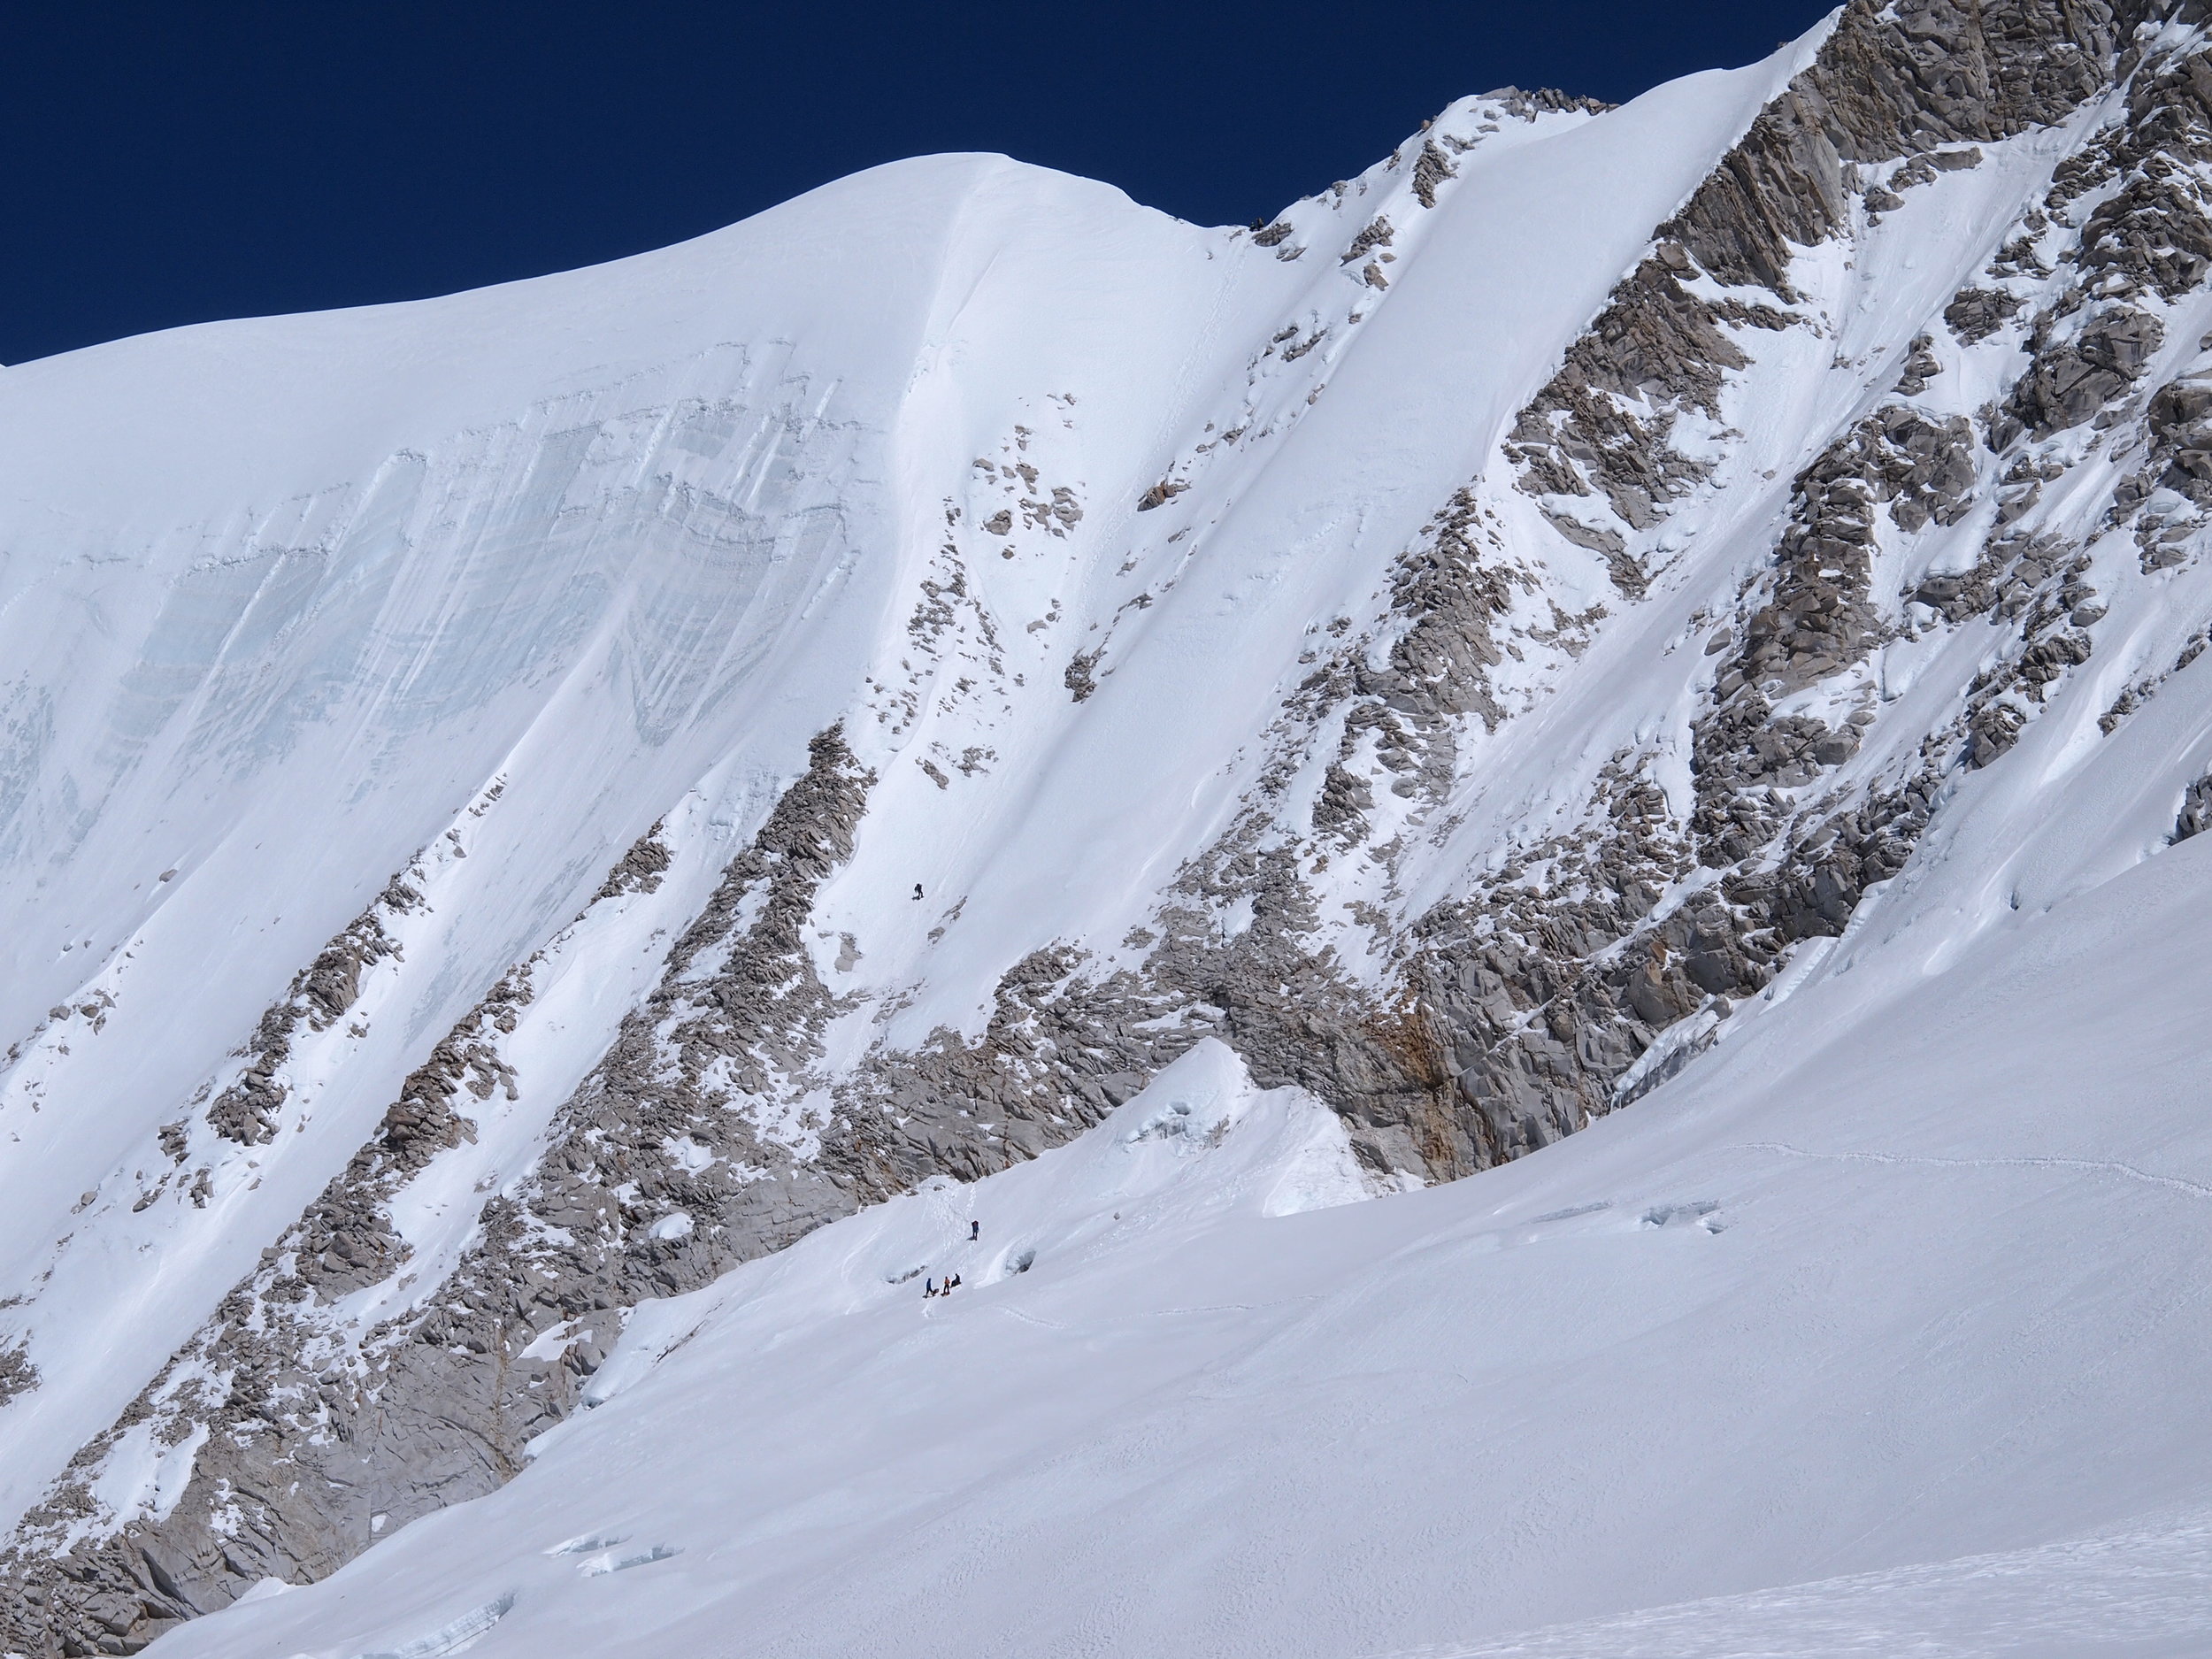
Photo by jemappelleguillaume(flickr)
5) How hard is Island Peak climb?
Island peak is graded at 2B in difficulty. (Alpine grading link).
If you are physically fit, then the final 2 days of your climb are the most difficult sections. Breathing is hard but with proper acclimatization done ahead of time and by staying well hydrated and consuming enough nutrition, you should be able to cope with the altitude. When you finally come across the vertical wall, this will be your final challenge. On top of that, you will be walking for 4-5 hours by the time you reach at this point. All your previous training of endurance and strength training should have prepared your body to face those challenges.
6) What are the clothing and gears - boots required for Island Peak climb (trekking and mountaineering)? Can I rent gears for Island Peak climb?
Choosing the right gear is very important. We advise climbers not to make compromises on the quality of gears and clothing, and to pay attention to layer up comfortably as well. You will depend highly on your clothes to keep you warm enough for the dropping temperatures at nighttime which can go down to -10/-15. Please check our equipment blog for recommended clothing and gear.
Renting your gears in Nepal? The simple answer is NO. This is one of the most frequently asked questions mainly by beginner climbers. We have tested and tried several gears in Nepal and frankly, we do not recommend hiring here. We know it might seem like a huge amount of expenses to buy all the gears, but they are well worth it. You can even hire from the city you live in. Make sure they are the original products from well-known adventure gear companies. (North face, Mountain hardware, Kailas, etc.)
Boots (trekking and mountaineering) for Island Peak
With better technologies, climbing shoes have improved every year. We highly recommend double-layered boots like La Sport G2Sm or Scarpa phantom. It is wise to spend on good mountaineering boots, as so with all the gears that we have mentioned in this post above.
7) What types of foods are available during Island Peak climb? Is clean water available and how much water intake is recommended?
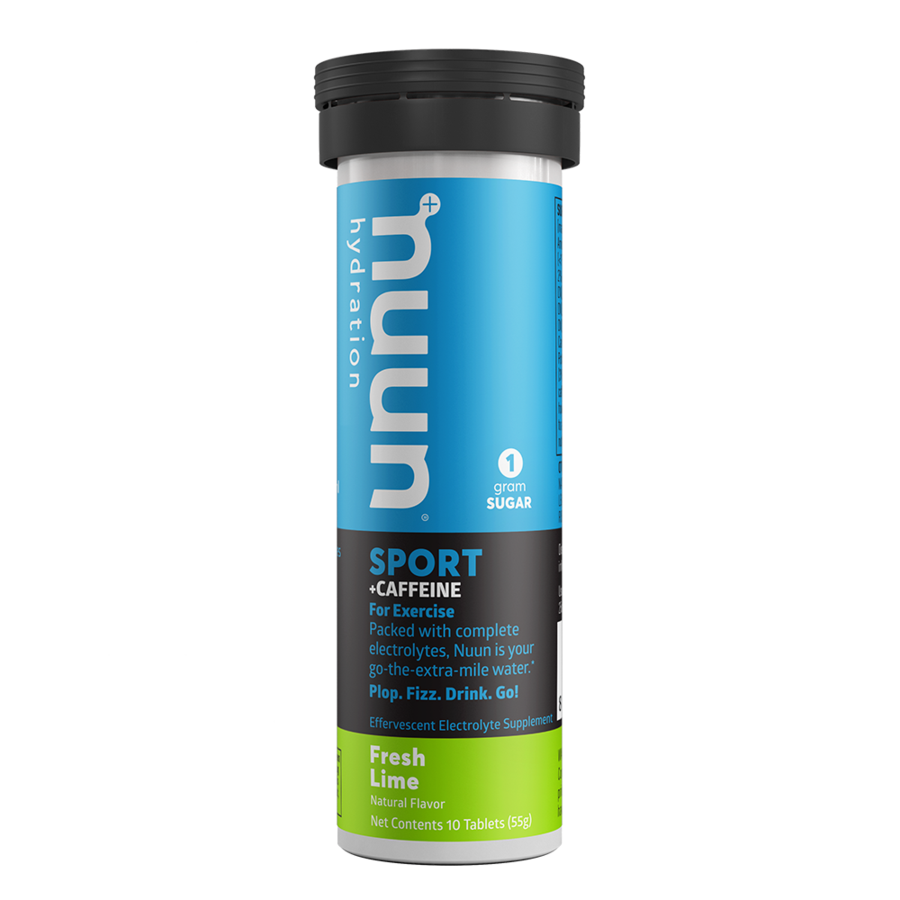
We suggest all our clients drink 4-6 l of water every day. Staying hydrated will also help you with acclimatizing properly. It’s best to take hydration tablets or filtration bottles with you.
Most of the foods are prepared in the tea houses and during your climbing days, kitchen tents are set up by our Sherpa teams. You do not need to worry about food but remember to eat enough. In the high altitudes, although the weather is extremely cold, your body will naturally want to reject food or avoid using energy on anything, which includes eating too. You might have to force yourself with the first few couples of bites and then eventually your body will start accepting the food. We also provide packed dried meals, so that clients have other options should they not want to eat what’s being cooked in the tents.
Remember to avoid smoking and any alcohol intake. You might see our guiding leaders smoking or drinking but remember they are professionals and they have adapted very well to these environments compared to the climbers who go there just for adventure holidays.
8. How long do climbers hike or climb every day?
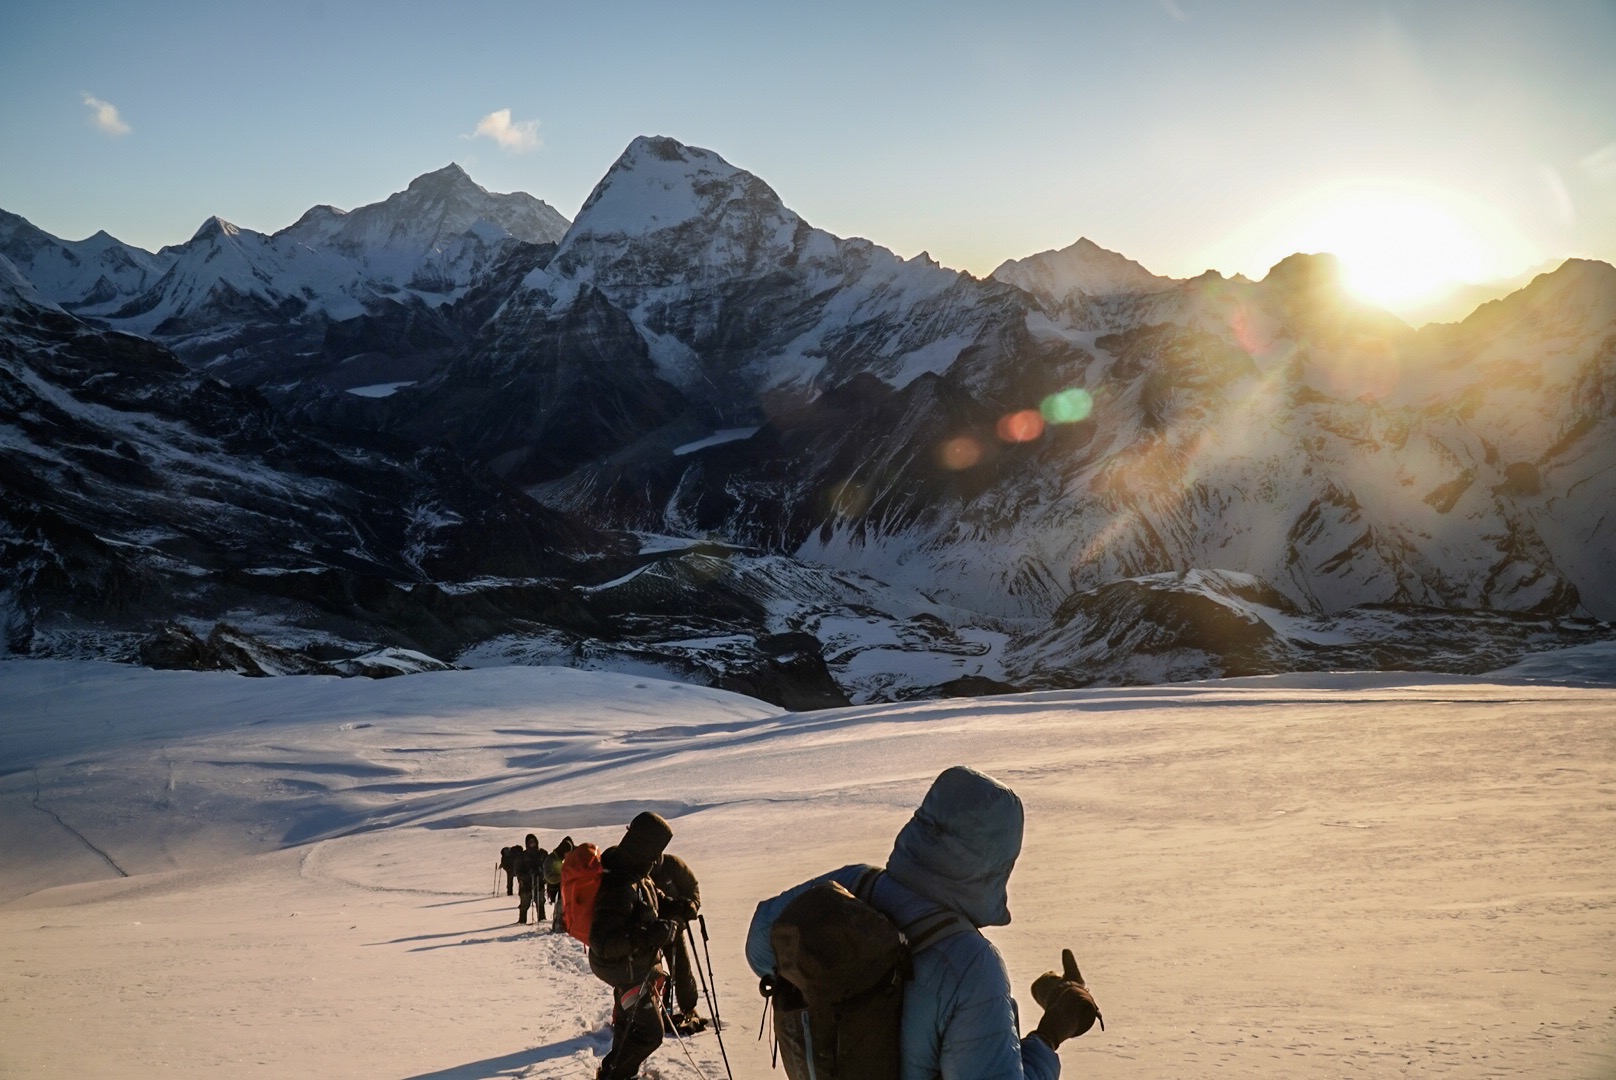
On usual trekking days, you will be walking for 5 - 6 hours a day covering 10km - 14 km. But on the summit day, your climb could last up to 8 - 9 hours since it is advised to go as slow as possible, using the right amount of energy for the long duration and inhaling as much air as possible.
9. Everest base camp tips
Island Peak itinerary falls right in the middle of the Everest base camp trek. That’s why we have chosen to have it on our itinerary so that climbers can visit this iconic Everest base camp and see the great Khumbu icefall, the doorway to Everest climbing. See more on our blogs about Everest base camp tips.
10. What trip insurance will I need for Island Peak climb? Do I need helicopter evacuation to be included in my insurance cover?
No matter how prepared you are, you never know when or how things might go wrong. You might be sick suddenly or not that we wish but there might be some incident, you might suffer from altitude sickness or anything we can’t imagine yet. So, for these reasons, it is always good to have insurance cover. Our recommended Insurance companies (link)
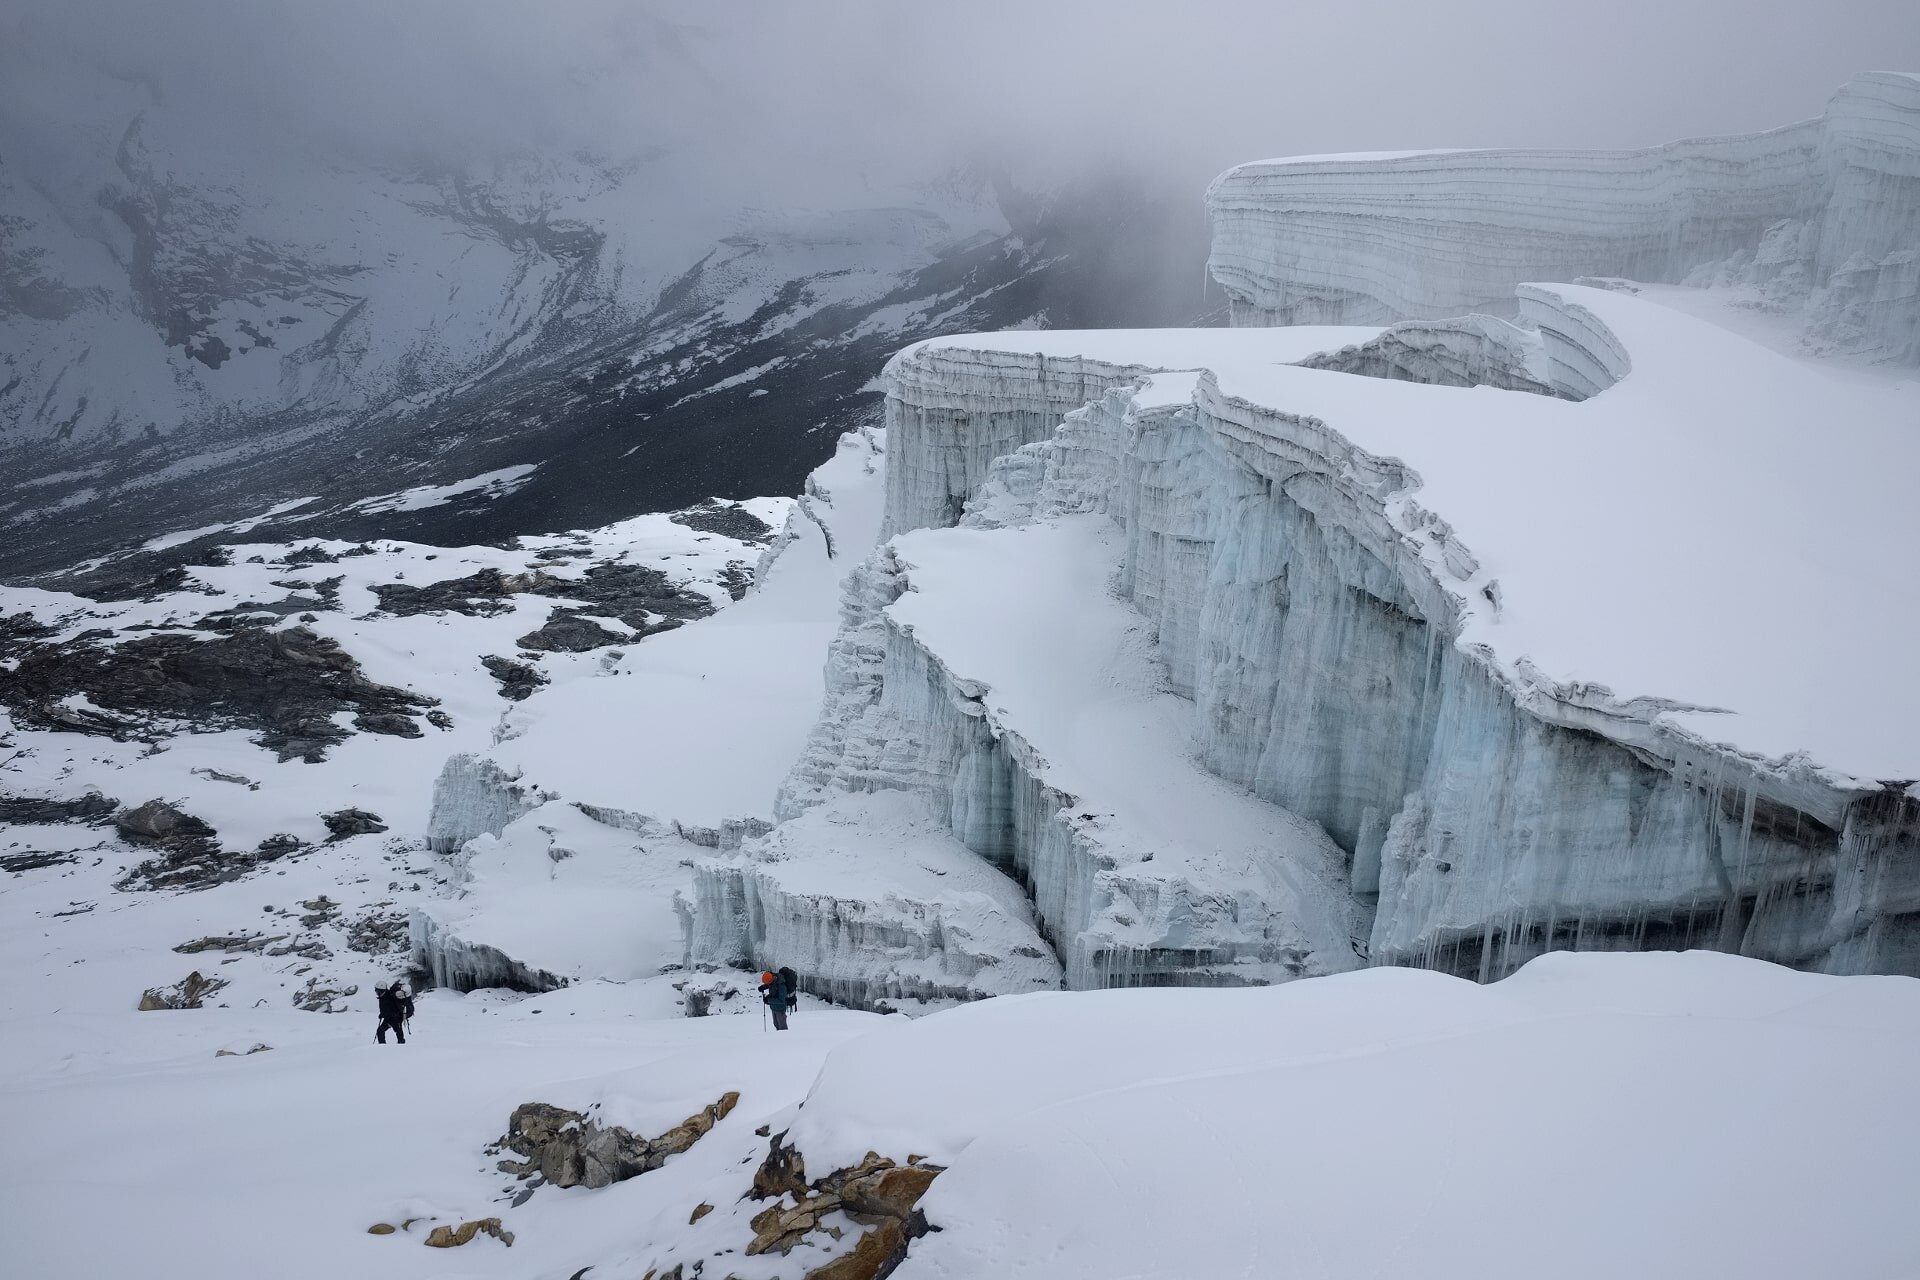
Photo by - fwarrenphinney
Helicopter evacuation is our final emergency option and we do recommend you have one in your insurance, as it is the only means of transport in the Everest region. Our guides will assess your condition and examine if it is a major issue. If not, they will use their experience to motivate and push you through your trip. However, in case of emergency, helicopter evacuation will be called upon.
There is a procedure to follow when calling for emergency evacuation. We will call the insurance company hotline, get approval with your insurance, and only then helicopters are sent to the distress call location. You will have to pay for the evacuation in Nepal from your own pocket but once you are back home you can claim your money back. Make sure you collect helicopter evacuation receipts, certified doctor’s approval letter. The insurance company will ask for this evidence to back up your claim. There was a huge helicopter scam in Nepal in 2018, so insurance companies are taking extra measures to stop this from happening. Our guides and staff members in Kathmandu will also remind you of this process during briefings.
11. Which other high-altitude peak climbing can I aim for after Island Peak climb? Can I combine other 6000M+ peaks with Island Peak climb?
If you want to extend your trip and combine other 6000 M peaks along with Island peak, then we would like to recommend the following two other itineraries.
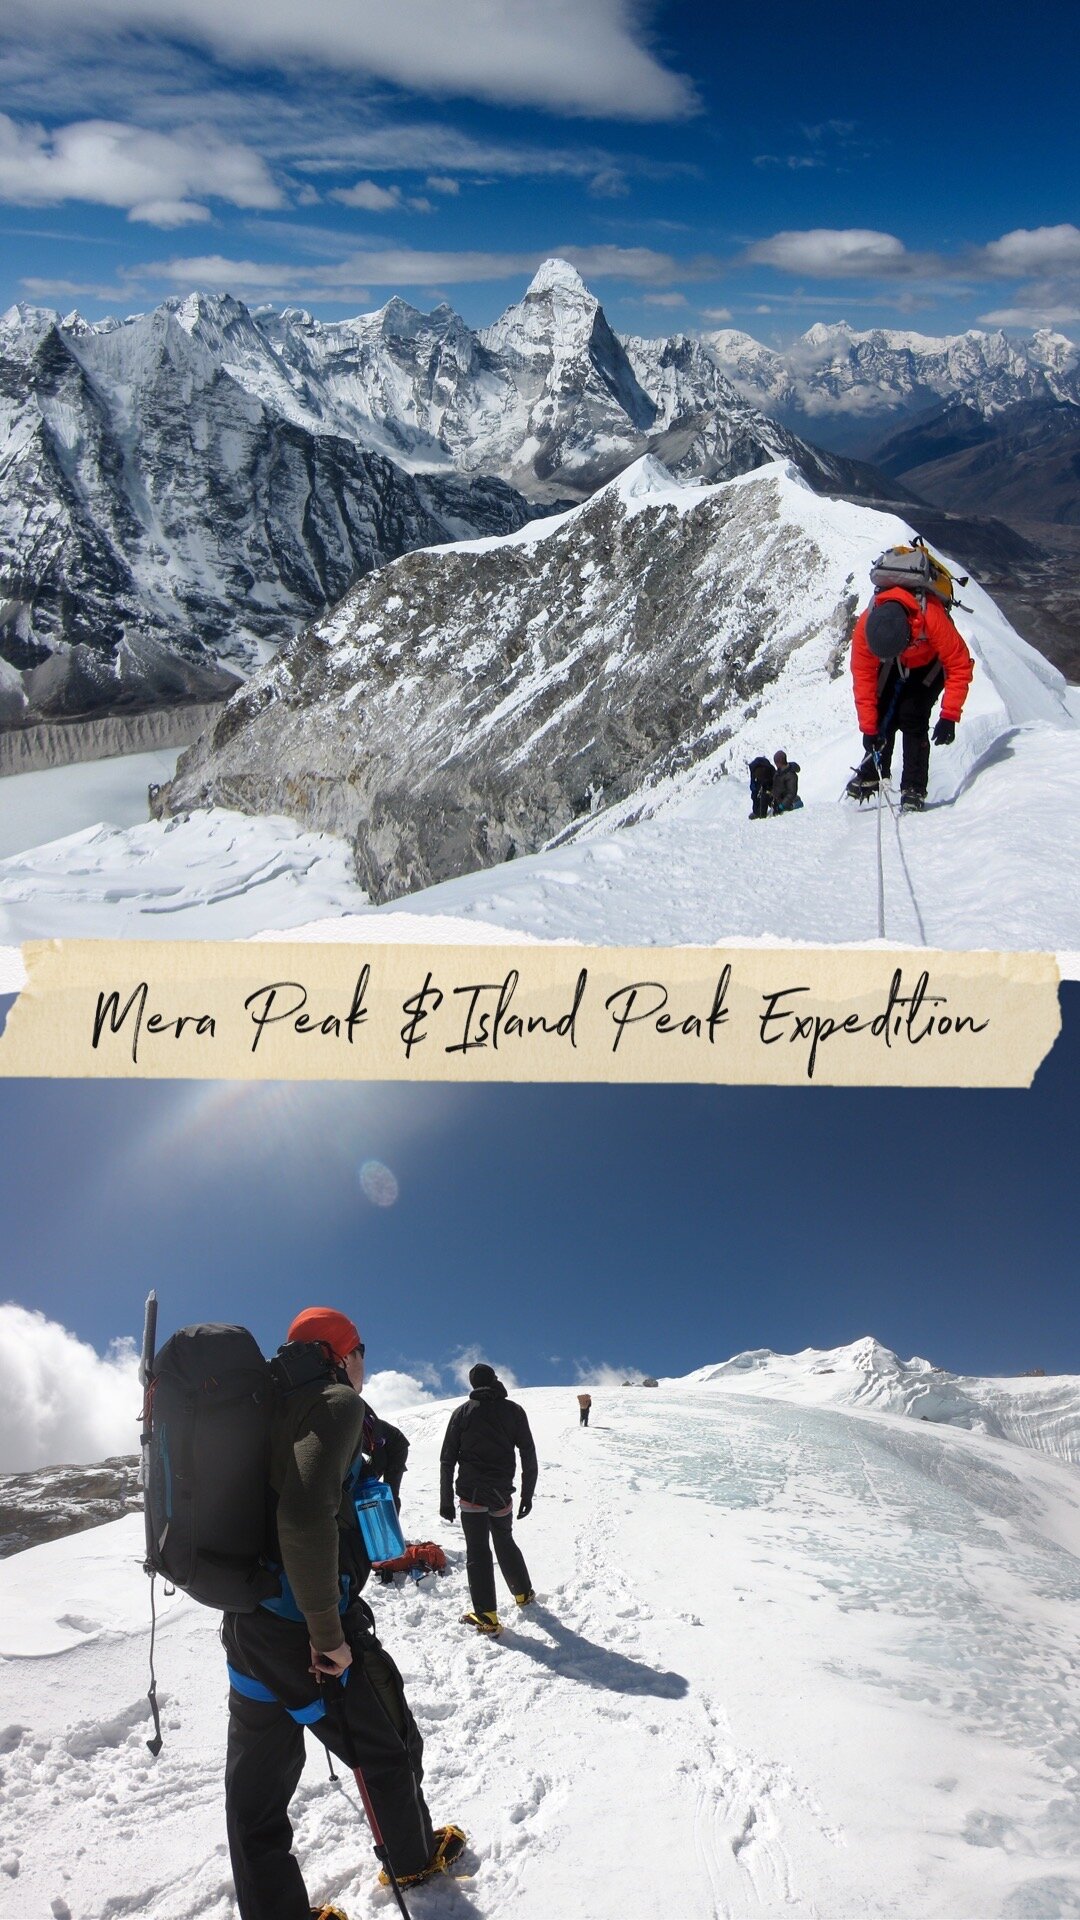
This itinerary takes you through the highest trekking Peak Mera 6476 M and then down to cross Amphu Lapsta pass. The route takes you down towards Barun valley where Baruntse Peak 7129 M peaks stand tall and towards Mera Peak, the highest trekking Peak in Nepal.
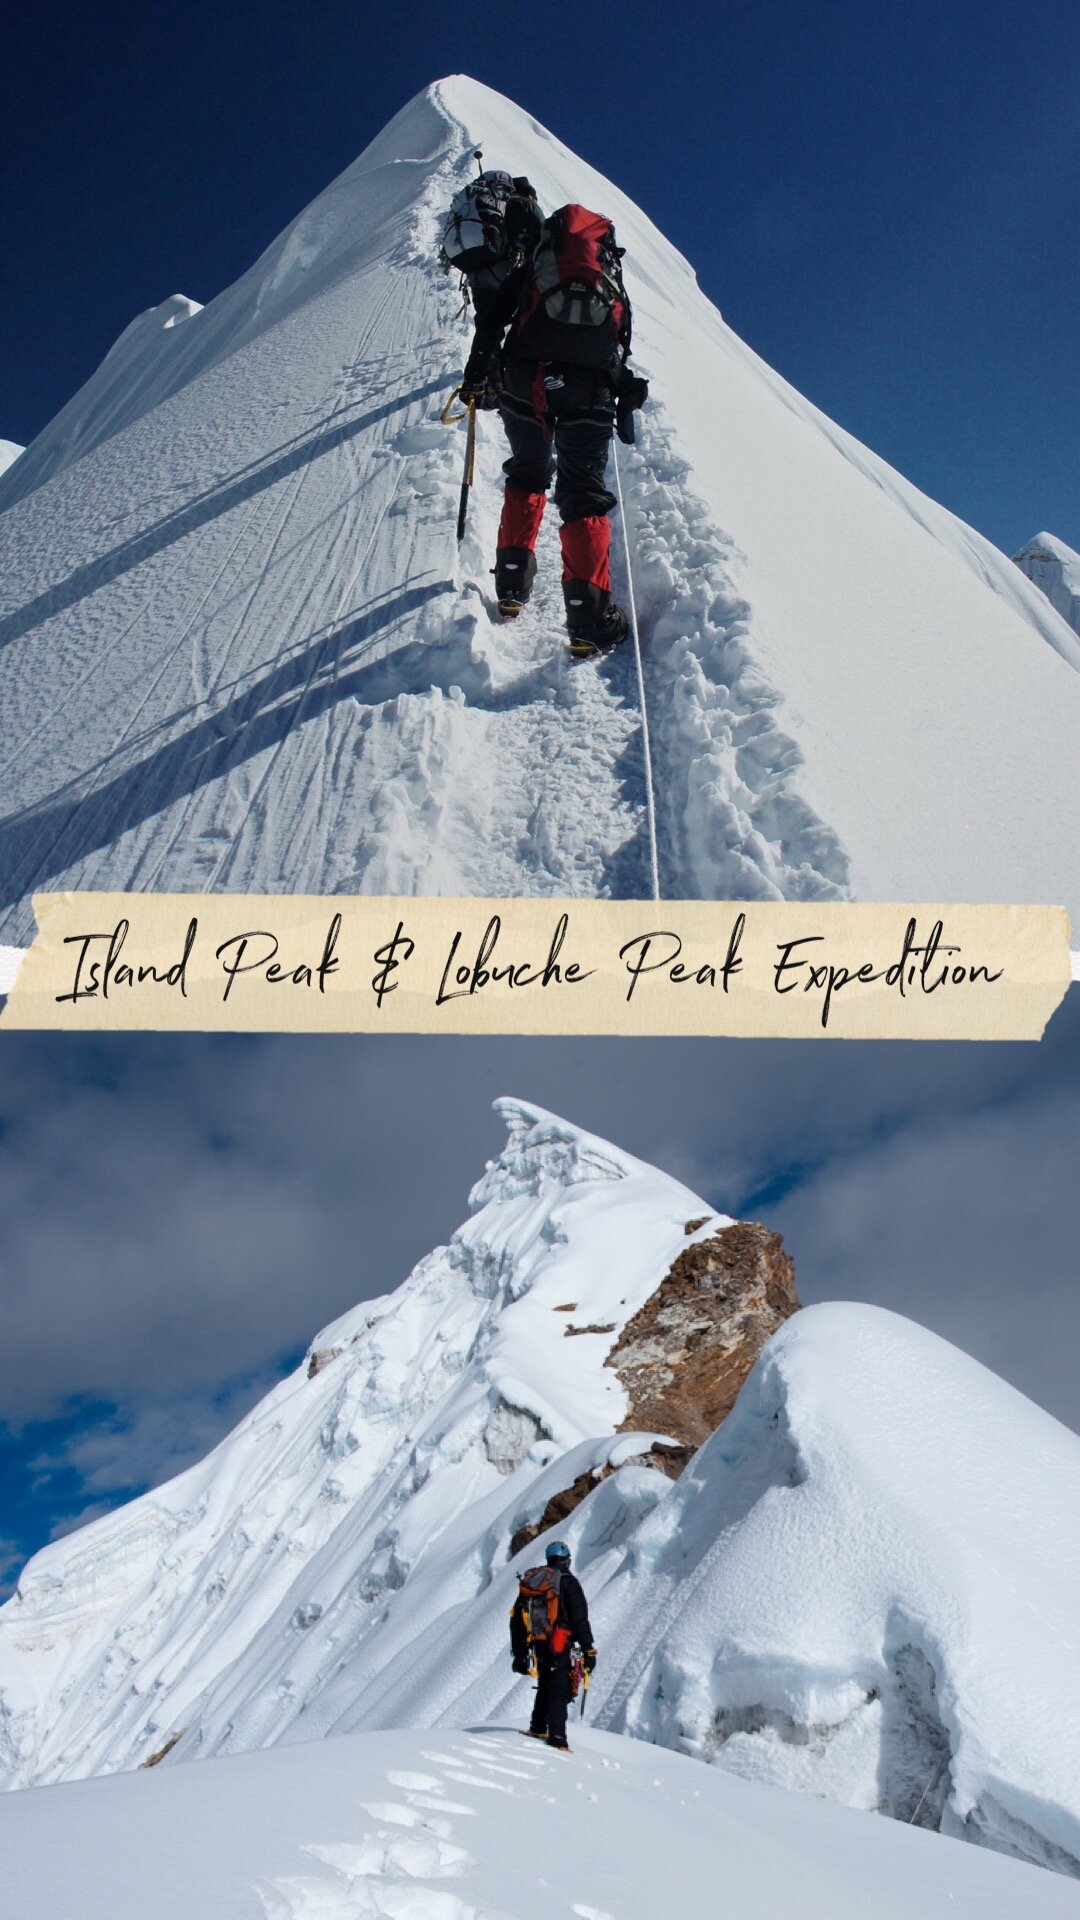
Island Peak with Lobuche Peak climbing
Lobuche Peak is another 6100+ M peak that is often used by Everest summit climbers as acclimatization peaks. The peak is just two camps away from Island Peak and is a great combination should you want to take upon two peaks at once.
This expedition program is the holy grail and the best possible introduction to Himalayan climbing - we ascend three beautiful 20,000 foot (6000+ meter) peaks which is one of the most spectacular settings in the world. Join this trip for great trekking, a rewarding cultural experience with the Sherpa people, and a challenging feat on climbing on Mera Peak (6,476M), Island Peak (6189M), Lobuche East (6119M).
If you want to aim higher after Island Peak towards 7000M+ peaks then Baruntse 7129 M, Himlung Himal 7126 M are some of the peaks climbing we would recommend. Just climbing Island peak won’t be enough, we suggest you climb more different technical and non-technical peaks in Europe around the alps if possible. Amadablam Expedition is another super technical and tough mountain we would like to recommend but you will have to be extremely great with your mixed climbing skills and be fit both mentally and physically.
If you are planning to climb Island Peak in any given year, we run climbing trips every year during Spring and Autumn.
Please click the link to be directed to Island Peak Expedition page.
If you do have any more questions, please ask us below in the comment section or you can email us at bookings@namasadventure.com and our team will get back to you as soon as they can.
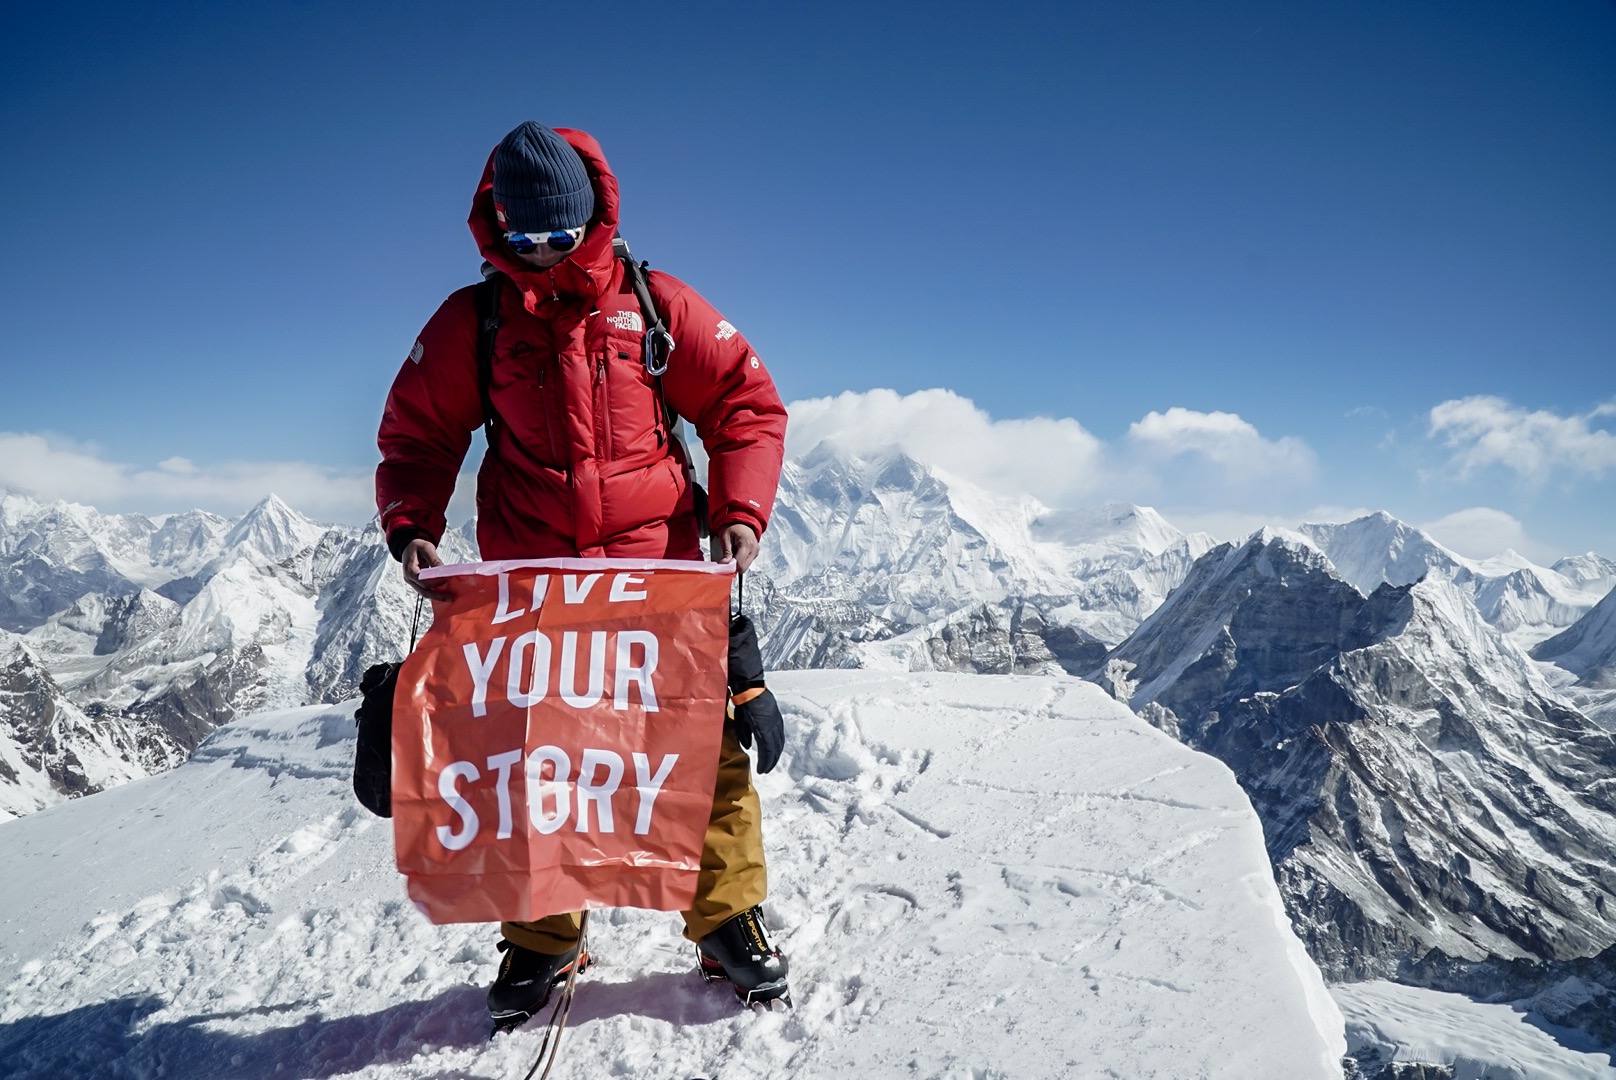
Stay well. Challenge yourself. Dare great things and live your story.
Namas Adventure team
5 Things to know about Mera Peak climb - Namas Adventure
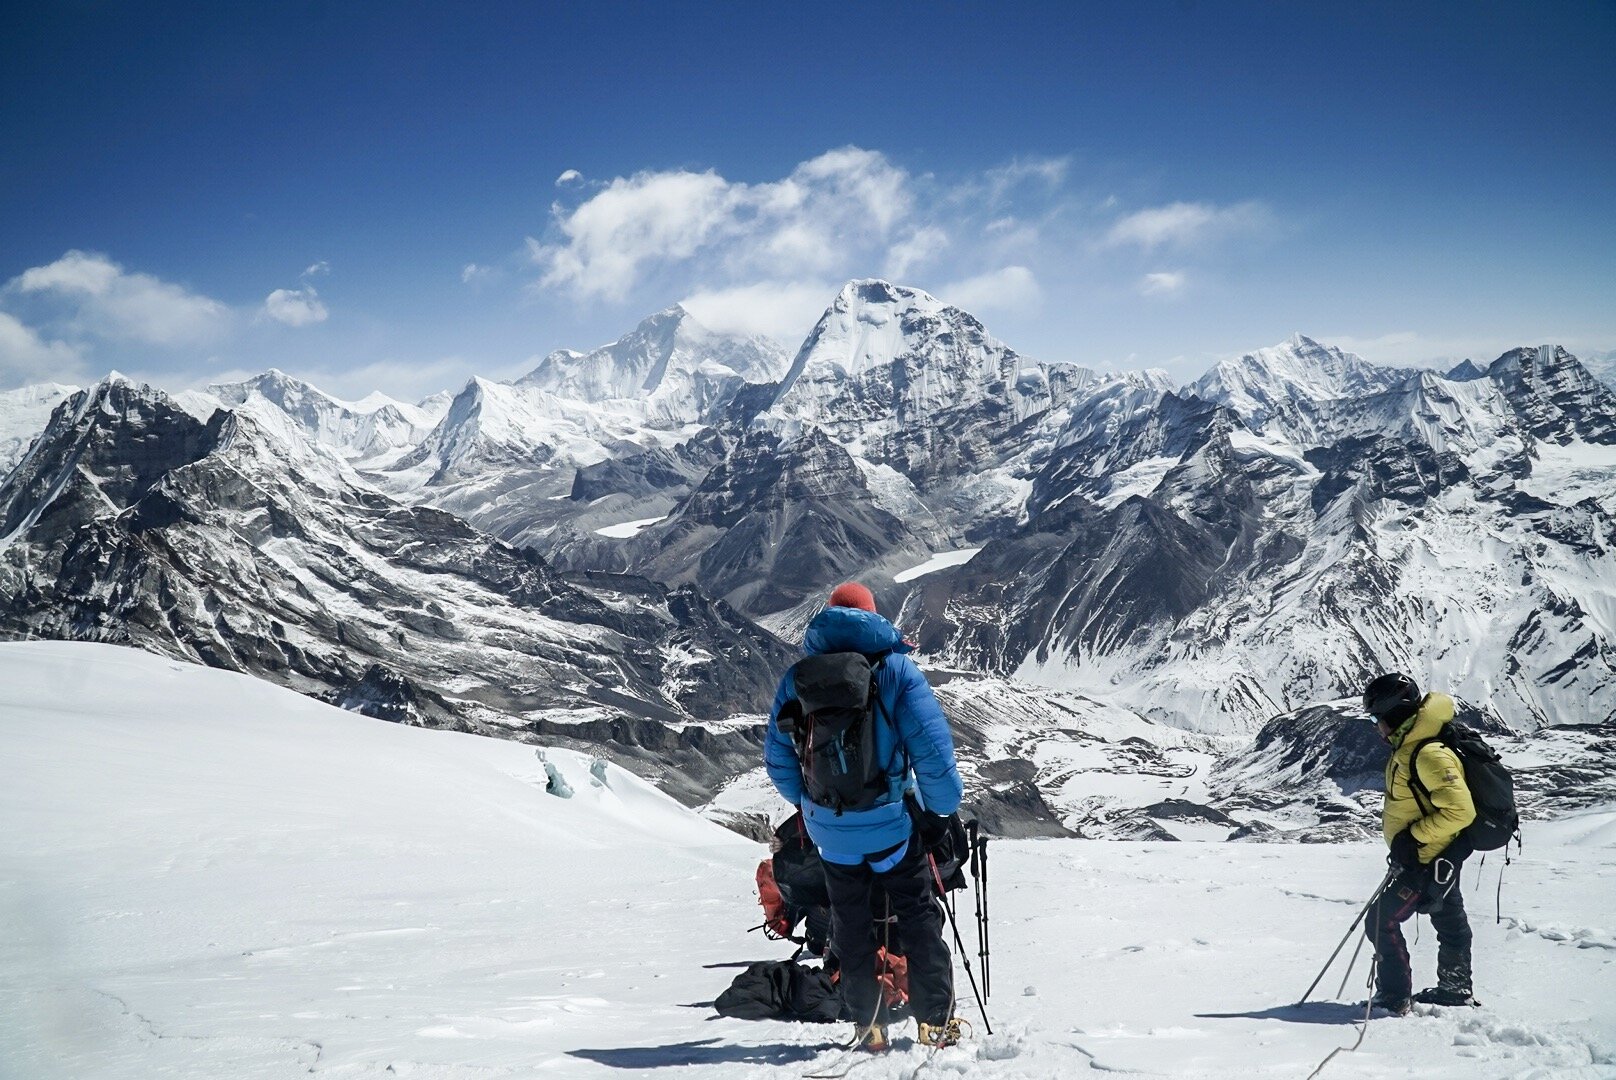
Descending down Mera Peak Summit
5 things to know about Mera Peak climbing
When is the best time to trek/climb Mera Peak?
March-May ( Spring ) and September - November (Autumn) is the best time to trek/climb Mera Peak.
Is Mera Peak suitable for beginner climbers and what kind of fitness do I need?
Yes, Mera Peak is a non-technical high-altitude trekking peak. To reach summit 6476M you do not need any special climbing skills with ropes, gears, and use of an ice axe. Mera Peak is a very popular destination for clients with little or no mountaineering experience. The mountain has fewer to non-technical challenges, there are 3-4 small opening crevasses during the climb but apart from that, the climb is straightforward. All climbers are recommended to partake in preparative fitness and altitude training before attempting an ascent. You should be able to carry 5-8 kgs of your bag pack, walk up and downhill every day for 15/16 days and be able to push yourself during the summit climb.
Physically for beginners, Mera Peak can be demanding. We highly suggest you train yourself well over 6 - 4 months before your trip. You will need good endurance and body strength. Aerobic exercises mixing with overall body strength-building routines should help you prepare physically for your trip.
Can I see Mt. Everest from Mera Peak?
From the summit, five 8,000m peaks are visible: Mount Everest, Lhotse, Cho Oyu, Makalu, and Kangchenjunga, as well as many other Himalayan peaks. The standard route from the north involves high-altitude glacier walking. The west and south faces of the peak offer more difficult technical routes.
How hard is it to climb to the summit of Mera Peak?
Mera Peak is classed as 1B alpine grade. When it comes to an expedition the more fitter and stronger you are, the better your chances of successfully climbing to the summit and most of all enjoying the expedition. Summiting Mera Peak mostly depends on the weather condition and your fitness level. The climb normally starts around 3/4 am in the morning and it is about 3-4 hours climb to the summit. For any climbers it is a technically straightforward ascent, the main hurdle being proper acclimatization to the high altitude.
Which Mountain can I aim for after Mera Peak that’s above 6500M?
If you have got time and you are feeling extra adventurous then you can either Mix Mera Peak with Island Peak, which takes you through a beautiful and challenging Amphu Lapsta pass. On the way, you will also come across Baruntse 7129M and Makalu 8481M. Or you can simply take on our challenge of three 6000M+ Peak expeditions. (Mera, Island and Lobuche East) Peaks (Click for expedition Link)
Our main suggestion is to take it one step at a time. The lure of Everest is there but taking small steps, gaining the right experience, and understanding your physiology is very crucial for climbing higher mountains. Amadablam 6810M, Baruntse Peak 7129M, Manaslu 8163M, Tilicho Peak 7134M are some of the 7000M+ - 8000M+ Peak expedition we operate and organize at Namas adventure.
If you do have any more questions, please ask us below in the comment section or you can email us at bookings@namasadventure.com and our team will get back to you as soon as they can.
Stay well. Challenge yourself. Dare great things and live your story.
Mera Peak or Island Peak - Namas Adventure
Mera Peak or Island Peak
Mera Peak or Island Peak? Which 6000M peak to plan when you first want to start climbing a peak in Nepal. Which is the peak best suited for my abilities or which peak should I climb? To make your decision easier for you, we have laid out the details of each peak, which will help you decide with your 6000M peak climbing. The other option will be to combine both magnificent Mera and Island Peak climb in your itinerary.
Mera Peak 6476 M
Mera Peak 6476M, highest 6000M trekking Peak in Nepal
Non-technical climb up to 6476M. No use of ropes, ice-axe, ascender, or ladders
Beginners/novice suitable peak
Base camp and high camp strategy
Located in the Makalu Barun region of Nepal
Remote and less popular compared to Island Peak
March-May (Spring) and September - November (Autumn) is the best time to climb this peak
360 Panoramic view of Nepal Himalayan range. Everest, Cho-Oyu, Makalu, Lhotse, and many other peaks are visible from Summit and descend to high camp.
Mera Peak is considered the highest trekking peak in Nepal. The trails break off from Lukla going in a different direction to the Makalu Barun region, which completely avoids the normal Everest trek trail usually packed by Everest base camp trekkers and climbers. So, you can expect less traffic from trekkers on Mera Peak trails. With the mountain itself is a non-technical climb, Mera peak can be a perfect mountain climbing experience for those climbers not wanting to use ropes or ascender/descender gears to climb to the summit. Simply rely on the guidance of your guide and your strength to climb the peak. Physically it can be demanding, as on your summit day you will have to ascend for 4-6 hours depending on your speed of climbing uphill. The view from the summit is awe-inspiring, as you will be able to witness a 360-degree view of the great Himalayas range. Everest, Lhotse, Makalu, Cho-Oyu, Kanchanjhunga, and other peaks are clearly visible right in front of you during clear weather.
Island Peak 6189M
The most famous 6000M climbing peak in Nepal
Technical climb with summit approach 90 degrees ascend. Use of rope lines, ascender, figure 8 to descend, and ladders to cross the crevasse gaps.
Beginners/novice technical climbing
Base camp and high camp climbing strategy
Located in Everest trail route, in Imja valley
Remote and most popular climbing and summited 6000M peak
March-May (Spring) and September - November (Autumn) is the best time to climb this peak
Narrow summit ridge and is also a perfect peak to learn technical climbing approach
Island peak shares the same trail as the Everest base camp route up to Dingboche. Island peak is the most popular and summited 6000M in the Khumbu region. Island peak is suitable for first-time beginner climbers and is a perfect mountain for climbers who wants to experience and learn technical climbing in the mountains. You will be using the steel ladders (like they use in Everest) to cross the crevasse openings and use ascenders on fixed ropes to climb onto the final steep section, a 90-degree vertical wall. When climbing you will be using ascender on the fixed ropes to climb all the way to the summit. Training will be given prior to your climbing by our Sherpa guiding team on all our climbing expeditions. Like any expedition, this peak is physically demanding and on your summit day from high camp, you will be climbing for 6 - 8 hours, depending on your speed of climbing.
Or, simply you can make it extra challenging by combing both Mera Peak and Island Peak itinerary. The beauty of this itinerary is crossing the Amphu Laptsa pass which is challenging and awe-inspiring.
Amphu Laptsa Pass 5800M
Arrival
Day 1 Kathmandu ( Equipment check, induction with Expedition leader )
Day 2 Lukla / Monjo
Day 3 Monjo / Namche Bazaar
Day 4 Acclimatisation day
Day 5 Namche Bazaar / Tengboche
Day 6 Tengboche / Dingboche
Day 7 Acclimatisation
Day 8 Dingboche / Chukung
Day 9 Chukung / Island Peak base camp
Day 10 IPBC / Island peak high camp
Day 11 Ascend to Island peak summit / Chukung
Day 12 Chukung / Lobuche East Base Camp
Day 13 Lobuche High camp 5600M (5 to 6 hours)
Day 14 Summit day 6118M / High camp or Lobuche village
(1 Day Contingency Summit day, in case of bad weather to summit Lobuche east )
Day 15 Gorakshep / Everest Base Camp
Day 16 Dzongla
Day 17 Gokyo Via Cho-la-pass
Day 18 Gokyo ri trek
Day 19 Macahharmo
Day 20 Macahharmo to Doles
Day 21 Dole to Namche Bazaar
Day 22 To Lukla
Day 23 Kathmandu
Day 24 Departure
Or Another option would be Island Peak and Lobuche East peak.
Three Peak challenge (Mera, Island, and Lobuche East Peak)
We have set departures for all three peaks every year. To book your Spring or Autumn climb please email our team or head to the relevant page on our website for detailed pieces of information.
If you do have any more questions, please ask us below in the comment section or you can email us at bookings@namasadventure.com and our team will get back to you as soon as they can.
Stay well. Challenge yourself. Dare great things and live your story.
Baruntse Peak 7129M Expedition strategy - Namas Adventure
Baruntse Peak 7129M Expedition strategy
Baruntse Peak standing at 7129 M mountain is situated in Nepal between Mount Everest and Makalu in the Barun-Makalu National Park. Mount Baruntse is a substantial and symmetrical snow peak, has four ridges and four summits. It is bounded on the east by the Barun Glacier flowing north-south from Cho, to the north-west by the Imja glacier and the Hunku glacier forms the south-east boundary. The three main ridges of Baruntse are situated between these glaciers and form an upturned ‘Y’running from Cho Polu (6695m) in the north past the Humni La, on to the north summit where it divides. Other well -known mountains in this area are Makalu, Lhotse, Chamlang, Everest, and the trekking-peak Mera Peak.
Bruntse was first climbed on 30 May 1954 by Colin Todd, Geoff Harrow of the Hilary New Zealand Expedition. They have climbed the mountain by the southeast Ridge. Since then many climbers have used this route and succeeded. This mountain has also been becoming coveted day by day like the other Pumori, Ama Dablam as well as Everest too.
Expedition Route
The south-east Ridge of Baruntse is a straightforward climb, mainly on snow but at high altitudes and crossing some steep sections of ice at 50°, with a prominent ice cliff at about 7,000 meters to be climbed on the way to the top. Sections of the upper summit ridge can be corniced, but there is little evidence of avalanche risk on the lower slopes of the mountain. The most successful ascents have been made in the spring when snow conditions have been good and the mountain has been found to be objectively safe at this time. There is still a debate on which season it is best to climb Baruntse as in the past few years 2013 - 2018 more summits have been done during the Autumn season. The steeper sections of the climb are safeguarded by fixed rope, as are the obvious cornices that need to be traversed between the camps on the mountain.
Expedition Strategy
Acclimatizing at Mera Peak 6476 M
Baruntse Base Camp (5640 M)
Baruntse expedition route
After summiting Mera Peak, the team heads towards Baruntse Base Camp 5460M. 500m descent down into the Honku valley climbers is assured with rich oxygen, warm weather, and sunny spell making good conditions for a good night's sleep. The natural environment around is utterly desolate and utterly magnificent in its desolation.
Baruntse base camp is at 5460M, a few kilometers further up the glacier at the entrance to the valley which gives access to East Col. From a camp set up immediately below the pass, it is easy to cross East Col to West col and reaching Camp 1 (6,146 M) at a large snowy plateau, on the Lower Barun Glacier. This places the expedition team immediately below the South-East Ridge of the mountain and provides a suitable spot for Camp 2 or Advanced Camp 2 (AC2). This plateau could be reached directly up the Lower Barun Glacier but this approach is not recommended as an icefall at the toe of the glacier has made the route impassable in previous years. So a different strategy where one more camp higher on the mountain, at about 6,500 M is placed, from where the summit is attempted.
The team will practice ascending fixed ropes and rappelling on steep, icy terrain. Hike glacier just outside of camp and spend a few sessions perfecting skills on overhanging ice. Meanwhile, the Sherpa team will be fixing ropes high in the mountain for the team. Additionally acclimatization hike to the base of the fixed lines below camp 1. The hike features dirt trails, scramble over rocks, and crossing the beautiful glaciers. The day is spent training and preparing for the expedition just below Baruntse peak and then head back to Baruntse base camp.
Puja Day Ceremony ( Rituals ) Base Camp - West Col - Camp 1 (6100 M) Approx 10 hours
Photos by - David
A Puja ceremony, rituals are performed praying and asking permission to the god mountain for safe passage, success, and safety of the team in the morning, which is customary before beginning a climb. Many of the western climbers participating takes part by placing an object to be used in the climb - an ice axe, crampons, boots - on an altar that was made from stones and adorned with Tibetan buddhist prayer flags. The ceremony is concluded with readings and ritual blessings.
Guiding Sherpa leader teams fix the rope on all the main difficulties of the summit ridge. Sherpas set up the safest way through the crevasses, overhangs, and icefalls.
Sirdar Sherpas team carry loads from basecamp at 5400 meters to camp 1 at 6100 meters and then returned to basecamp. The climb mostly consists of a moderate climb with steeper sections at the West col which is the final ascent before reaching Camp 1. Only the last part is more difficult, where the west col consist, 45 degrees 200-meter high ice wall. Beautiful views on the surrounding mountains: Ama Dablam, Baruntse, Makalu, and the Amphu Lambtsa La which all the climbers will have to cross in a few day’s time when returning to Lukla.
Clients are meant to carry their personal loads 8kgs - 12kgs throughout the climb.
Camp 1 - Camp 2 (6,400M) or Advanced camp 2.1 (6,500M) | Time approx: 3 - 4 hours
Photo by - Matthew D Thornton
Camp 2 (6,400M) or advanced Camp 2.1 around 6,500m, in a small col between Baruntse 2 and Baruntse itself. Baruntse 2 is also called Baruntse south-east. The camp lies between the two summits in a saddle-like slope.
Camp 2 - Summit Push - Back to Camp 2 or 1 | Time approx: 10 - 12 hours
Technical Challenges at 6900M ridge
Pic by - Karvaniers
Very sharp ridge at (approx 6900m). The sharp ridge provides excellent ice climbing over several steep ice walls and extremely exposed cornices. Sherpa team fixing the rope will assess the crevasse opening ridge and there is a consideration of adding a ladder at the top if needed. But normally combining the skills of ice climbing on overhanging ice and through the assistance of fixed rope walking on the narrow steep wall ice wall climbers can overcome the final section of the ridge, then a further 60 - 90 min climb to reach the summit. The summit hosts some of the best views of Everest, Lhotse, Makalu, and Cho Oyu that can be seen anywhere in the Himalayas.
Making it to the summit is 60% job done. Descending is one of the grueling parts of climbing parts of mountain climbing. From there the descendant with all the abseiling skills will demand the climber’s full attention. So, climbers can celebrate their moment at the top. If weather permits and stays are non windy then climbers might be able to enjoy 30 - 60 min of a celebratory moment with the panoramic view Himalayas. But normally our Guiding team will advise the climbers when to descend down. It’s best to celebrate and at the same time refuel and gain some of your energy back to be able to descend back to camp 2 or 1 safely. A lot of the mountain incident happens on the way back while descending.
Amphu Lapcha Pass 5800M
After summiting Baruntse mountain, the journey back still hosts more surprises, and before climbers reach to next civilization at Pangboche. Morene country, over boulders, passed lakes to the foot of the beautiful Amphu Lapcha. Amphu Lapcha hosts zigzag glaciers with base camp at North and south where we have to stop for a camp night. From Amphu Labtsa pass grants us views of Imja Valley, Everest, Lhotse, Nuptse, Island peak, Ama Dablam, Baruntse, just awesome.
Advice to climbers keen on climbing Baruntse Peak
Enthusiast climbers will definitely have to prepare themselves for technical climbing. On the last 250- 300 meters of altitude, the climbing gets rather technical. Route fixing guides/Sherpas have to take a large number of ropes to fix the way. Baruntse is not for novices climbers. Climbers need to have some experience at least. Climbing experiences on both the alps, Andes mountains, and the Himalayas is necessary. Climbers with some experience in mountain climbing it is another great experience to climb Baruntse to further bag and gain a lot of knowledge in mountaineering.
If you do have any more questions, please ask us below in the comment section or you can email us at bookings@namasadventure.com and our team will get back to you as soon as they can.
Stay well. Challenge yourself. Dare great things and live your story.
Further Source:
New Mt. Everest expedition rules 2019
Mt. Everest
We all know the news of Everest casualties during this year’s (2019) expedition. 11 climbers deaths, 9 from Nepalese side and 2 from Tibetan side. Nepal issued a record number of 381 permits issue this year. There has been conflicting ideas on why climbers died. Traffic jam near the Hillary ridge ( above 8000 M ) was pointed out by many but just that one problem does not address the key issue of the expedition. A lot has to do with inexperienced climbers, exhaustion, altitude sickness, incompetent/inexperienced guiding team and cheap expedition. This has been pointed by many experienced sherpa climbing leaders ( Kami Rita Sherpa, 24 Summits) as well as non-Nepalese veteran climbers.
Rules from Tibetan side of expedition are strict compared to the Nepalese side. Climbers requires a proof of having summited one 8000M peak before they can climb Everest from the tibet side, where as in Nepal rules were climbers should have climbed at least one 7000M peaks.
Photo by- Nims Dai / Nirmal Purja 2019 Project possible. Everest expedition.
Nepal’s ministry of tourism has proposed new rules and regulation to tackle issues in response to this years incidents. Also, this has to be passed through parliament first for the rules to come into effect for 2020 spring expeditions. New rules are focusing on operators, climbers and government officials at Everest base camp and the route. The government is also considering requiring mandatory health checkups at Everest Base Camp.
Climbers must prove ( certificate mostly ) that they have at least climbed one 6500 M Nepalese peaks before.
Climbers must also submit a certificate of good health and physical fitness and be accompanied by a trained Nepalese guide.
Expedition company must prove that they have 3 years of experience organising high altitude expedition before leading clients to Everest.
Minimum charges of Everest expedition $35000 per bookings ( $11000 permits included) to be charged. * Cheap Everest expedition were blamed by most of the Sherpa leaders for attracting in-experienced climbers.
Minimum charges of $20,000 for any expedition above 8000M+
Climbers attempting 8000M+ peaks to undergo basic and high altitude climbing training.
Other ideas passed on
improvements in the rope fixing process, primarily with respect to getting the ropes in earlier and some type of improved weather forecasting system
Theft of oxygen cylinders during the expeditions
Traffic monitoring at base camp and higher camps.
So, does this mean the quality of expeditions will improve dramatically? Maybe yes and No. The challenge has always remained with Everest expeditions and the traffic or long queue is not a new news. There has been rise in number of climbers since 1990 and only looks to grow.
The ideas proposed seems to just address the issues vaguely and does not take into account of finding solutions whole heartedly. Certainly expedition companies has to be more responsible when taking inexperienced clients to these extreme altitudes and government implementing tougher rules & regulations can be one way. Regulators needs to listen to experienced veteran Nepalese and non-Nepalese climbing leaders, operators, mountaineering community and boards on how to increase the quality and safety of Everest expeditions. It is no easy fix and the challenge will always remain but the obvious issues (like inexperience climbers or teams ) should be tackled with strict rules and implementation.
Everest is an optimum challenge we as an individual can choose to face. We support and encourage you on your aspiration to endeavour on taking the journey of the highest challenge that man kind can face. But all we ask is taking a route that protects you and your team, enriches you with the experience of alpinism and eventually fulfilling your aspirations.
* Cheap expedition - Discounted Expedition were ran on as low as $20,000 p/p which dramatically reduces
and impacts the quality of the expeditions both for the individuals and the operating team.
Nutrition for Mountain climbing - Namas Adventure
NUTRITION FOR MOUNTAIN CLIMBING
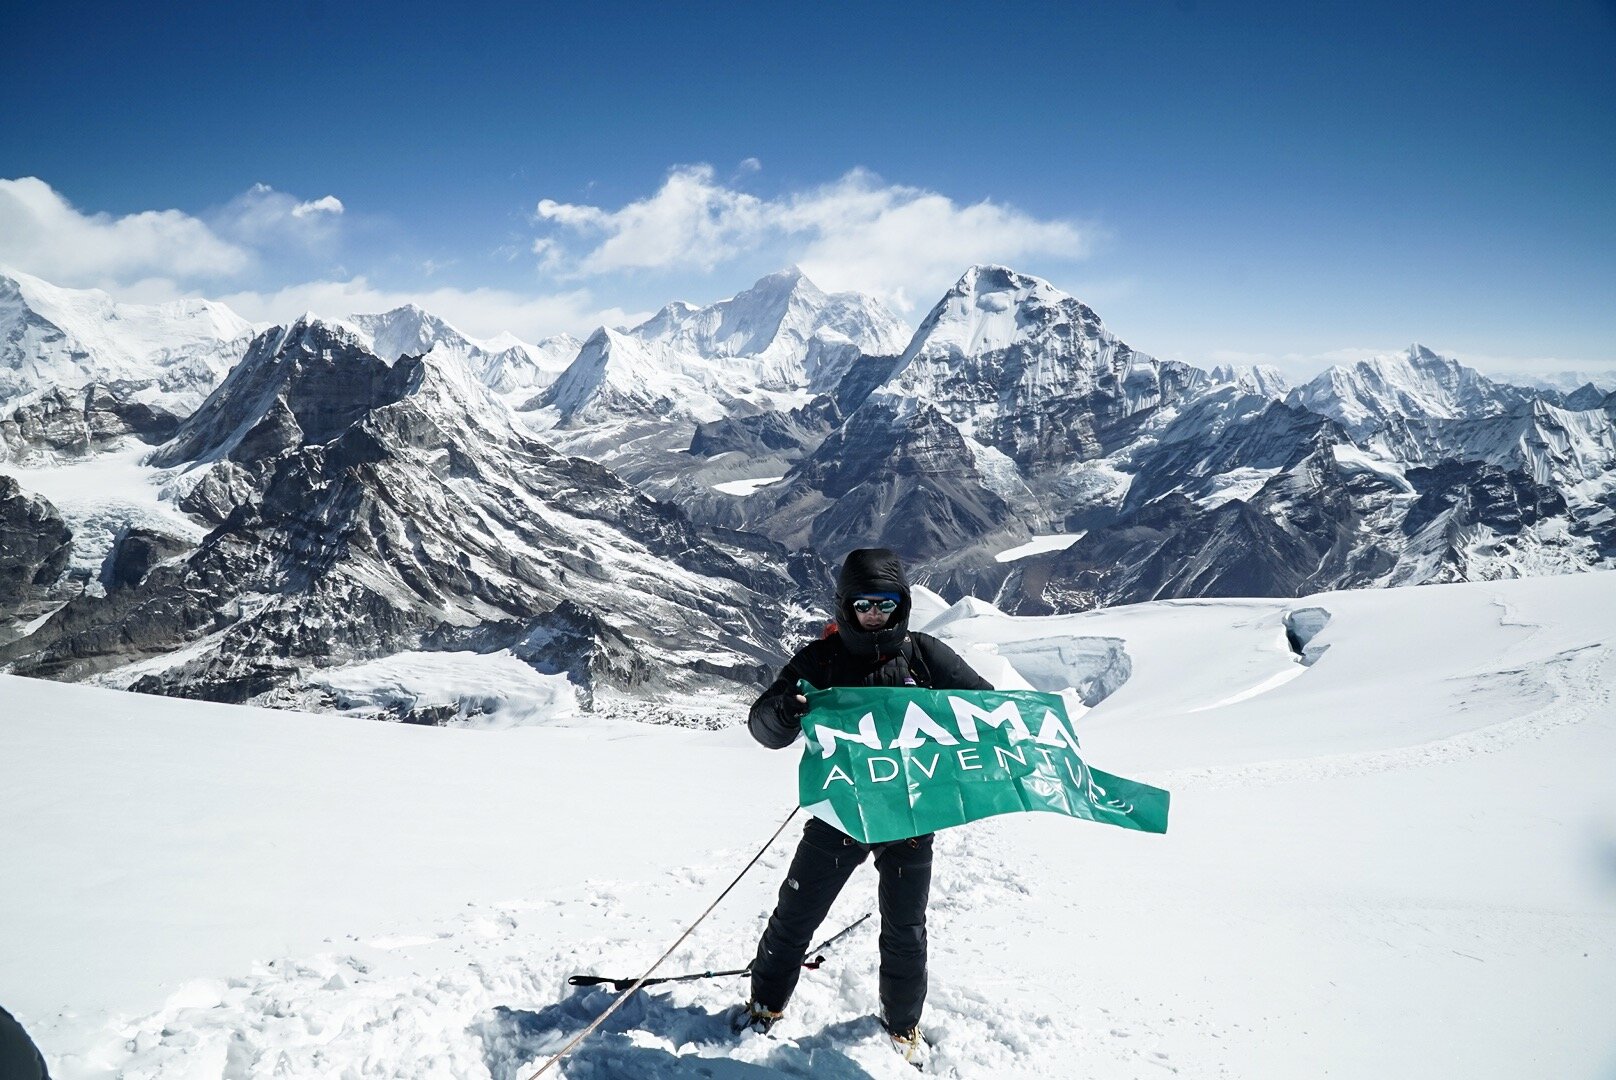
Image- Namas Adventure, Mera Peak summit
Climbing high altitude mountains for both sports and recreational purposes is an immense physical challenge. Altitudes above 4000M to 5000 M are considered high altitudes and 5000M above are considered extreme altitudes. You have to be physically, psychologically, and mentally prepared. Preparing yourself by exercising and practicing techniques, getting the right gears are important parts of mountain climbing. However, to be able to make yourself stronger during training and climbing days getting the right nutrition is very important. Did you know that taking the right diet can improve your effort ability by 20% overall? It is easier said than done but when it comes to mountains and high altitude you might want to dedicate yourself to this regime of the right amount of exercise to make you physically fit and eating well. The right nutrition is another factor in your performance.
“ Did you know that taking the right diet can improve your effort ability by 20% overall”
Image by - Brad
Research has shown that when climbing high altitude mountains climbers can burn anywhere from 6000 - 10,000 calories per day. Losing weight is very normal and you will have to gain your strength back quickly. Your digestive system won’t work the same way as it does at a lower altitude. Your system will want to reject food as it does not want to put in much effort and forcing yourself to eat is necessary. Carbohydrate (carbs) is your best friend when it comes to nutritional value but also do not forget the proteins and fats. You will have to snack a lot with easy-to-absorb carbs, hydrate often, during your climbing hours, and when you rest during dinner at your camps more carbs and proteins. Fill up that glucose in your body as it stores fats in your body which your body will use when needed or during the hard push.
“60% - 70% of your meal nutrition should be carbs, 20-30% proteins and 5% - 10% fats”
Recommendations
High carbohydrate foods - Rice or whole grain products, bread, pasta, fruits rich in natural sugar ( banana, oranges, blueberries, grapefruit, apple) sweet potatoes, potatoes, milk, Quinoa, kidney beans & chick peaks.
You can also pack dried frozen dried meals that are easily packable, 90% lighter, preserve the natural taste, gives you nutritional value. Easy to prepare, just pour boiling water, stir and wait about 10 minutes, and feast on it. This is highly practical as it makes logistical planning much easier. We recommend (LYO FOODS) they have some great options, especially for mountaineering.
Proteins sources mile & cheese, meats, tofu, eggs, lentils and seeds, and nuts.
Fats source dried meats, butter or ghee, chocolate, olives.
Keeping yourself hydrated throughout is very very important. You will sweat a lot, we recommend you to intake anywhere from 4l- 6l of water every day. Just drinking normal water is not enough. It is necessary to add hydrating tables with electrolytes in your water. Products recommended ( SIS hydration tablets, Nunu Hydration tablets )
Mini brunches when hiking/climbing for 6- 10+ hours is very crucial. Your body quickly burns all the nutrition within 2-3 hours and you will need to often replenish those nutrients. You will need foods that don’t have to be cooked, easily packable, and rich in nutrition. Bananas, chocolate, nuts& seeds, jerky or dried meat, hydration tablets, energy gels, and bars are highly recommended. Every night prepare it in a sealed bag or an area of your backpack where you can store and reach them easily. These superfoods will give you that much-needed energy, thus, you’ll feel active for a longer time.
I hope this article was helpful. It is very important that you pay attention to your diet nutrition especially during your climbing days. Remember to take in a lot of carbs during your trekking/expedition lunch or dinner time. Snack a lot, almost like a mini brunch every 2-3 hours, to give your body a constant flow of energy and stay hydrated (add hydrating tables) every time. I personally have suffered during my climbing days for not eating well or not staying properly hydrated. So I hope you can follow the suggestion and enjoy your climbing. During your trekking/expedition on all our itineraries, meals with these nutritional values are served at the lodges we rest or during camping. Extra food is always helpful. Please ask our team how much you will need to personally pack.
One more thing, do not intake any alcohol, especially during your climbing days. You will see Sherpas or porters who have always been climbing drink but you need to remember that their bodies have always been through this every year in and out. So comparing it won’t help, instead, save it for the last and enjoy your beer after your climbing is finished when you return to base camp or the nearest lodging area.
Also, please carry your waste with you all the time and dump them on your next village or lodging spot. Encourage your team not to litter the mountains as the waste might never be removed from these remote and pristine areas.
Keep exploring, eat well take on that challenge. Mountains are calling. Go live your story.
References -
https://lyofood.com/blogs/lyofood-blog/nutrition-at-high-altitude?welcome
https://www.healthline.com/nutrition/12-healthy-high-carb-foods
Written by - Bisesh
Alternative routes to Everest Base Camp - Nepal
Alternative routes to Everest Base Camp - Nepal
EBC tour 2019
When it comes to Everest trails, the Everest base camp route is the one with the most adventurers from around the globe. In 2018 the region welcomed 57,000 travelers, which is only set to grow more and more in coming years. This is my third time visiting Everest base camp with my group and I can clearly see the trails getting busier every year. I get it, it is a bucket list for a lot of us, that is why we want to go there. Which I clearly admire and just seeing the mountains and taking up the challenge can be an inspiring adventure. But when it comes to the trails the busyness and the crowd is something you won’t be expecting, believe me especially if it is your first time. The great news is that there are alternative routes to go to Everest base camp apart from just the normal trekking route. The only trade-off is 4-6 additional trekking days in your itinerary but it will be totally worth it. You can avoid 70% of the crowd, will be more challenging than just Everest Base camp but more adventure for yourself.
(Click on image for more tour infos)
Gokyo with Everest Base Camp - 20 days
My first recommendation is the Gokyo trail with Everest base camp. Once we visit Everest base camp we break away from the rest of the group trails from Lobuche (Day 12). Taking you through Cho-la pass and then on to Gokyo valley. This trip sums up all the mesmerizing beauty of the Everest region. The Gokyo Lakes region at the head of the Dudh Koshi Valley provides a great alternative to the popular Everest Base Camp trek. It is a more tranquil trek through the Sherpa heartland that affords ample time for acclimatization with opportunities to savor mountain panoramas from our private permanent campsites. The highlight of the trek is our ascent of Gokyo Ri. From the summit, at over 5000m we gain superb views of Everest as well as the 8000m peaks of Lhotse, Makalu, and Cho Oyu in Tibet. Many trekkers will argue that this is one of the finest views in the Himalaya, with the awesome bulk of Everest dominating the skyline.
Three Passes Trek - 22 Days
Renjo la pass ( 5345M), Photo by- Tomislav Gracan
If you are up for a bit of a challenge crossing 3 passes in the Everest region, visiting the emerald Gokyo lake, and then finally arriving in Everest base camp then three passes are the right option for you.
The Three Passes Trek to Everest Base Camp is arguably one of the most challenging treks in the Everest region. The trek covers a lot of variation making a traverse between the three high passes, that is how it’s named – Renjo La, Cho La, and Kongma La – each over 5,000m. The trek begins at the famous Lukla and then heading towards the famous Namche Bazaar. Here, the route splits from the main trek and heads up the Dudh Koshi valley, where you will encounter the first of the Three Passes – Renjo La (5,370m). After reaching the high point, the trail descends to the turquoise Gokyo Lakes and further on to the village of Gokyo.
I hope this article helps you in making an informed choice about visiting the Everest region and you can make alternate plans when visiting the Everest base camp. There is no way to escape the crowd during the trekking season but the alternatives routes take you on a different trail that exposes you to other gems of Everest trekking tails, which 80% of the crowd visiting won’t be attempting.
If you do have any more questions, please ask us below in the comment section or you can email us at bookings@namasadventure.com and our team will get back to you as soon as they can.
Stay well. Challenge yourself. Dare great things and live your story.
Mera Peak a treat of panoramic Himalayan vista - Namas Adventure
MERA PEAK A TREAT OF PANORAMIC HIMALAYAN VISTA
Now, I am not exaggerating by that headline for Mera Peak. In this blog post, I am trying to share the visual journey of the Mera Peak trek/climb. First let me admit, although Mera Peak is classed as a beginners peak, I was dead tired (exhausted) by the time I got back from Summit to high camp. To me, that climb did not feel like a beginner’s climb or maybe I just was not fit enough (gotta train harder). Every Sherpa leader that I met there was like yes, this is the easiest one and the only peak with a very wide 360 views of all the Himalayas. I could feel my whole body burning with tiredness and at the same time, I was ecstatic as well because I was back safely from the summit. It was not that I had doubts about making it to the summit but I wasn’t expecting the degree of fitness I needed to have to make that climb. I have so much respect for all the Sherpa leaders that can just march up these peaks like it’s a walk in the park and I could only imagine the level of fitness everyone has when they guide the guest to 7000 - 8000 M peaks. I have realized that I need to upgrade my level of fitness by some fold and have more experiences under my belt to climb higher mountains. Next stop Baruntse Peak 7129, Tilicho peak 7134, Amadablam (climbers consider this tougher than Everest) the tough one 6810 technically challenging, Manaslu 8156 in the next 2 years.
So first all the technical details about Mera peak. The peak stands tall at 6476 M tall in Makalu valley. The mountaineering association in Nepal considers Mera as a trekking peak rather than an expedition peak which is just about right.
Beginners/ Intermediate trekking peak. No mountain climbing experience is required for this trip. Although previous trekking experiences do help.
18 Days total climb. But can be shortened 12/13 days, Mera Peak express ( Taking helicopter from Lukla to Kothe or Khare to Lukla. Additional charges apply)
Fitness level required. Endurance and strength training suggested.
Pro tip: To better your chance of making it to the Summit, make sure your itinerary has Base camp 5200M and high camp day 5800M. Both are tented camping.
Gears rentals can be done in Khare but I would highly recommend getting your own gears. I rented their equipment ( sleeping bag ) for the sake of trying and I would not recommend it at all. You will need all the mountain climbing gear for this trek. Even the boots are made of plastic ones which do not provide enough protection from the cold.
Best time to visit. March-May ( less traffic ) September - November ( high traffic )
Next goal Baruntse or Tilicho Peak ( 7000+M) mountain.
360-degree views of the Himalayas from high camp all the way to the Summit. Mt. Everest, Lhotse, Cho Oyu, Nuptse, Makalu, Kanchenjunga, and hundreds of small peaks are visible. On a clear day expect yourself to be completely blown away by the never-ending view of Himalayan vistas.
Mera peak trip was a job as well as an adventure. So the trekking trail separates from Lukla going south in the other direction than the Everest trail. That helps us avoid all the huge traffic that goes to the iconic base camp trail. The trek up to Nimgsa is pretty much walking one hilly trail, passing through small villages. But after that, the trail gets tougher and the snow made the trails even harder at some point. Mera isn’t a popular choice as Everest trails so the trails are not as well taken care of or are built like most on Everest base camp trails. On some part, we literally had to use our hands and feet to just climb the steep stairs and the trail wasn’t a gradual one. One minute it goes straight up and the other minute it’s a steep downhill but after Kothe camp, it was gradual uphill which was good.
The Himalayas are only fully visible after we left the Kothe camp. As we were gradually going higher the mountain tops with different shapes slowly appear and the next thing you know it’s on your right/left and slowly the Mera range appears right above on the right corner. We made a pit stop at a nearby glacier lake, which was 90% frozen. Kothe was our final tea house camp place. By the time we get to Kothe, we are now pretty much walking by the mountains. I could see this frozen sharp ice on the cliffs of the mountains. Finally, upon arrival in Kothe, we could see Mera peak and the other range just above. Our guide (Lopsang Sherpa) pointed to us the glacier we were to walk on before reaching high camp. To my surprise, the tea house in Kothe was the best one out of all during the entire trek.
So we acclimatized and rested in Kothe for a day then we set about for Mera Peak base camp. Now, this is the most tricky bit in Mera. Mera base camp is only built upon request and many will say oh! why did you have to have Mera base camp or it is not necessary or you can make your way to high camp directly. A lot of the operators choose not to do this because it adds an extra day to the itinerary or is only 3 hours walk from Khare camp. But when it comes to mountain and you want to better your odds of making it to the summit and completing your trek/ expedition rather than rushing and not acclimatizing properly. So, as a company, we choose to have Mera la Base camp in our Itinerary so that our clients and group has a better chance of successfully completing the journey. Then once we rested at base camp and moved on to High camp that’s when the real test began. From this day onwards we are on our harness, ropes, crampons, and mountain climbing shoes. Perfect practice for the next day’s summit climb. From the base camp, the terrains is completely different. We started off with a steep 80 degree walk up the snowy hill and then to the blue ice glacier climbing 4 - 5 hills to Mera high camp. You are walking slowly on those ice paths all the way to the Summit. Still, a tiring walk but the place they chose for a high camp has such a great view. It looks crazily dangerous as the campsite is just on the flat base side of the cliff and a 500-600 m drop after that, somehow it’s safe to station the camp there. So, the group arrived there and we rested in our camp waiting for the big day tomorrow. We briefed our team the next day as we had to start our climb to the summit at 4 am in morning.
The next day we were all set and ready to go at 4 am. We started in the dark and sunshine was scheduled around 4:30 am-ish, so as we were making our climb on the snowy slopes we could slowly see the sun rising just behind the Himalayan ranges. What a sight, to see the colors change and the white snow slowly light up making the whole climb shinier and brighter. Shades on and we started to move up to the summit. The walk to the top was a killer one. So on the high altitudes, anyone climbing is not supposed to stay out exposed out in the cold/ wind for long. Every break we took was a quick 30s to 1 min and then off we go again. I can’t remember the number of breaks we took but I am pretty sure we take a handful of one. It took us around 4 hours to get to the summit. Just when we were to reach the summit the final climb was a 90-degree vertical ice block and at that moment in my head, I was like how am I to climb this and then our climbing leader just took us a sideways walk from and slowly side-stepping we climbed the to the summit. I was exhausted, tired but joy overfilled me with what we had achieved. The whole group was at the summit and we spoke on the radio with our team at Kothe camp. There were congratulation, hugs, laughter, and tears. This was one of the hardest things that I had done but definitely worth it. This was it all the month’s worth of planning and preparation was for this climb. All the clients were at the top which was another achievement for all the Namas adventure team.
This was definitely a great experience for me because as a founder of Namas Adventure I want to understand as much as I can of work that goes during our tour operations which gives me the perspective of how our staff is doing while on tours and expeditions, as well as understanding in what ways we can improve in our services, having a great time with people with the same interest and enjoying my passion of climbing mountains, inspiring through our work and seeking for greater adventures.
This is the story I chose and it has been an amazing learning and developing so far. The story continues ahead and our message as a company leads with inspiring human individuals to choose to live their story.
Live Your Story.
See you in future adventures and good luck with many adventures ahead. The upcoming expedition that I will be joining Baruntse Expedition, Manaslu Expedition, and Amadablam Expedition.
If you do have any more questions, please ask us below in the comment section or you can email us at bookings@namasadventure.com and our team will get back to you as soon as they can.
Stay well. Challenge yourself. Dare great things and live your story.


